
Good Morning ScraPerfect Friends! Chelsea here with a winter themed birthday card!
I love when family and friends have birthdays during the winter months because it changes the way you can create their cards! Let’s jump into how I made this adorable penguin winter themed birthday card!
Products I used from ScraPerfect were: Best Glue Ever, Best Cleaner Ever, Perfect Crafting Pouch.

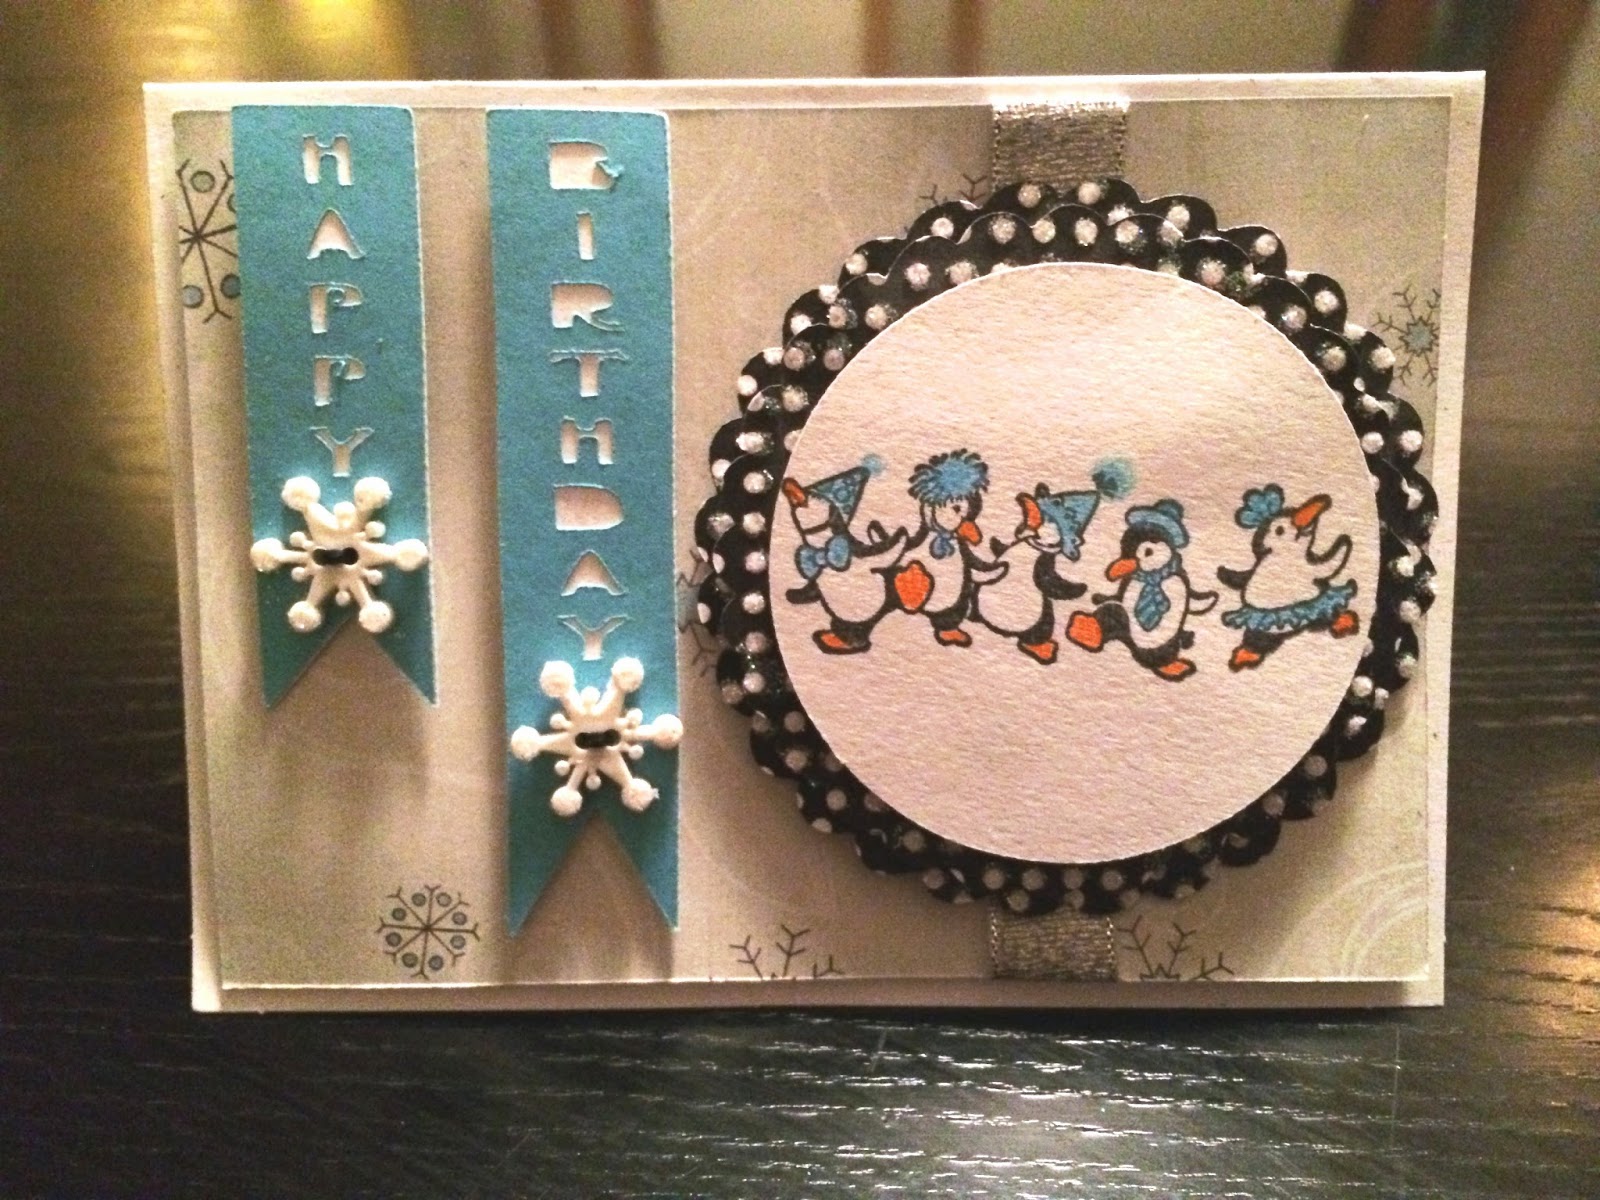
The whole inspiration for my card came from a penguin birthday stamp. I built the rest of the card off of this theme.
Step 1: Preparing my cardstock for stamping/glittering. No matter if I am stamping or glittering a piece of cardstock/paper I always prepare my pages with the Perfect Crafting Pouch. I swipe over each page that I plan to stamp or glitter; in this case I have my snowflake paper, black and white polka dot patterned paper and my white cardstock. The reason I do this step is 1) the PCP dries ink instantly not allowing my stamped image to smudge and that means I can work quicker with my projects. 2) the PCP acts as an anti static bag; allowing only the area of glue to have glitter adhere to it and not all over the rest of the page. Concluding in a nice easy clean up by not having to go back with your figure or brush to brush away those glitter partials.

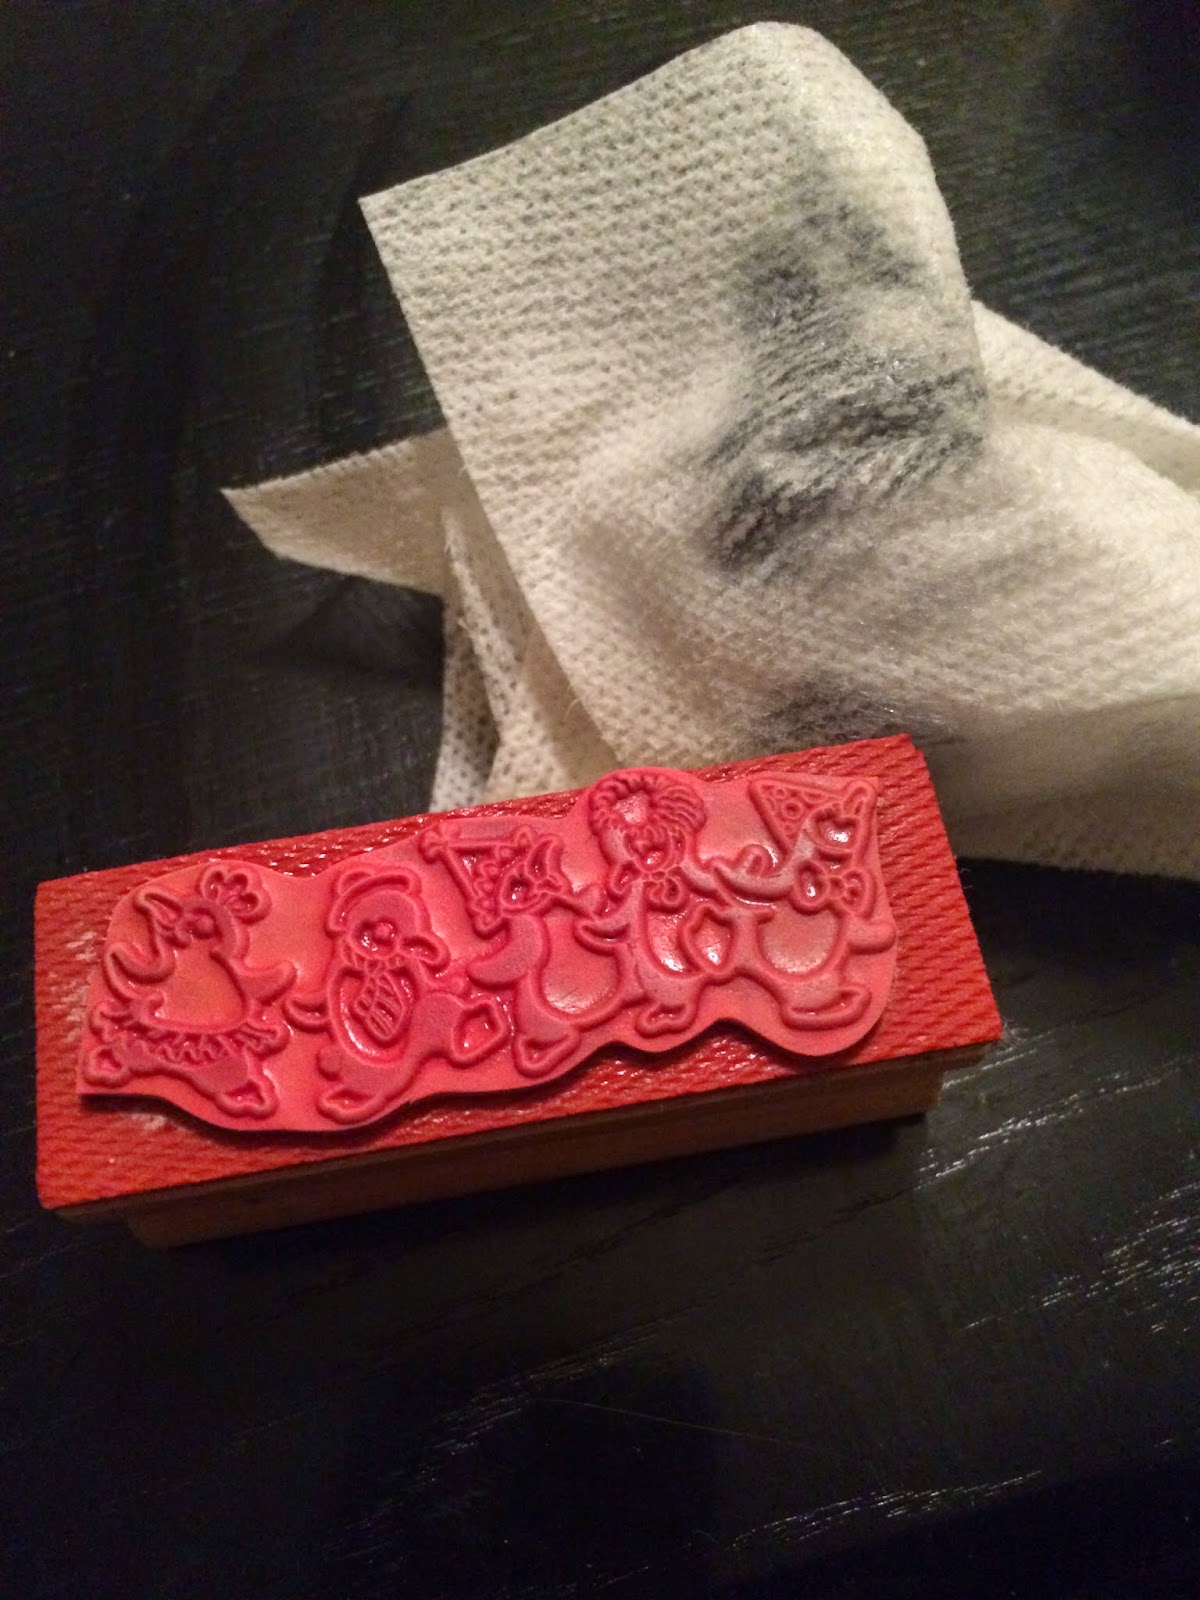
Step 2: Stamping images. After using the Perfect Crafting Pouch to prepare my white circle cardstock, I used Stazon black ink to stamp my image. Once my image was stamped I used the Best Cleaner Ever right away on the stamp to clean it. Rubbing in the solution with my finger and using a tissue to remove the ink.


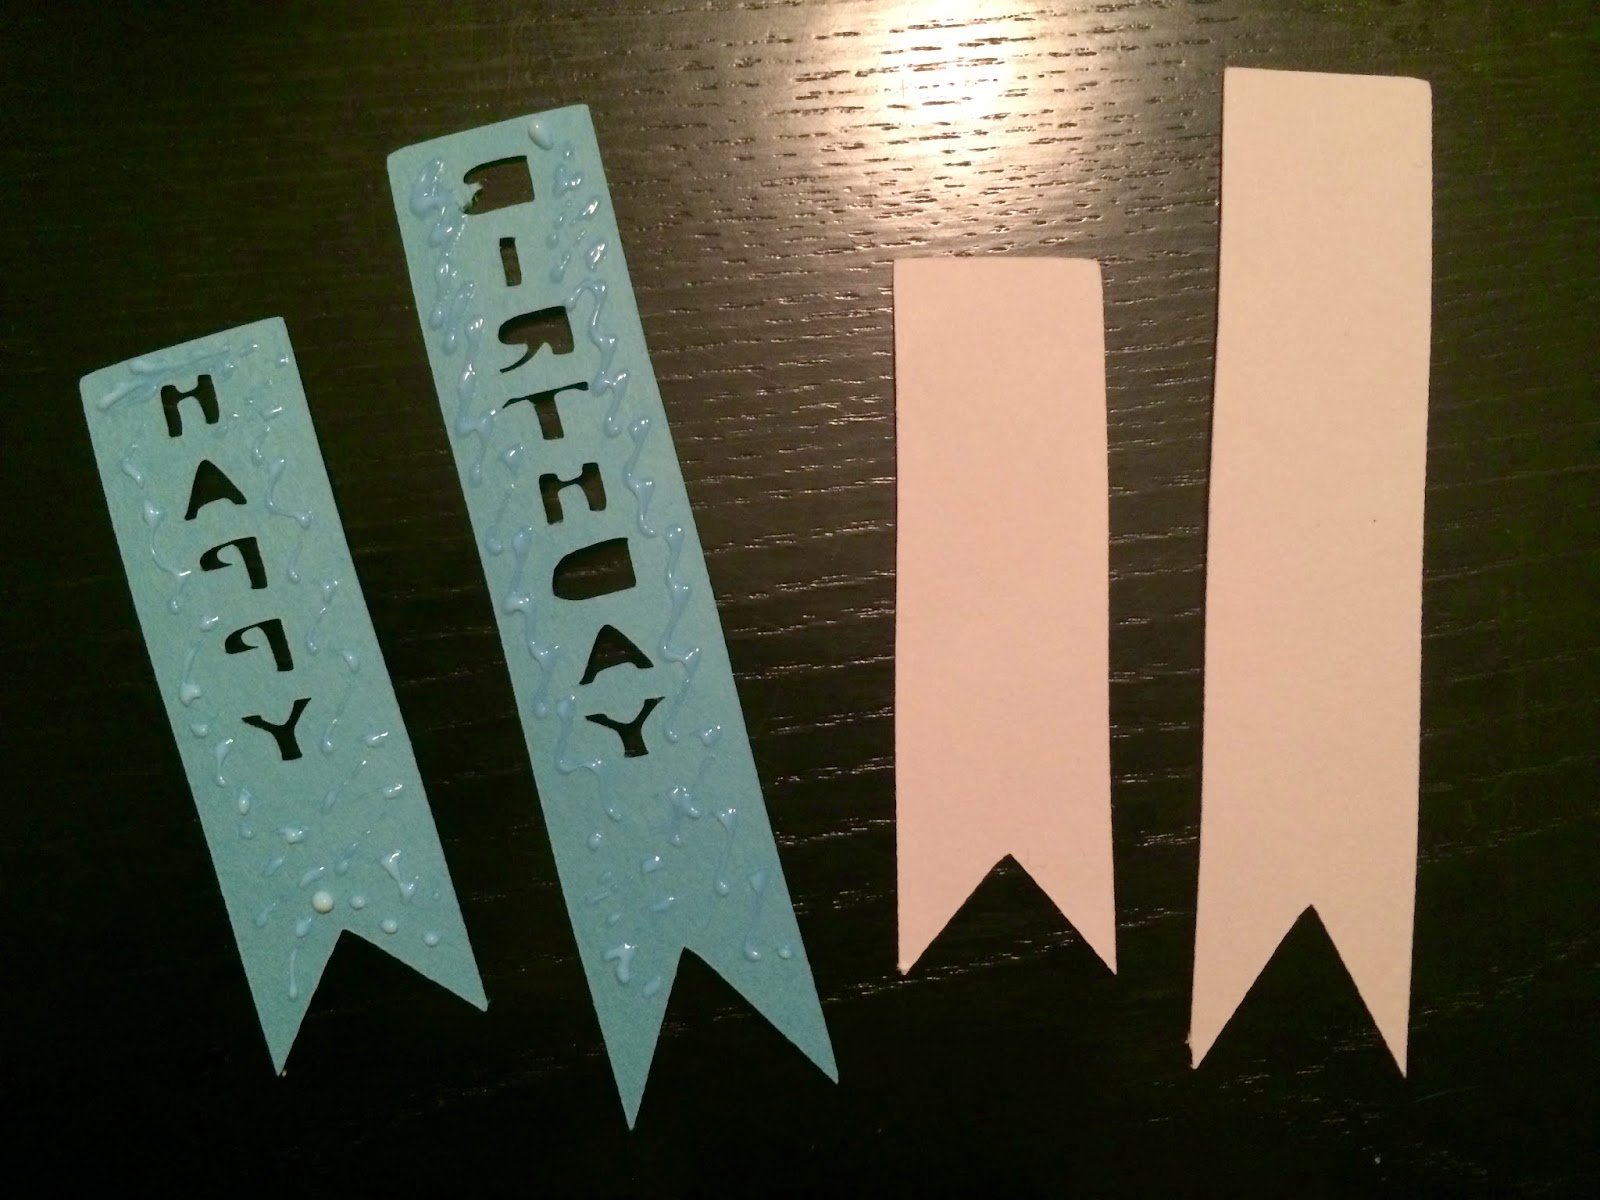
Step 3: Layering Papers. I love the BGE as when I am layering papers it does not leave bubbles or deform the paper(s) like competitors white glues do. I spread an even amount of BGE over the banner layers (blue Happy Birthday cut out cardstock) using the tip of the BGE bottle. I then adhered the layers together immediately. No waiting necessary.
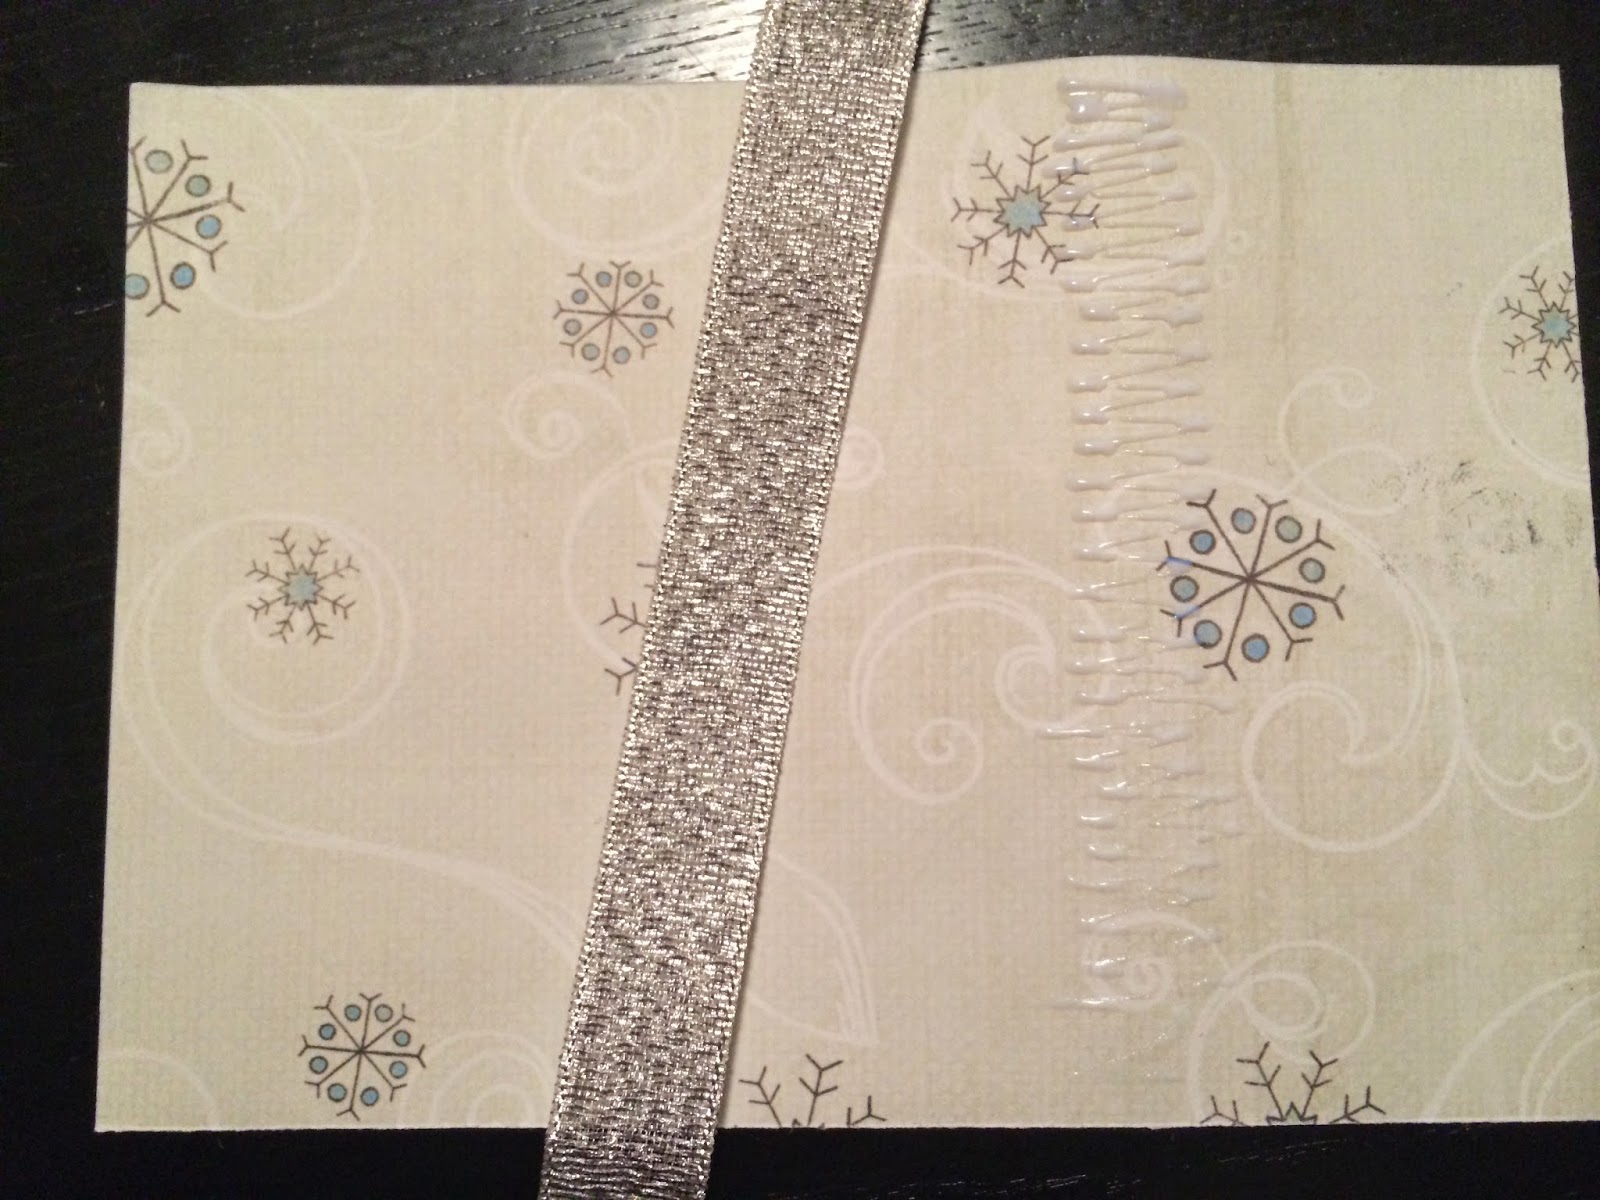
Step 4: Embellishments. Sometimes certain embellishments can be bulky or heavy for a project; but with the BGE and it’s amazing instant bond you don’t need to be afraid. Today I used some snowflake embellishments and a piece of ribbon. When applying the snowflakes I applied a dab of glue to the back of the embellishment and let dry clear so as to be tacky before applying it to the banner. For the ribbon I applied BGE directly to the patterned paper and again let dry tacky clear before attaching the ribbon on top.

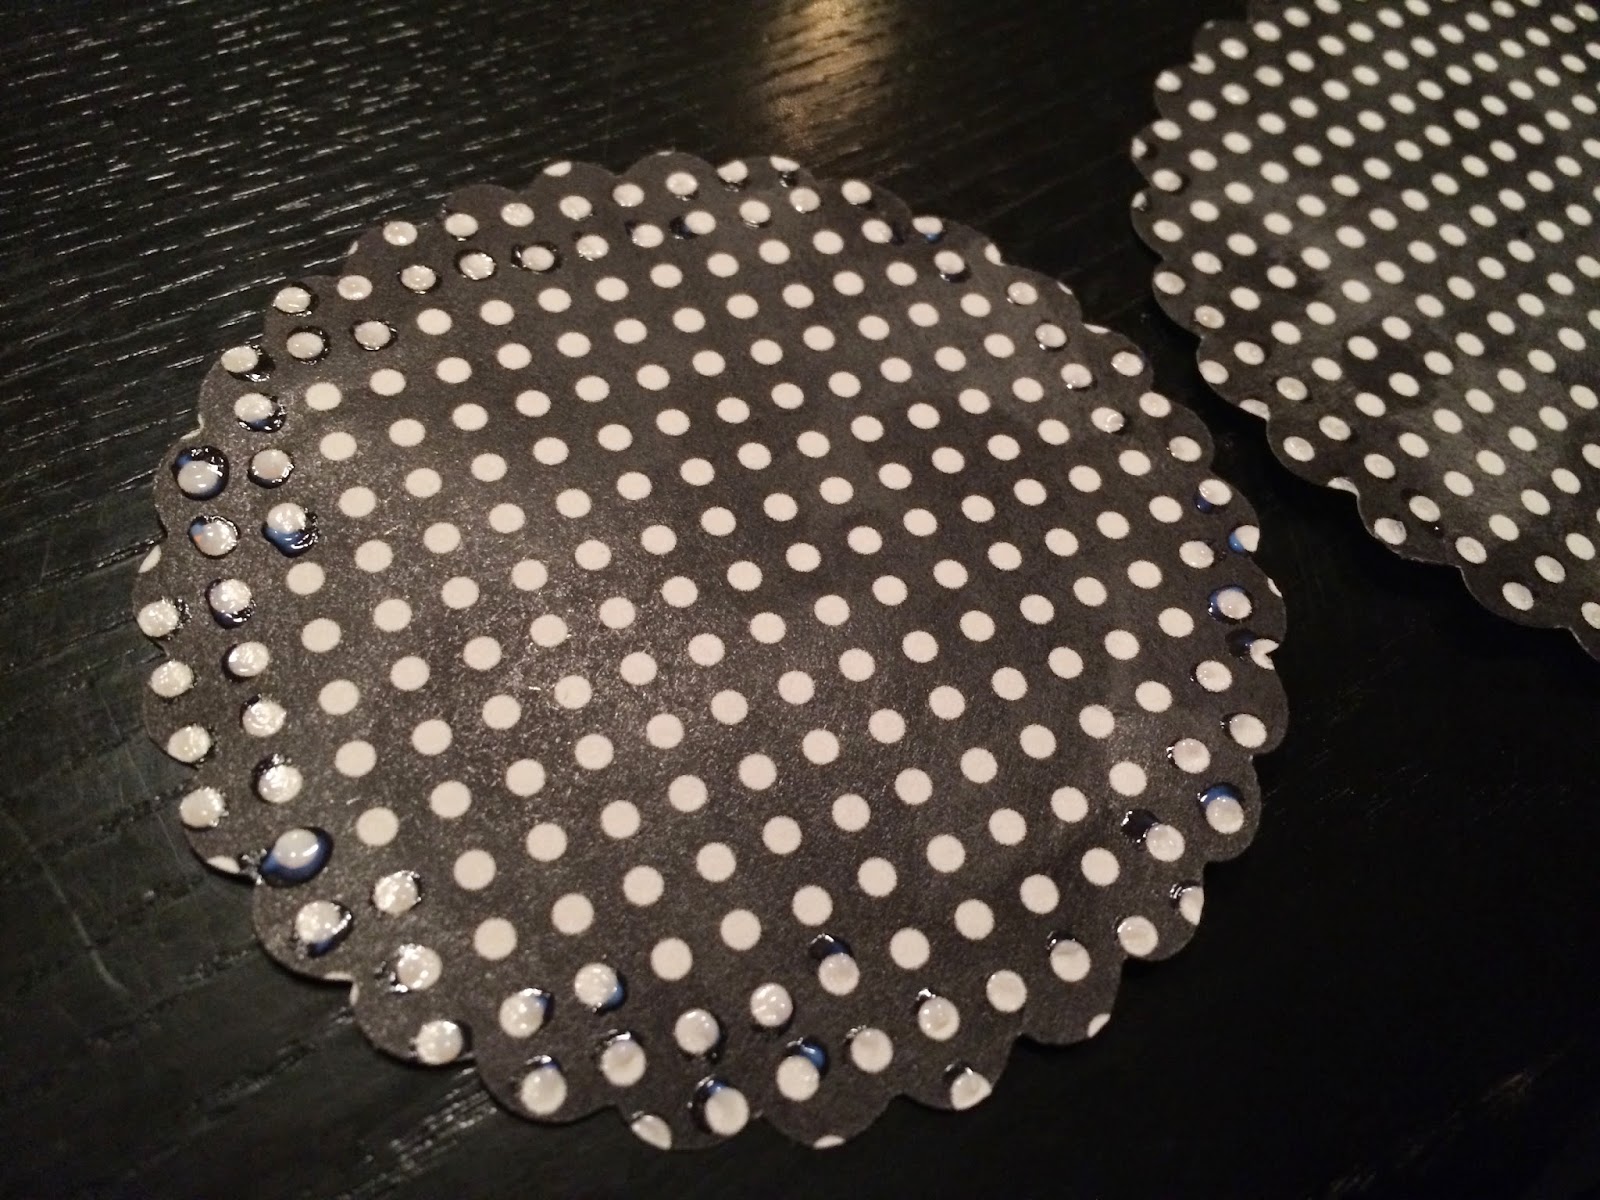
Step 5: Add glitter. This sometimes can be tricky because other brands of glue stay wet for far to long or if you use a glitter glue it takes 24 hours to fully dry! But…not with the BGE! We can apply and glitter within seconds and dries fully within a few minutes! Apply your glue where you would like the glitter to adhere. I dabbed BGE on the polka dots around the edge of each of the scalloped circles. I also added BGE to each of the tips of the snowflake embellishments. Add you glitter immediately after applying BGE.

Here is my finished card! I love how it turned out! I did use a few 3D BGE dots to lift a few of my layers for added dimension. If you like to know how to create your own 3D BGE dots check out Steph’s quick tutorial here!
Have a family or friends birthday within the winter months? Have fun with a winter inspired card! Show us your creations on our facebook page!

