
Robyn here, guest designer. If you are like me, you have a bunch of people you want to
greet at the end of the year, including work colleagues. We don’t do photo
cards, so I like to send hand-made cards. Like in so many areas at this time of
year, my limitations are time and money.
greet at the end of the year, including work colleagues. We don’t do photo
cards, so I like to send hand-made cards. Like in so many areas at this time of
year, my limitations are time and money.
I solve the time conundrum by making a simple design in batches
using Henry Ford’s innovation – an assembly line. I make them frugal by using papers
from my stash, supplies from the dollar aisle, and this year, leftovers from
holidays past.
using Henry Ford’s innovation – an assembly line. I make them frugal by using papers
from my stash, supplies from the dollar aisle, and this year, leftovers from
holidays past.
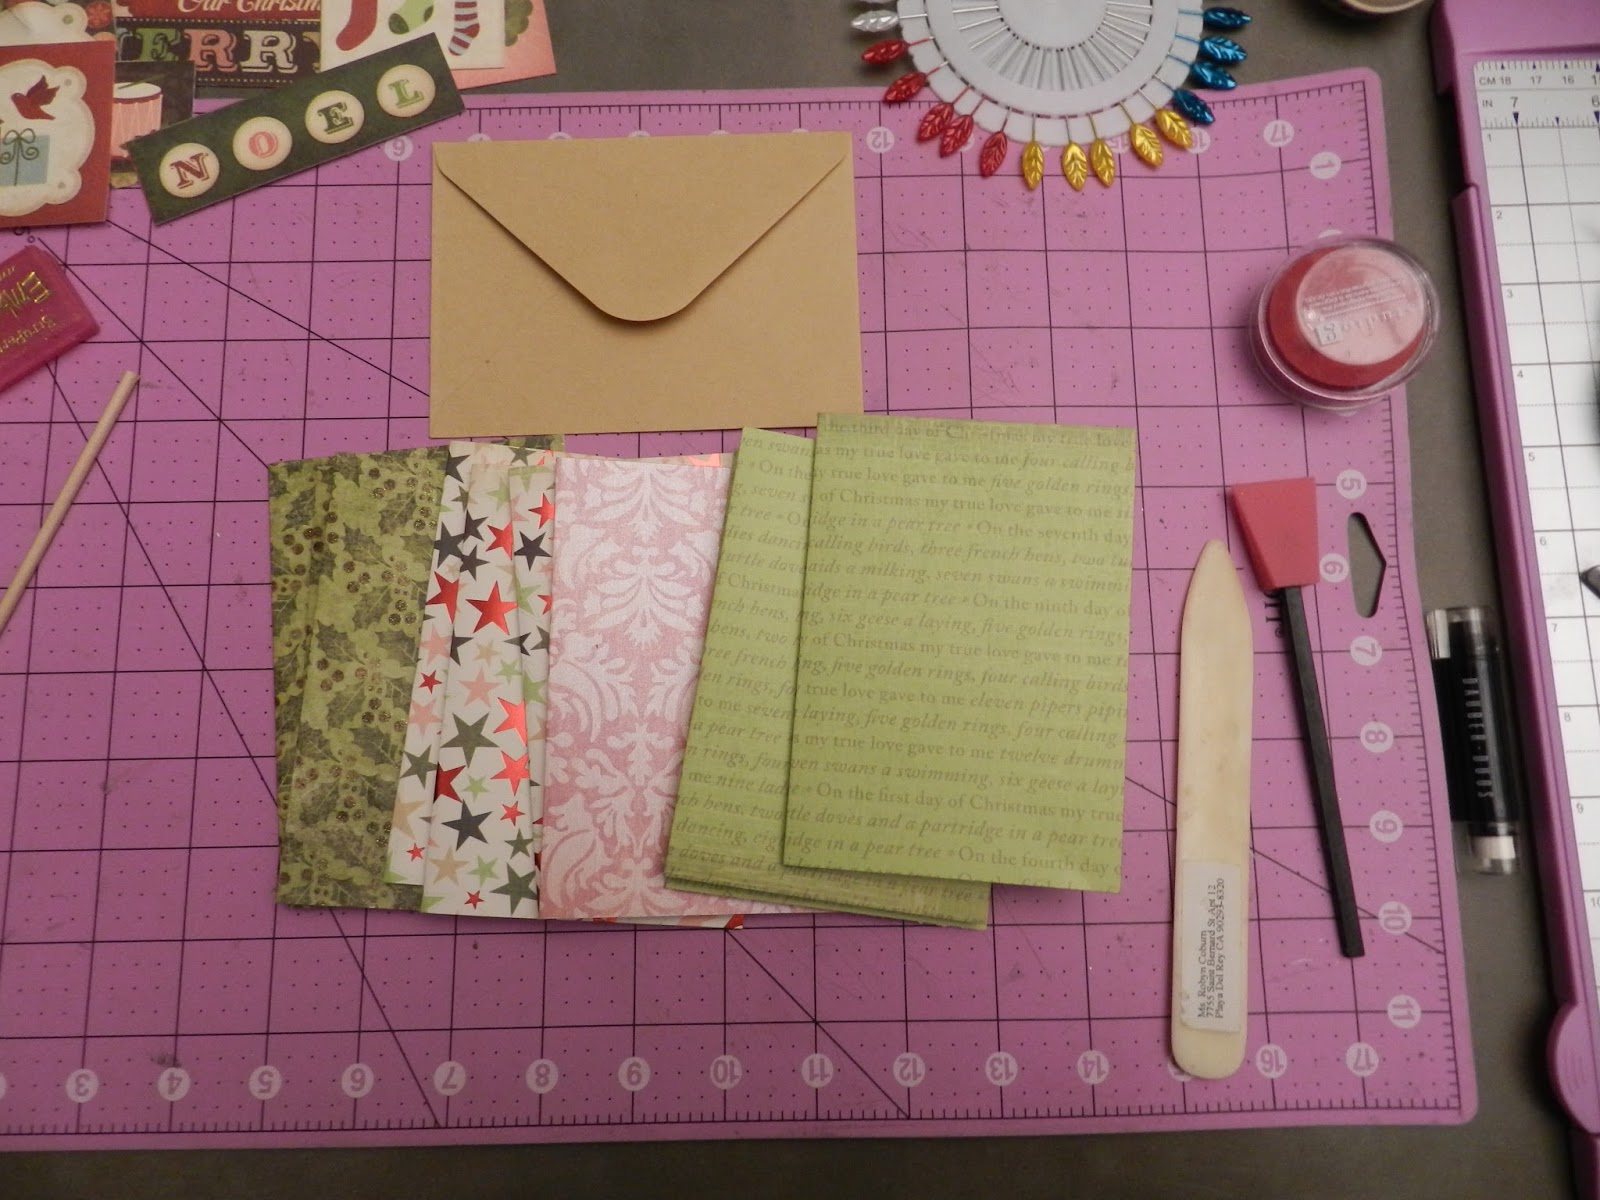
Earlier in the year, I grabbed a bunch of packs of cards and
envelopes from the dollar aisle at Target. Turns out the “cards” were single
pieces so I set them aside for other uses. The kraft paper envelopes are
nice. The cards will be small – 5 x 3.5 – but that is enough room to write a
greeting inside. I started with a batch of ten.
envelopes from the dollar aisle at Target. Turns out the “cards” were single
pieces so I set them aside for other uses. The kraft paper envelopes are
nice. The cards will be small – 5 x 3.5 – but that is enough room to write a
greeting inside. I started with a batch of ten.
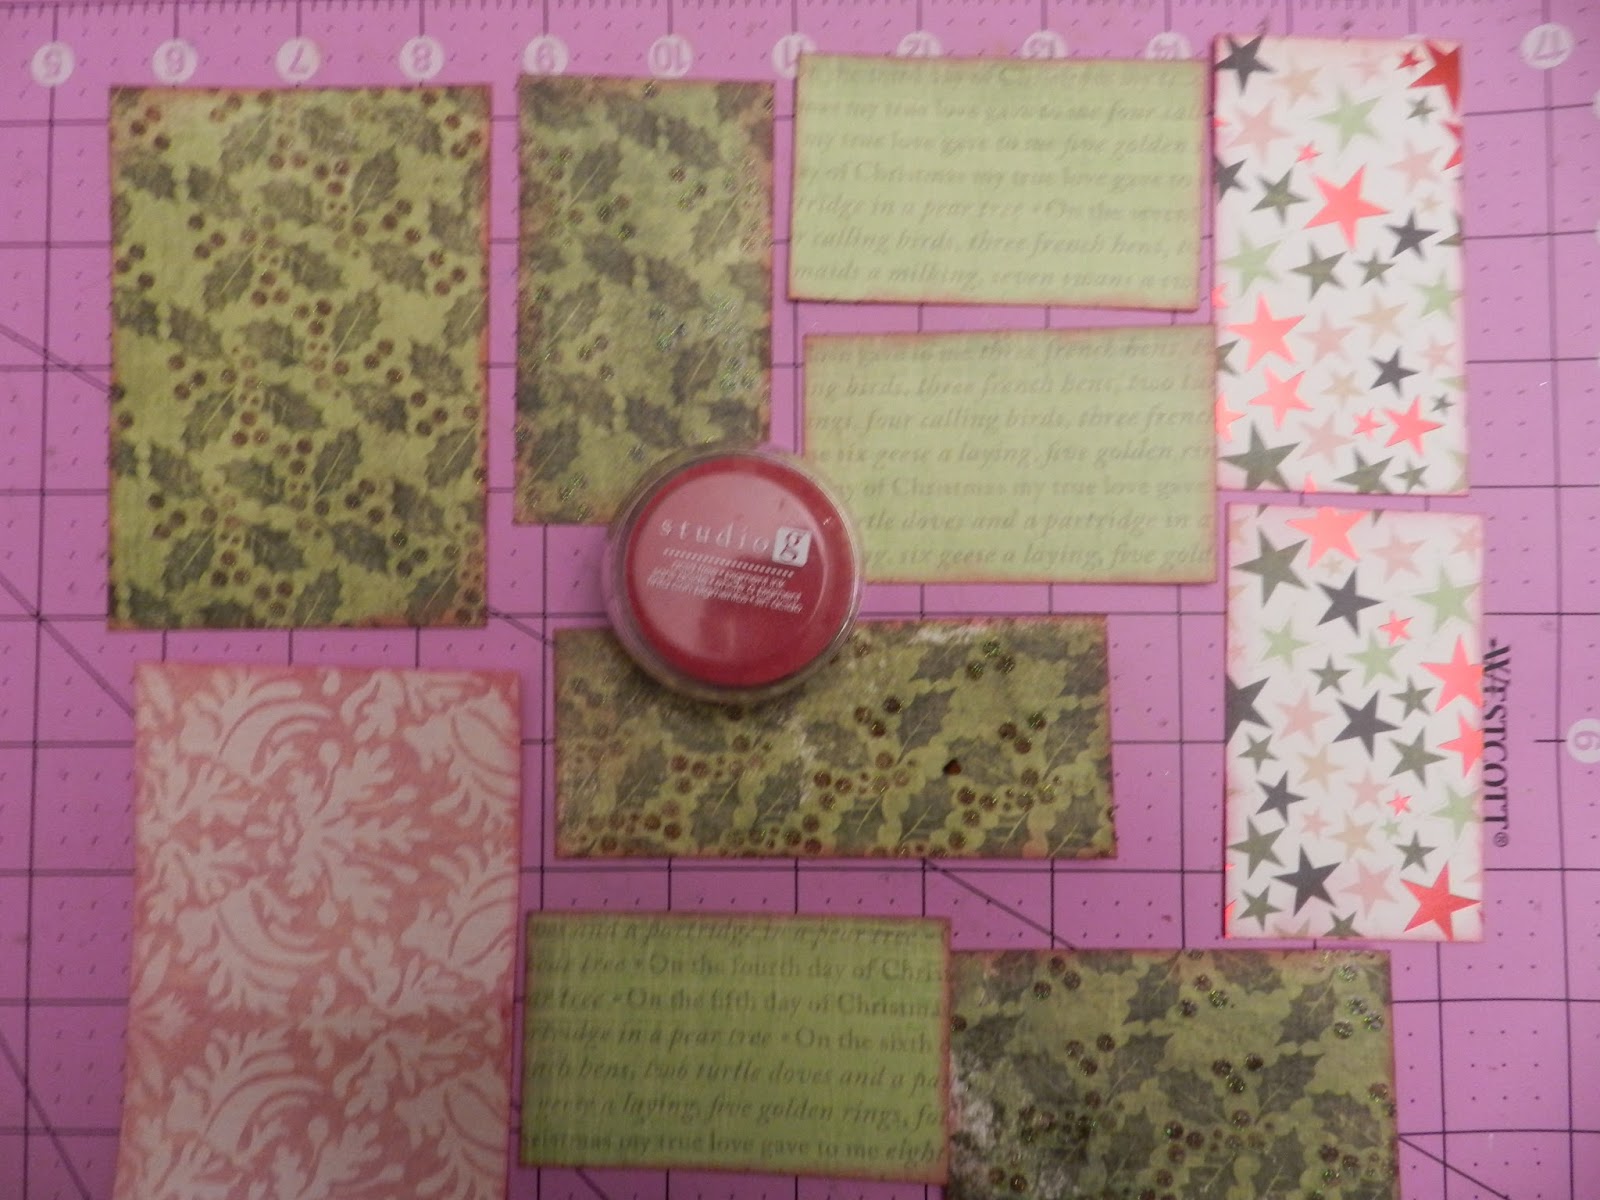
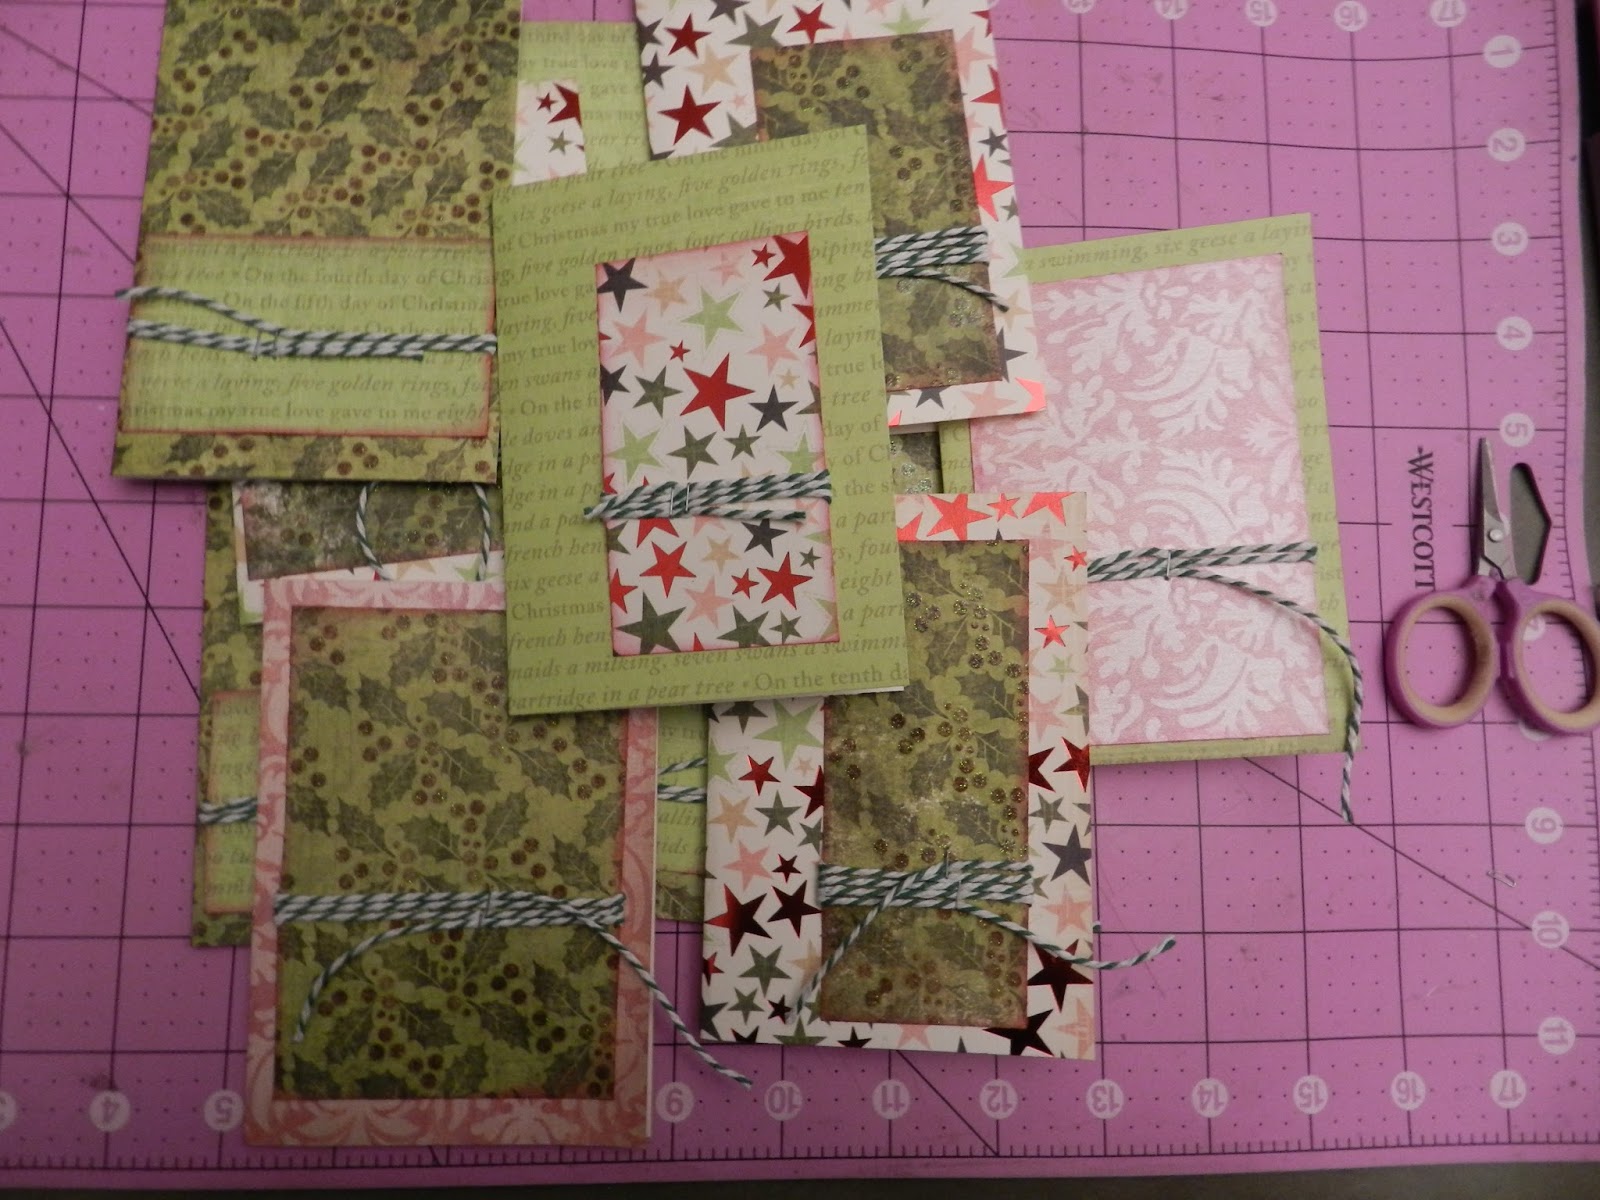
To begin, I cut 7 x 5 pieces from several different
single-sided holiday card stocks, and folded them with my bone folder. Then I trimmed
the leftovers into small pieces to layer – using scraps is so frugal. I inked
all the edges of the layering pieces with red ink, and wrapped them with baker’s
twine, held with a staple or two from my Tiny Attacher.
single-sided holiday card stocks, and folded them with my bone folder. Then I trimmed
the leftovers into small pieces to layer – using scraps is so frugal. I inked
all the edges of the layering pieces with red ink, and wrapped them with baker’s
twine, held with a staple or two from my Tiny Attacher.
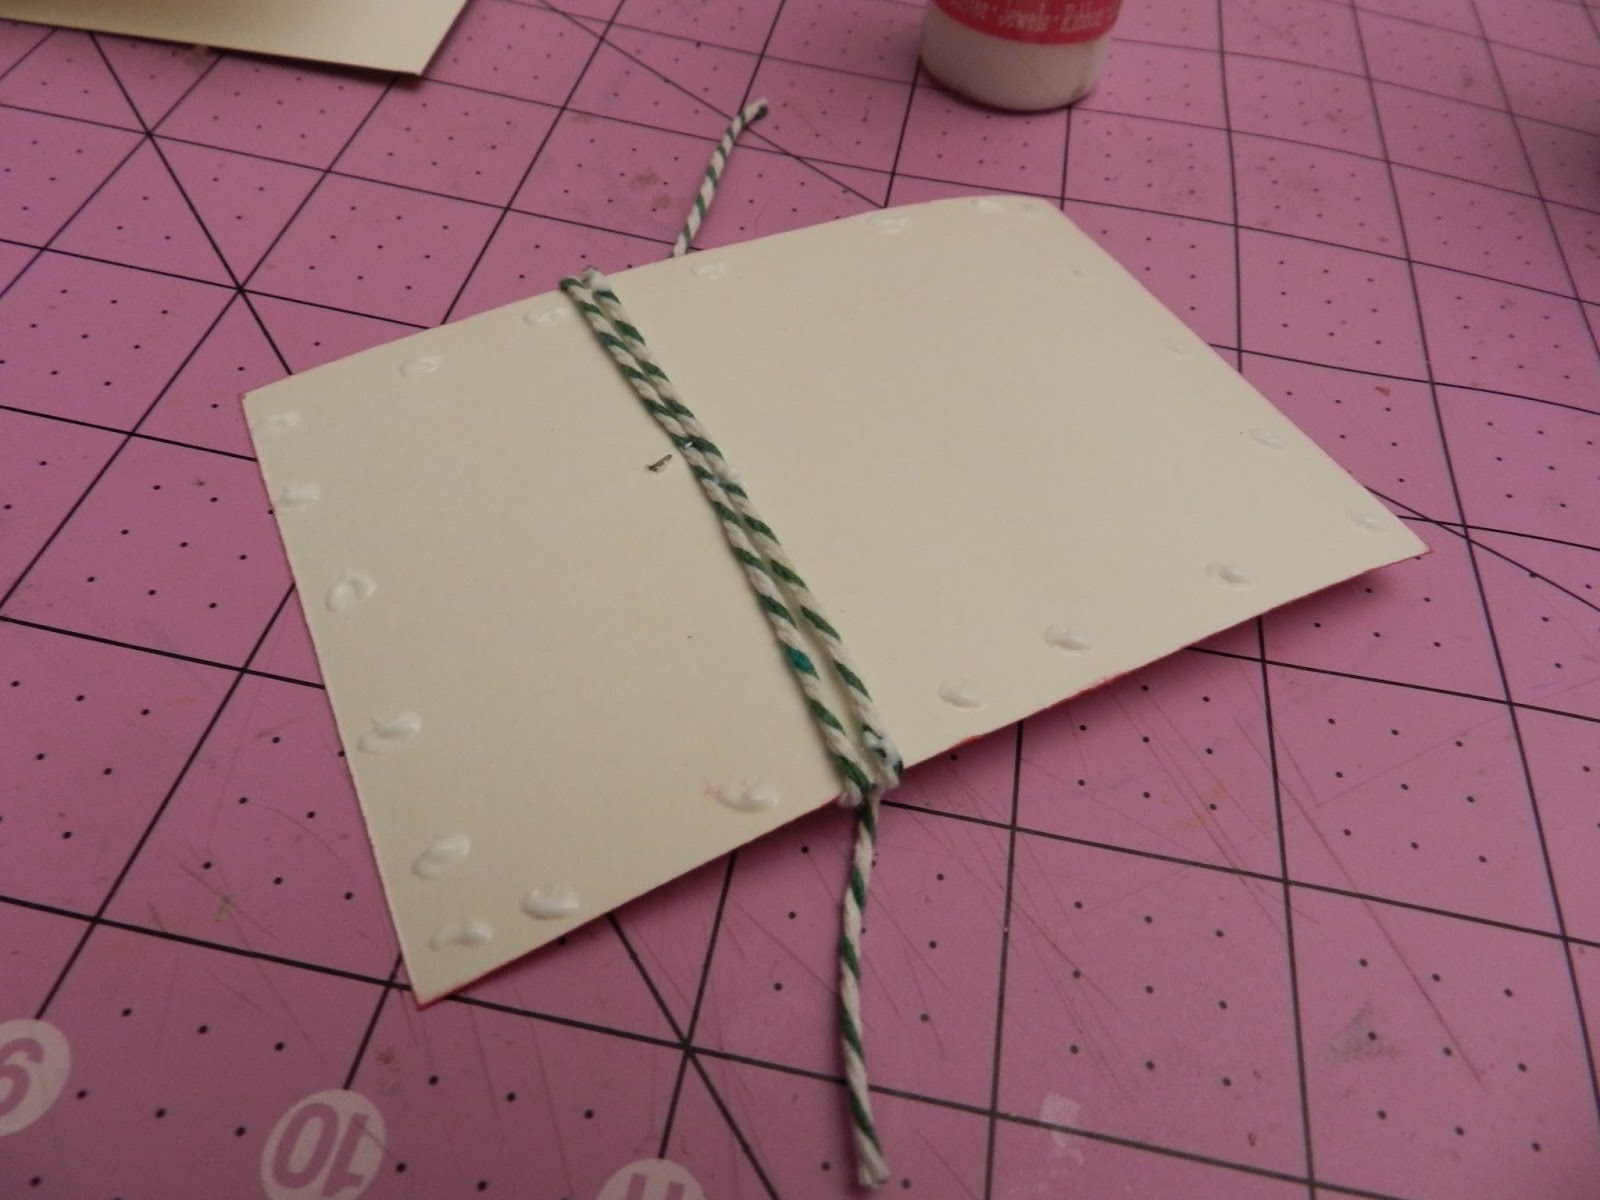
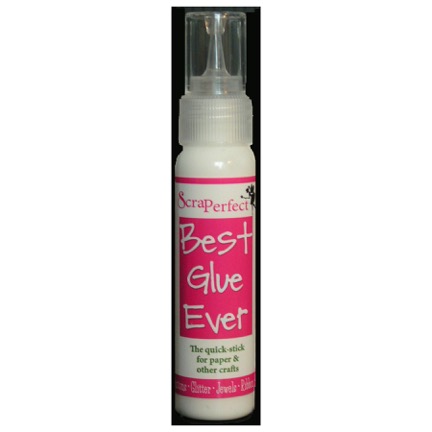
Next, I used tiny dabs of Best Glue Ever to adhere the first
layer to the card blanks, mix-and-match having a care for the direction of the writing on one of the designs.
layer to the card blanks, mix-and-match having a care for the direction of the writing on one of the designs.
 |
| Tiny dabs |
 |
| Mix and match cardstock |
Then it was time to start decorating each one. I had some
cardstock holiday themed ephemera for some of the cards, and a bunch of gift tags left
over from last year. I used BGE to glue them to the fronts. If they fit under
the twine, I glued them flat. If they were too fancy or wide, I used some foam
shapes to bump them up over the twine. BGE works really well to join different surfaces.
cardstock holiday themed ephemera for some of the cards, and a bunch of gift tags left
over from last year. I used BGE to glue them to the fronts. If they fit under
the twine, I glued them flat. If they were too fancy or wide, I used some foam
shapes to bump them up over the twine. BGE works really well to join different surfaces.
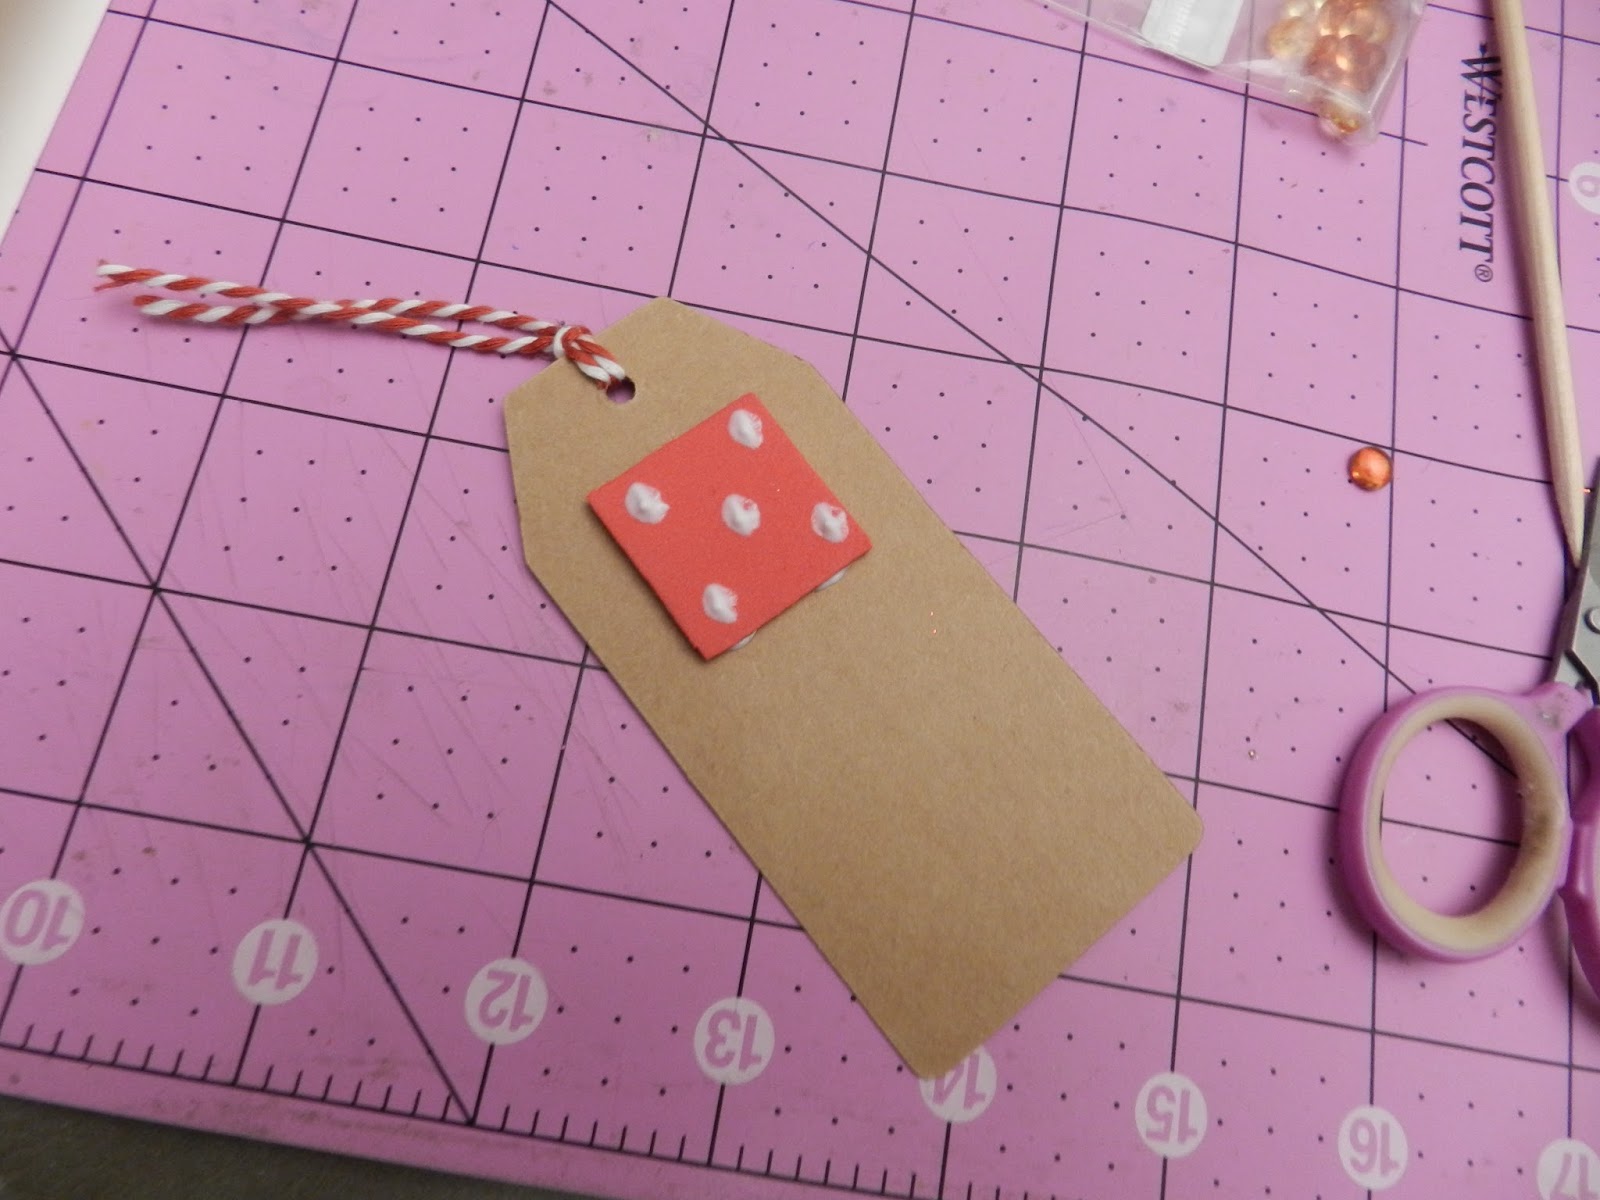 |
| You can see that I only used tiny dabs |
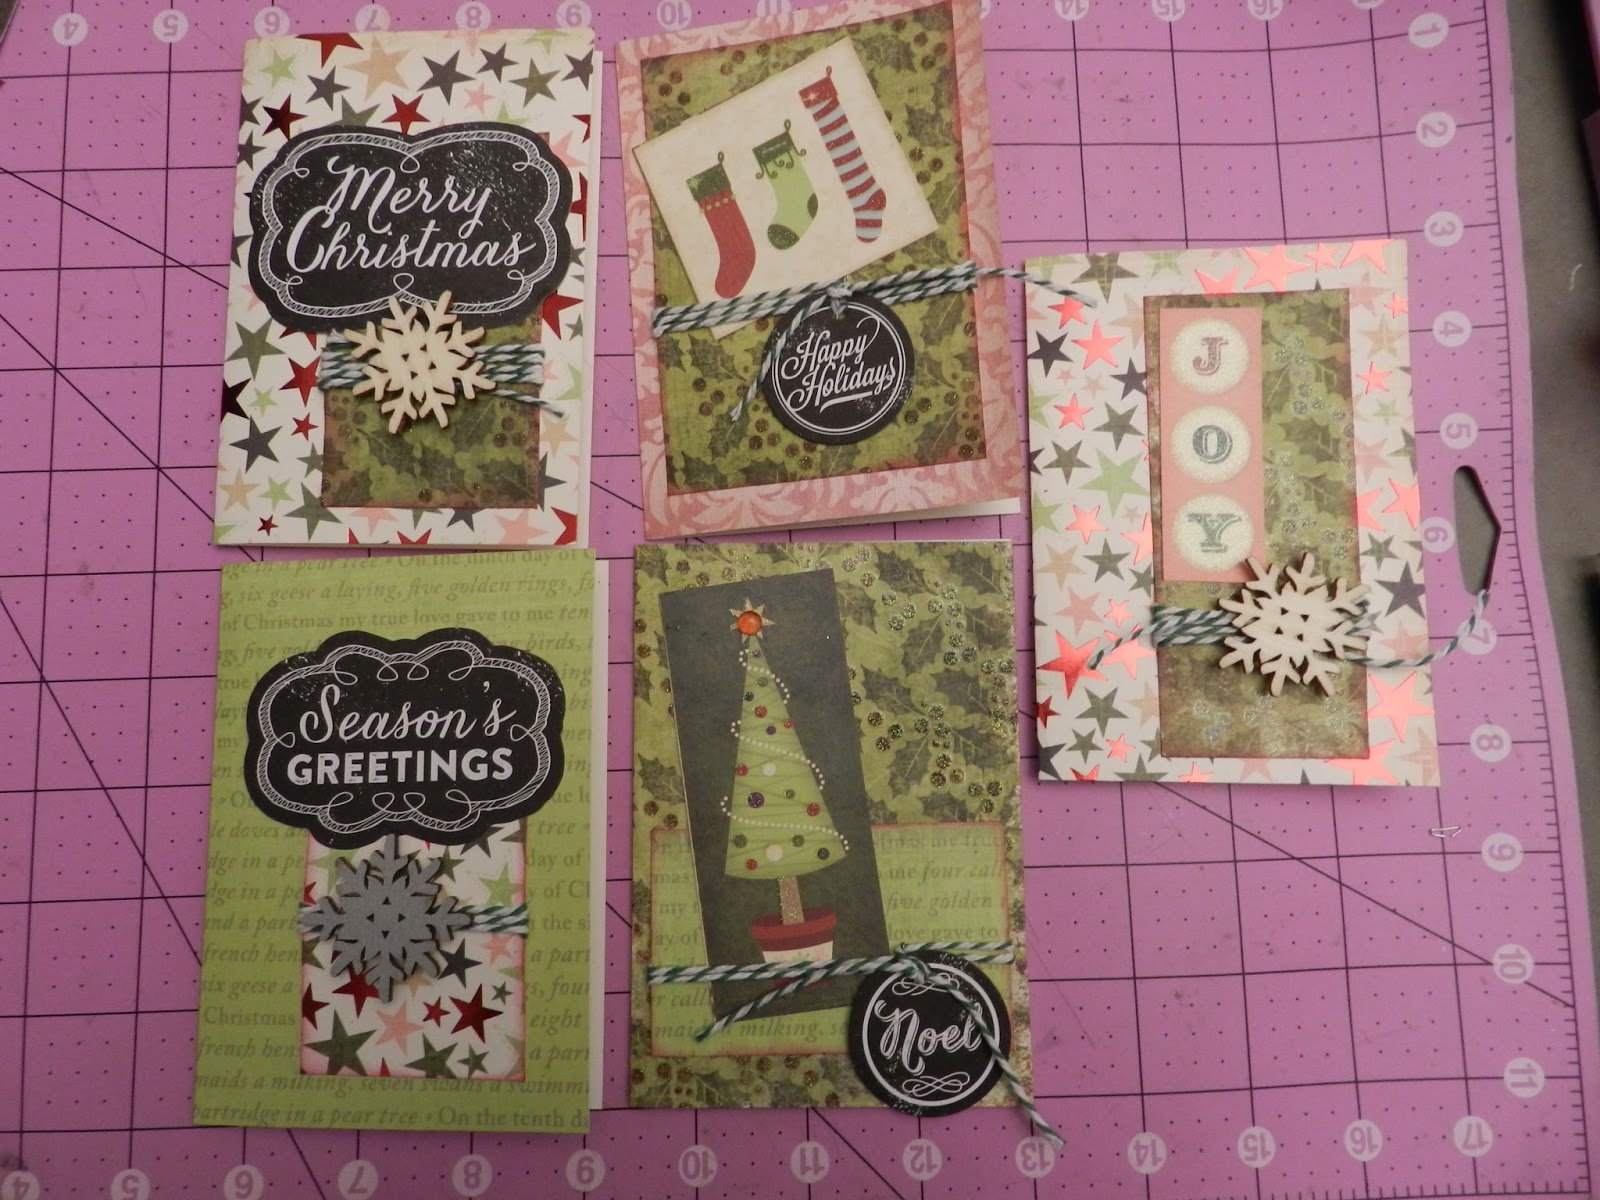 |
| The snowflakes are die-cut wood in either natural or silver |
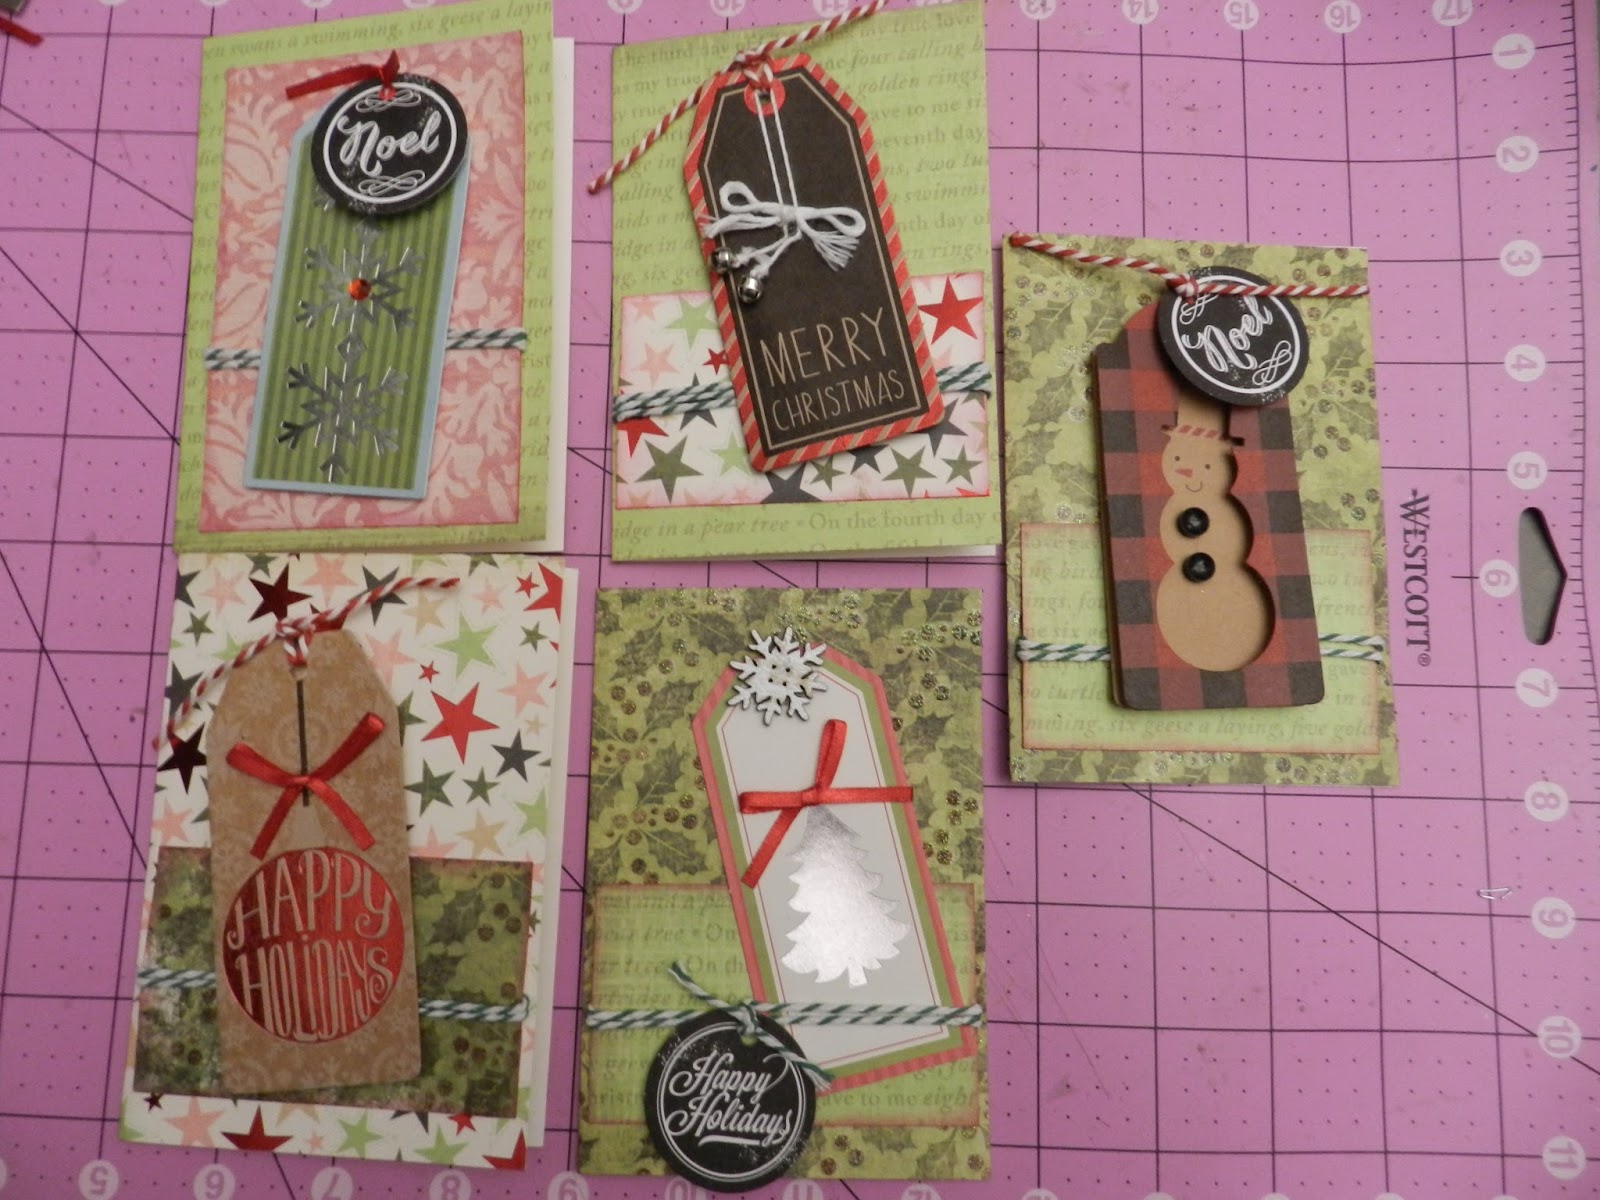
Some tags had a greeting, already. For those that did not, I
tied on a black and white “chalk board” printed label, again left over from last
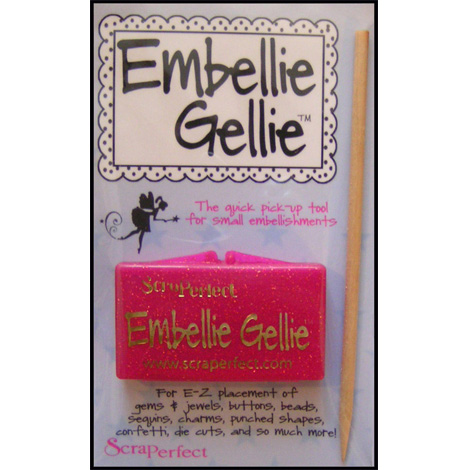
year. In the end, all that was left were embellishments, including just a few Robin’s Nest Dew Drops, placed easily with
the Embellie Gellie.
tied on a black and white “chalk board” printed label, again left over from last
year. In the end, all that was left were embellishments, including just a few Robin’s Nest Dew Drops, placed easily with
the Embellie Gellie.
Some needed pins for
a bit of extra shine and interest. It was easy to slide them under the paper between
the dabs of Best Glue Ever. Had I used a tape glue, that might have been tough.
a bit of extra shine and interest. It was easy to slide them under the paper between
the dabs of Best Glue Ever. Had I used a tape glue, that might have been tough.
 |
| Here are the ones with pins, with the points safely under the cardstock |
Finally, for an extra touch, I stamped an ornament image on the flap of the envelopes.
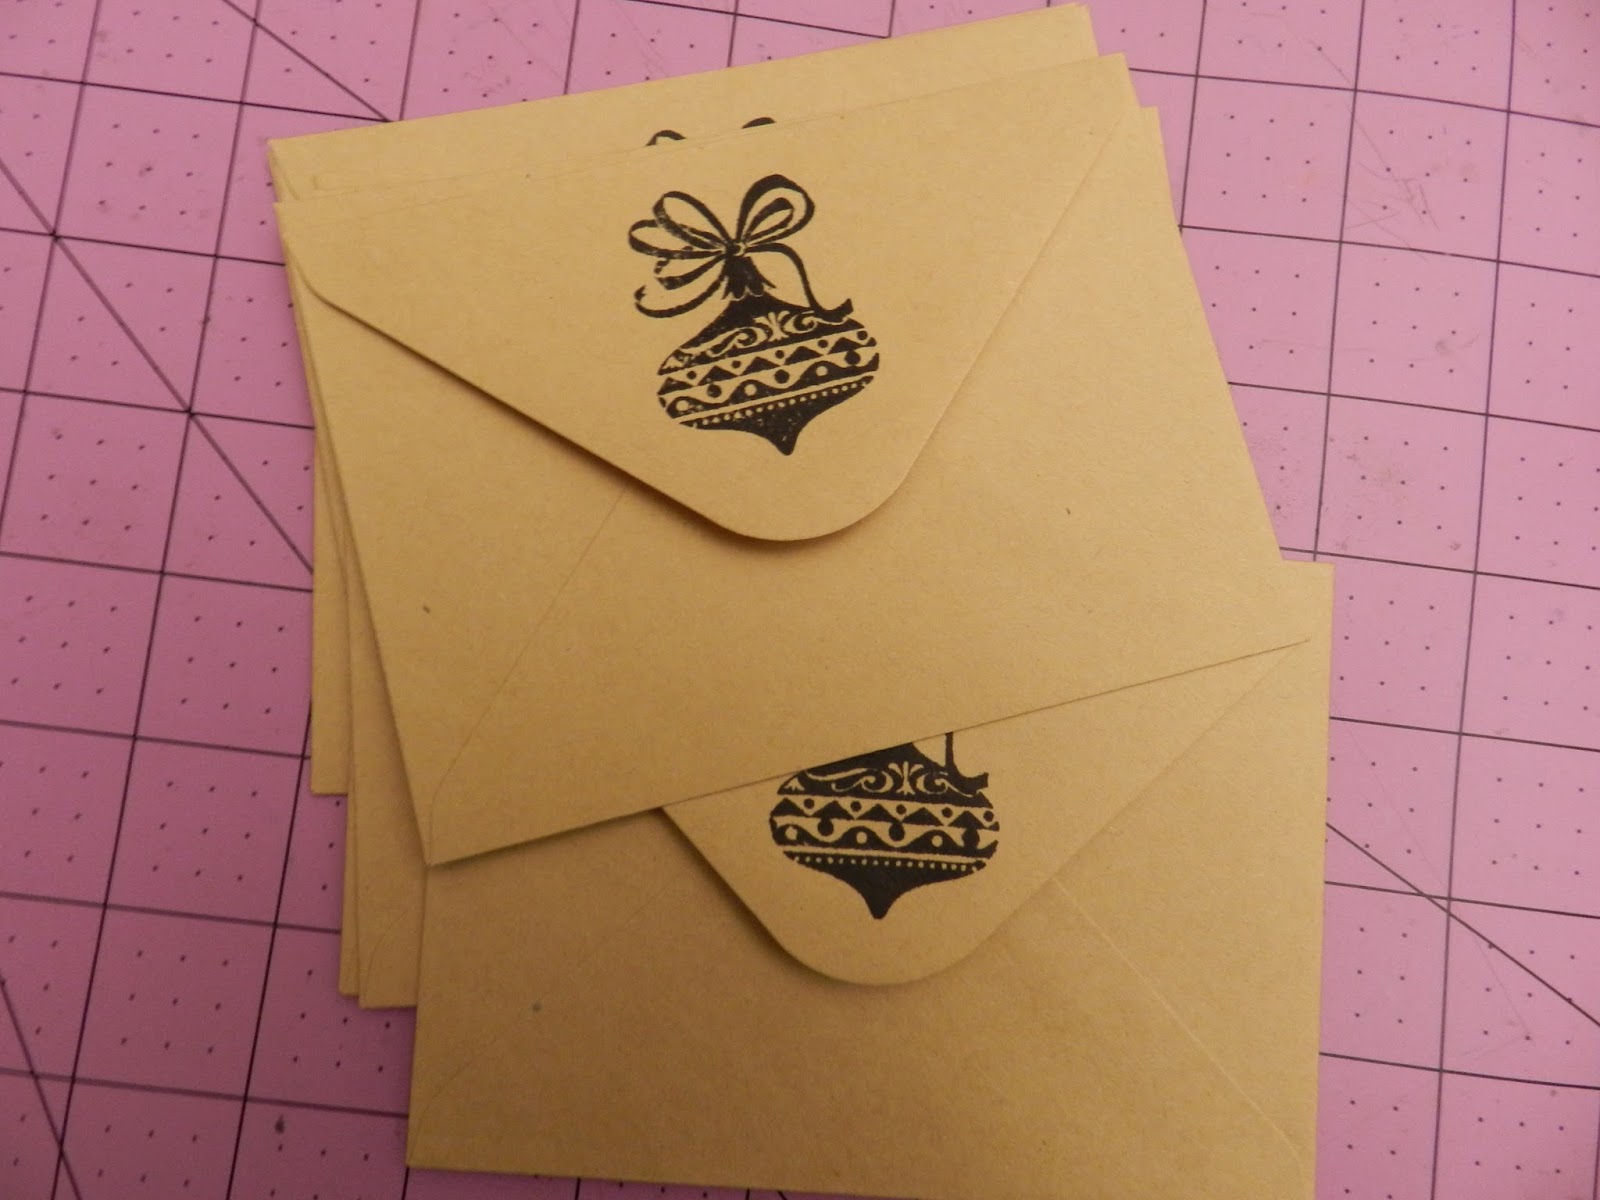 |
| Rubber stamp from the dollar bins at Michaels, a couple of years ago. |
Happy Holidays.
Products used:
Tim Holtz – Tiny Attacher
Recollections Signature Paper Pads – “Naughty or Nice” and “The 12 Days”
DCWV – The Luxury Stack
Robin’s Nest Dew Drops
Die Cut Shapes, kraft paper envelopes – Target
Craftsmart Inkpad – Dye in Black – Michaels
Stash items: Assorted gift tags and labels, Baker’s twine, scarf pins, rubber stamp
