Hello~ Kathy here from Create.365 with today’s card …

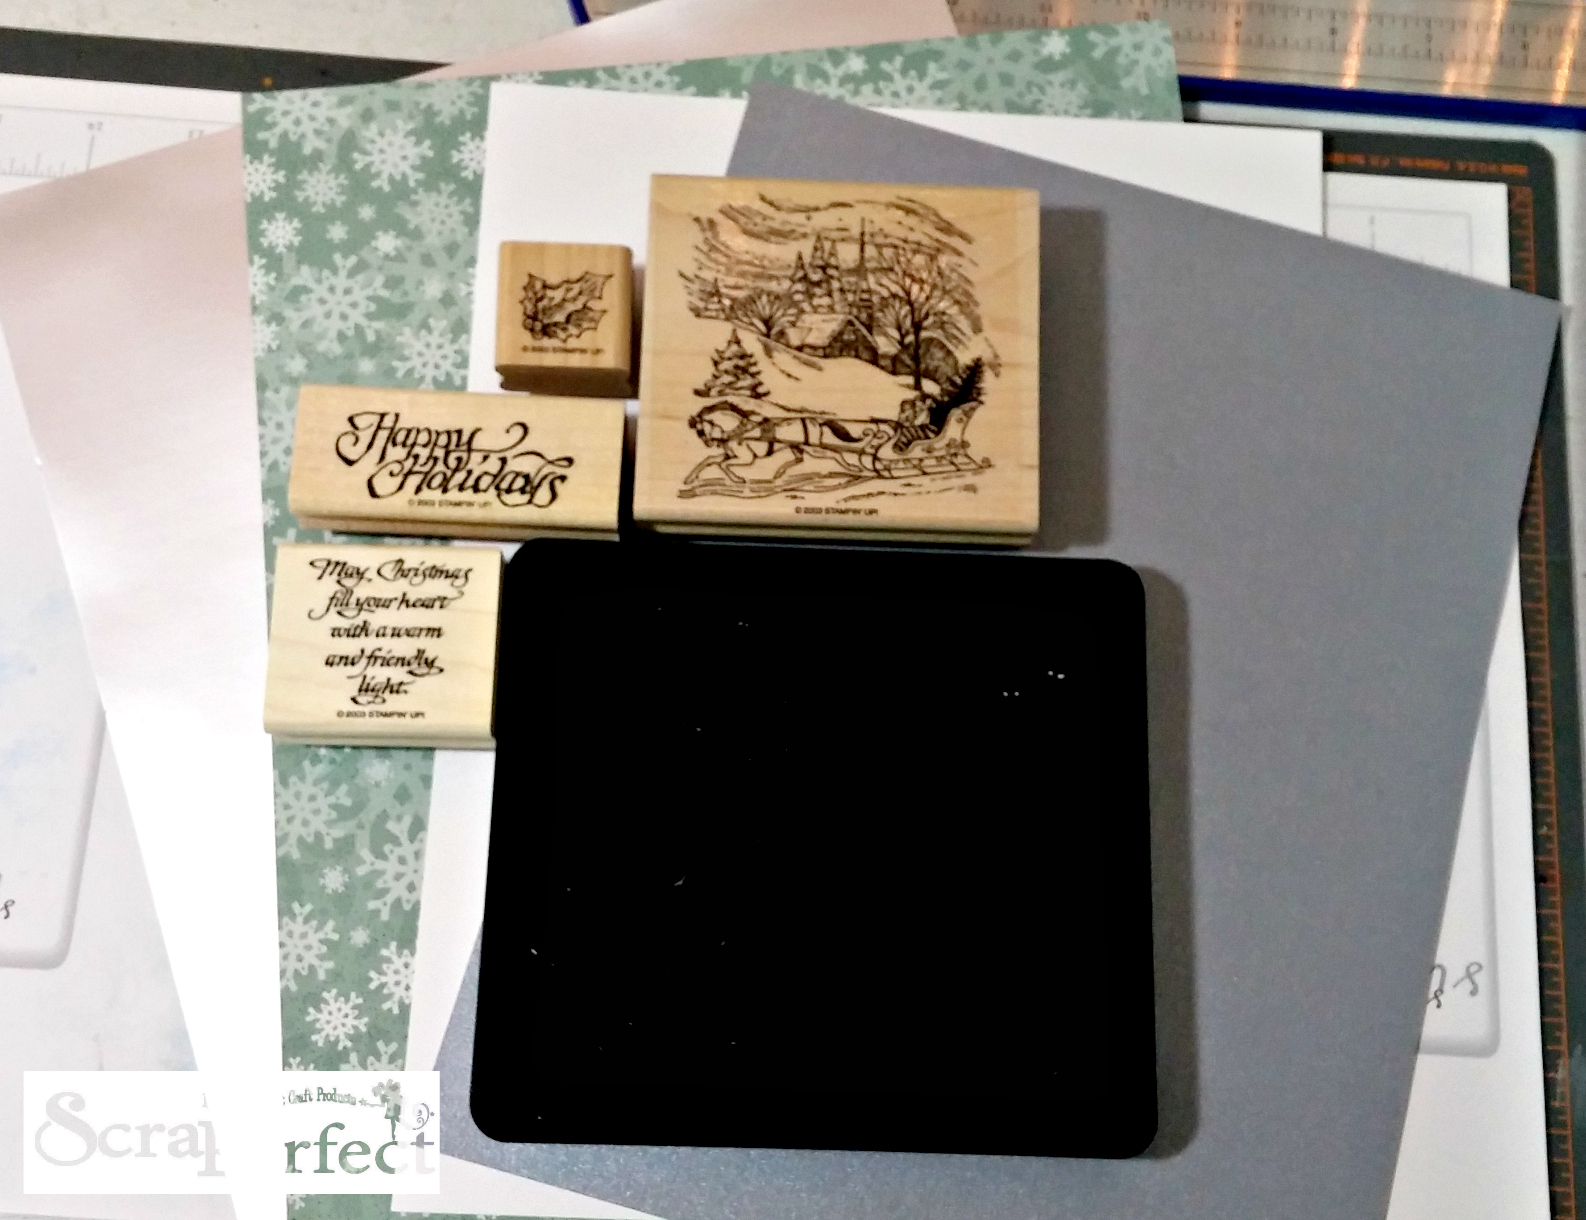
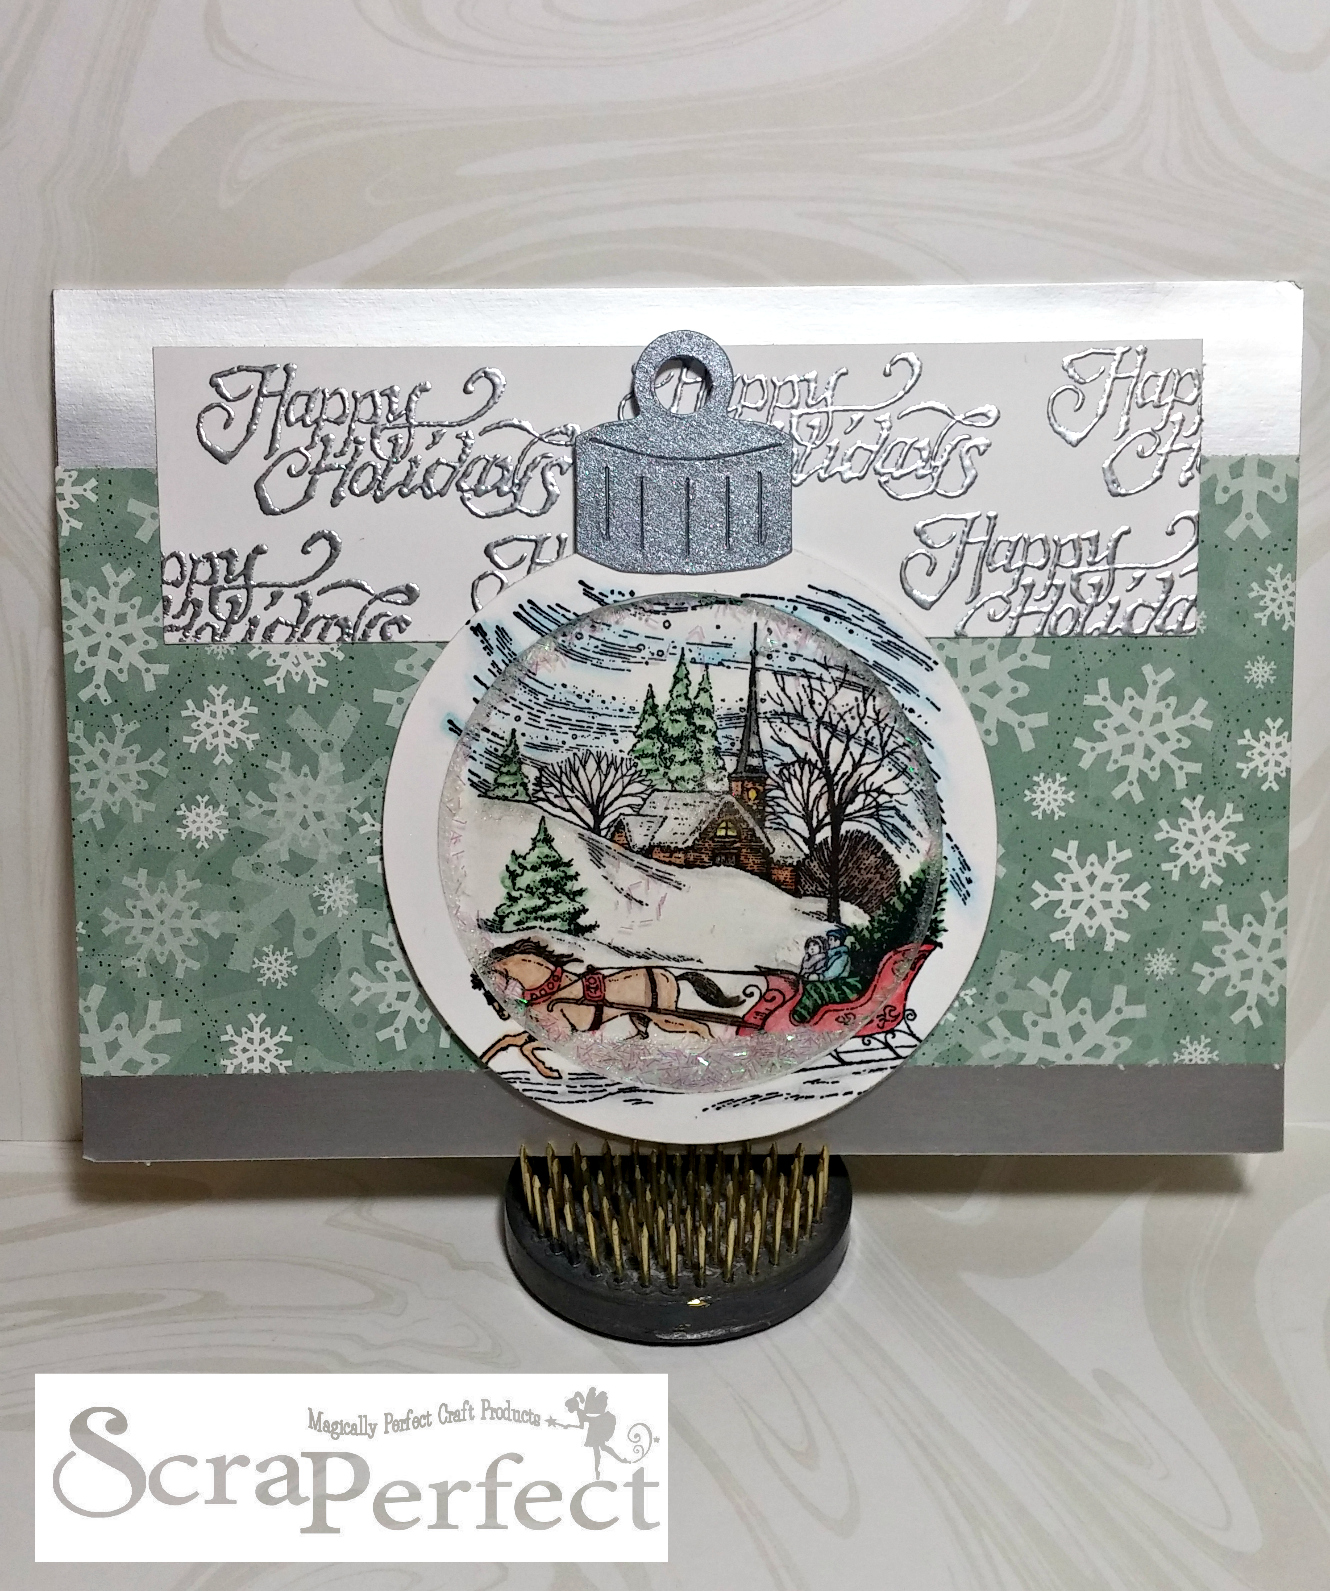
This card ended up needing to be an A7 size to accommodate the large steel ruled ornament die that I had my heart set on using. All the paper was found in my stash from way back and the stamps are from an older holiday set from SU!
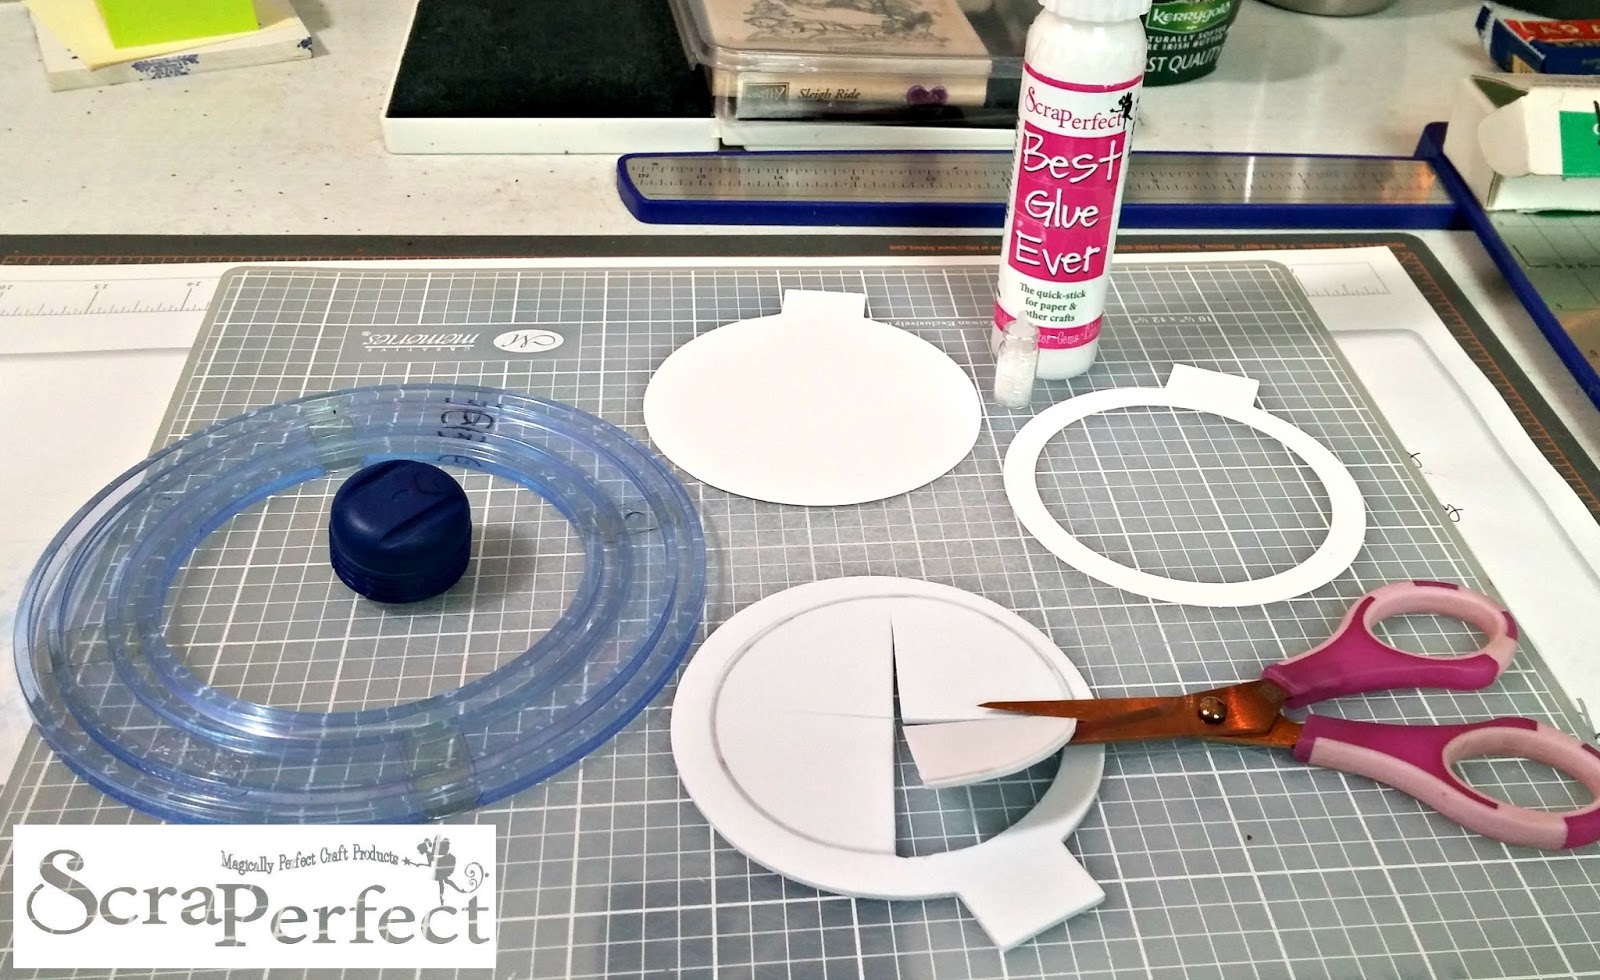
This card has a lot of steps to it and the first one was to cut the ornament 4 times…twice on white cardstock, once from white fun foam and once from a clear acetate sheet. I used my circle cutting tool to cut the viewing window hole in one of the white cs layers -this will be the top layer during assembly and would have been much easier to do if I had a circle layering die set! Since I didn’t, I had to trace and hand cut that same inner circle in the fun foam. After stamping the same large winter scene image twice -once on the bottom (full cut) white ornament layer and once on the top skinny white layer I then layered it using the Best Glue Ever with the No Clog Writing Cap…on the very top went the skinny cardstock ornament layer, then the clear acetate sheet(also cut in the full ornament shape) for the window and then the skinny fun foam layer. I set that aside to dry and worked on trimming layers, embossing sentiments and coloring the rest of the card front. The Best Glue Ever is the only glue I will even try to use on Fun Foam anymore, simply because I know it will work…Every. Single. Time!!!
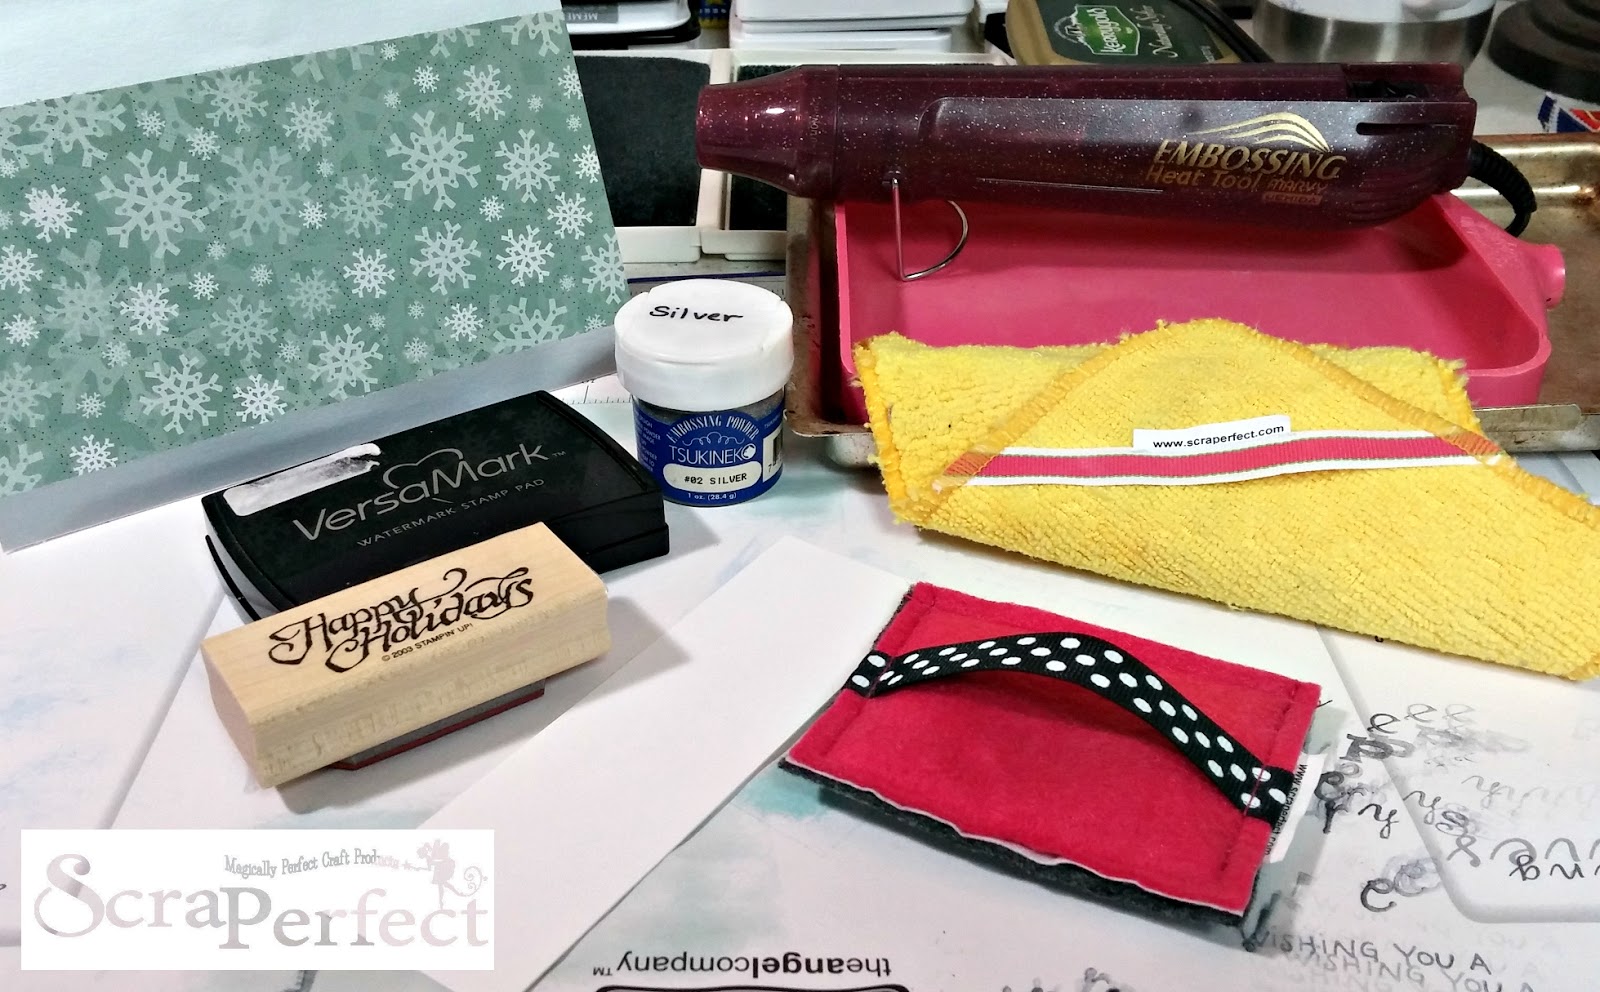
To heat emboss the sentiment in silver on the white layer, I repeatedly stamped “Happy Holidays” in Versamark ink. Swiping the paper first with the Perfect Crafting Pouch ensured that the embossing powder would only stick where I wanted it to. After the powder was melted and heat set, I gently brushed over the piece with the Perfect Cleaning Cloth to remove any left over residue from the pouch and really bring out the shine of the raised silver letters.
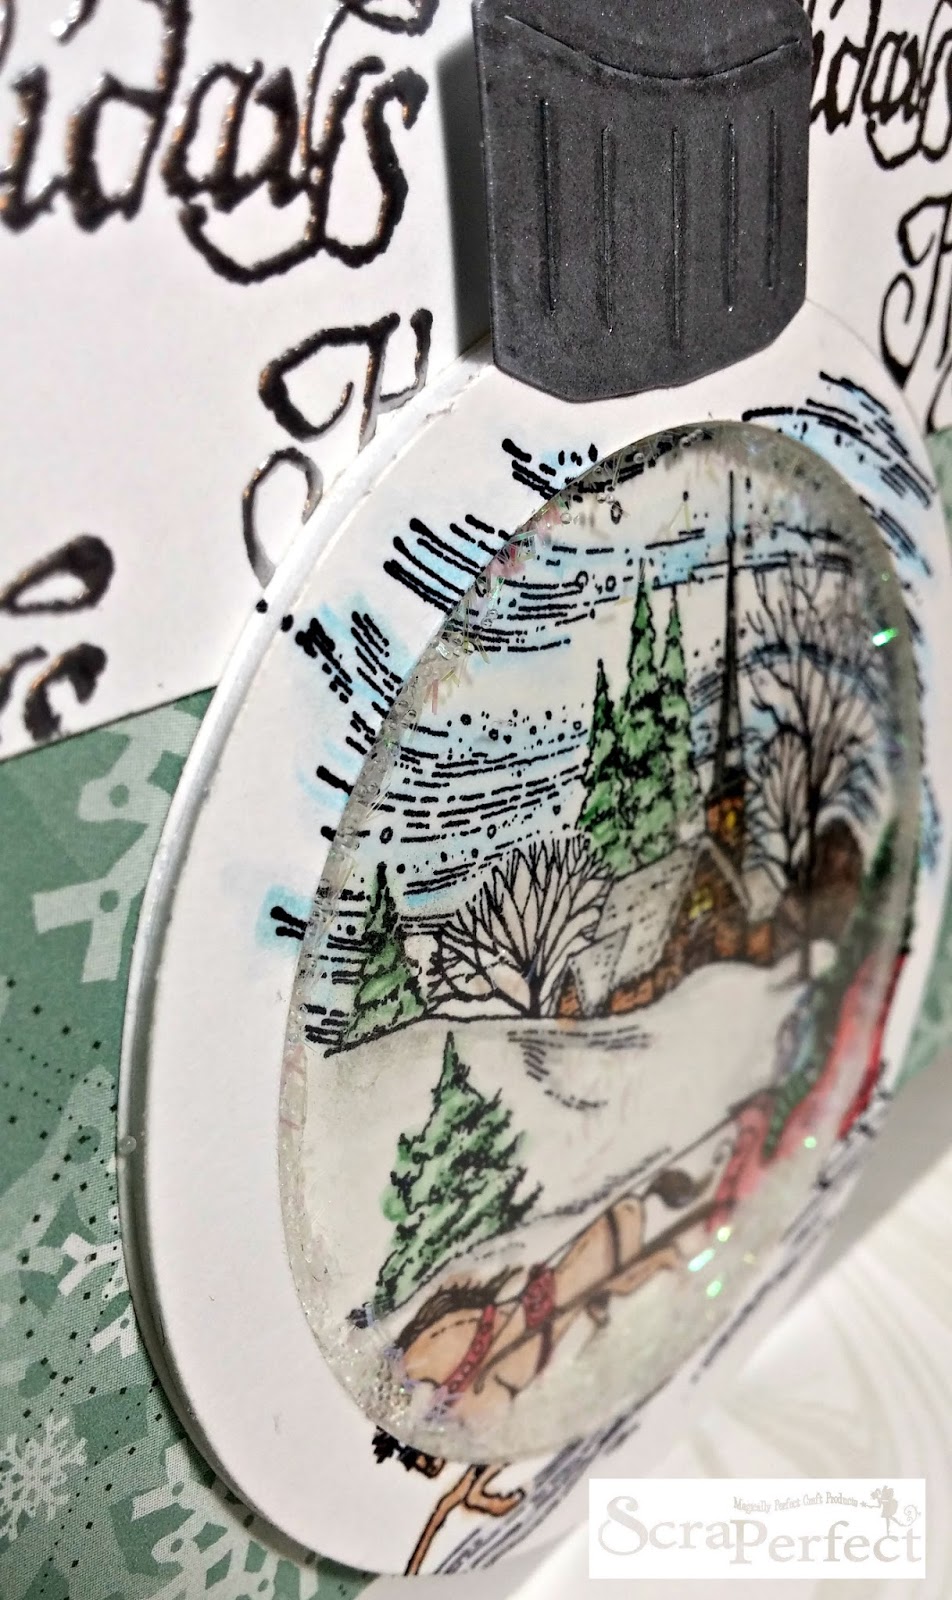
I colored the winter scene on the ornament using watercolor pencils and a blender pen. I accented the white, snowy areas using the clear Wink of Stella pen and I used the silver Wink of Stella pen to top off the brushed silver ornament topper that was die cut and glued on after the shaker was fully assembled. I filled the shaker window with the white iridescent flakes from the Tiny Bottles of Embellishments along with some clear microbeads from my stash before gluing on the final back layer to seal it all shut.
I found it to be rather challenging to photograph this card due to the mirrored quality of the silver cardstock that covers the card front, but hopefully you can get a feel for how gorgeous this card is in person…my hubby was actually really impressed when he took a good look at it and then promptly picked it up to shake it, lol.
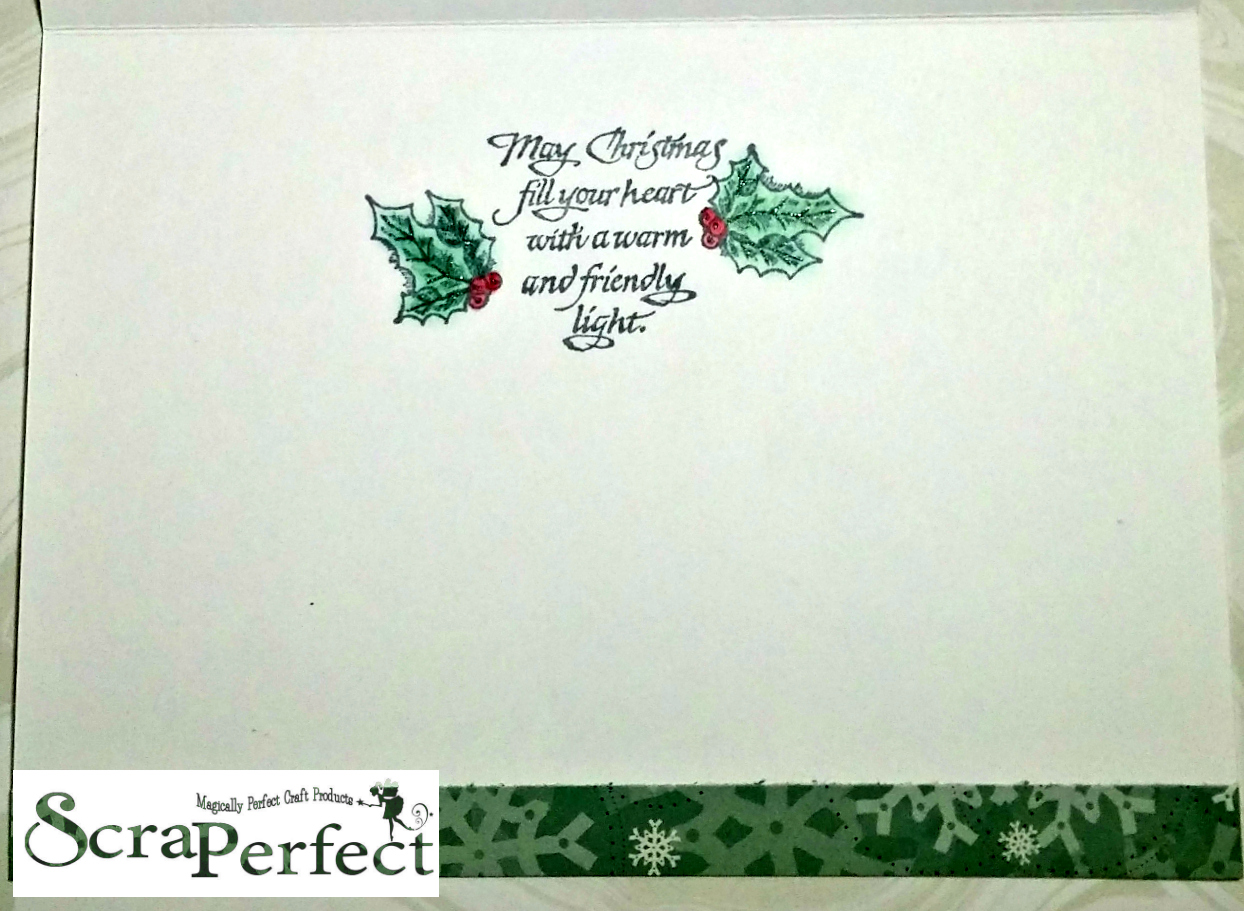
On the inside, I used a scrap of paper from the front on the bottom and because I hadn’t used watercolor friendly ink when I stamped the sentiment and holly, I ended up coloring the holly using chalk pencils and a stardust pen on the berries and the leaf veins.
That’s it for me today…until next time, happy crafting with ScraPerfect!