Hello Scrappy Friends! Tracy here today and I want to share an Easter Card with you. I recently took an Iris Folding Card Class and decided to try one on my own. I made several of these type of cards years ago and forgot how fun it was.
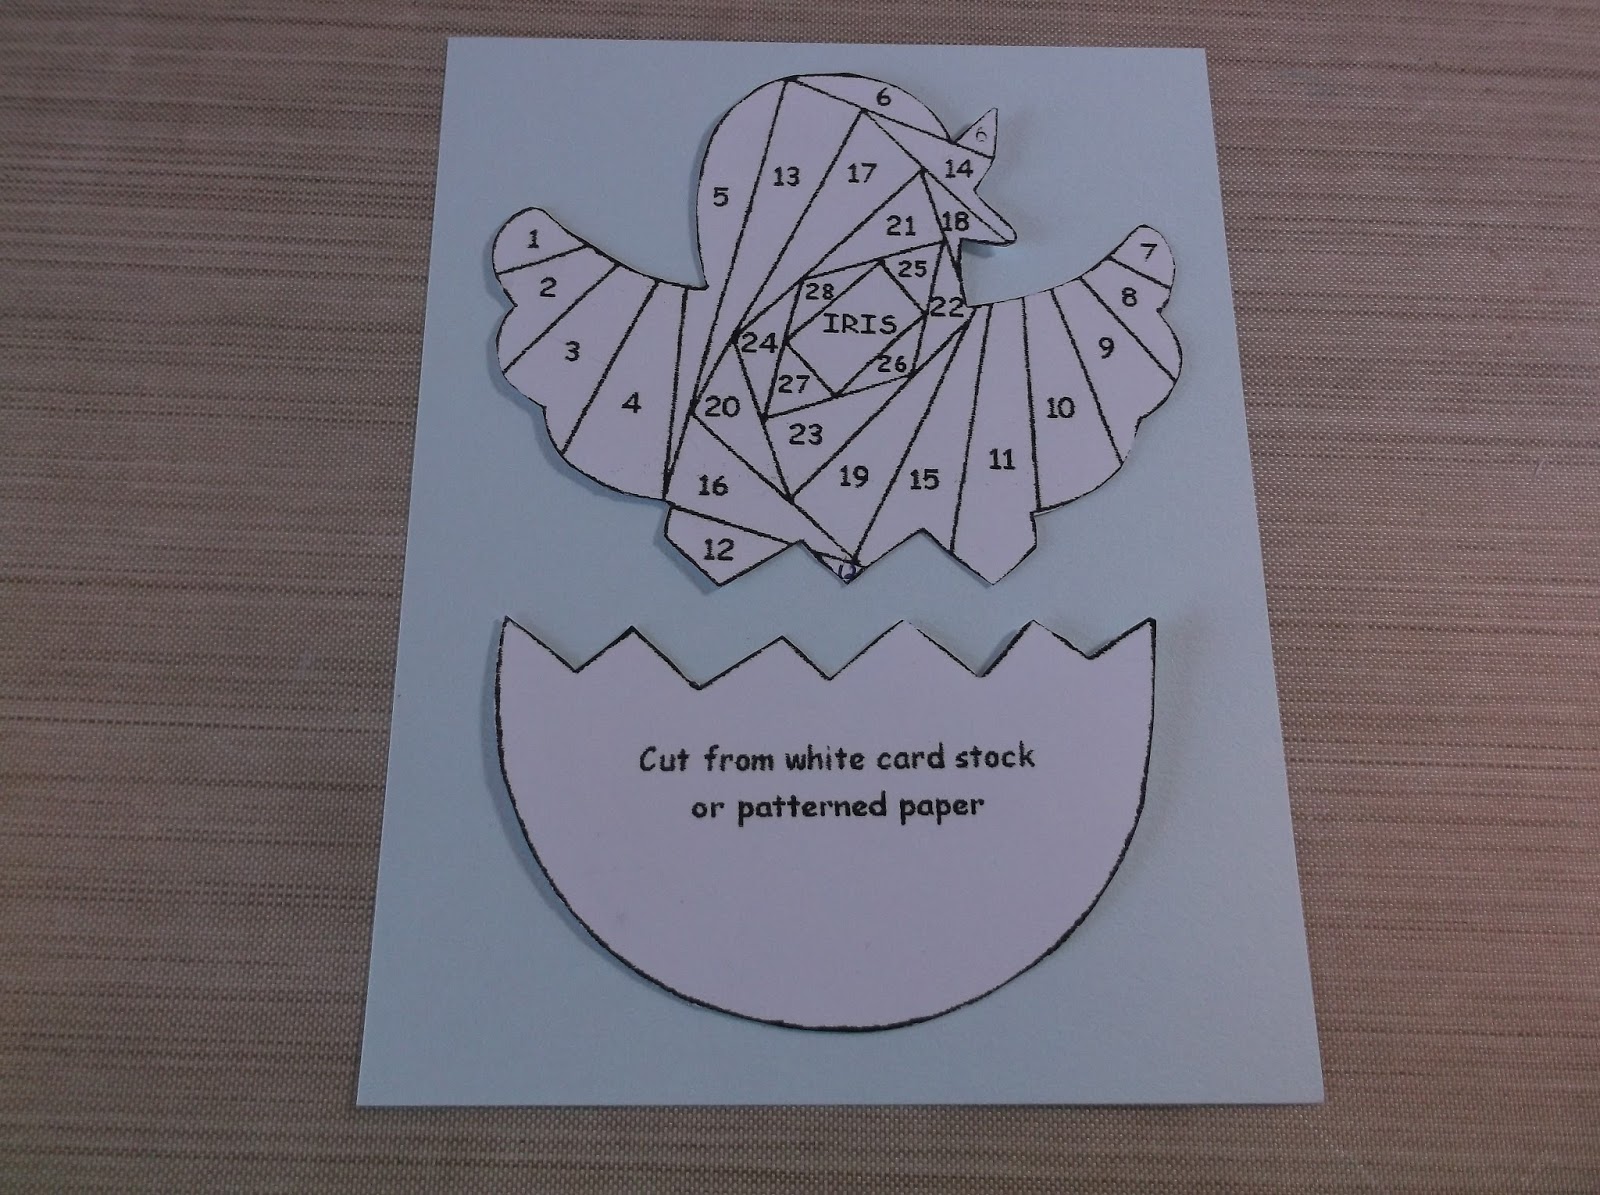
You can find all sorts of different patterns just by searching online. Once you have a pattern printed out, you’ll need to cut the pattern out and place it on your paper where you want the design to be.
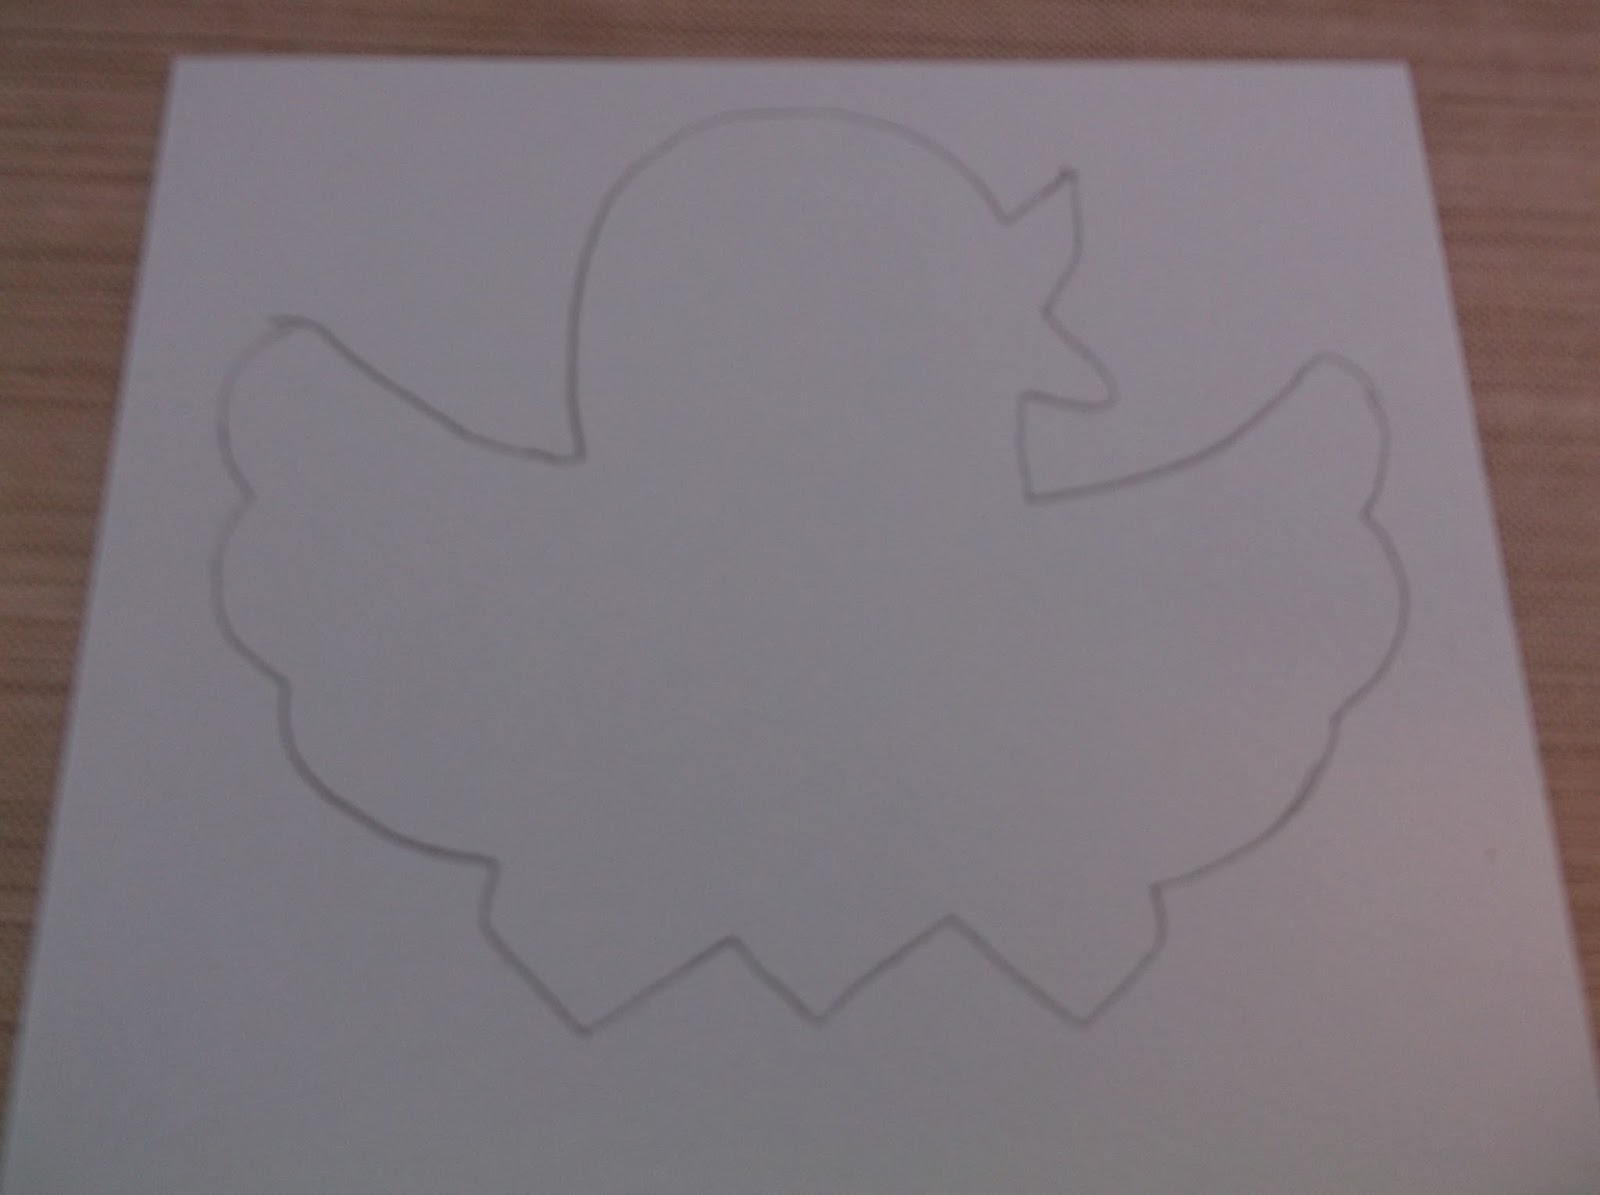
Then you need to trace around the pattern. I only needed to trace around the top pattern of this design since I cut the bottom out of cardstock.
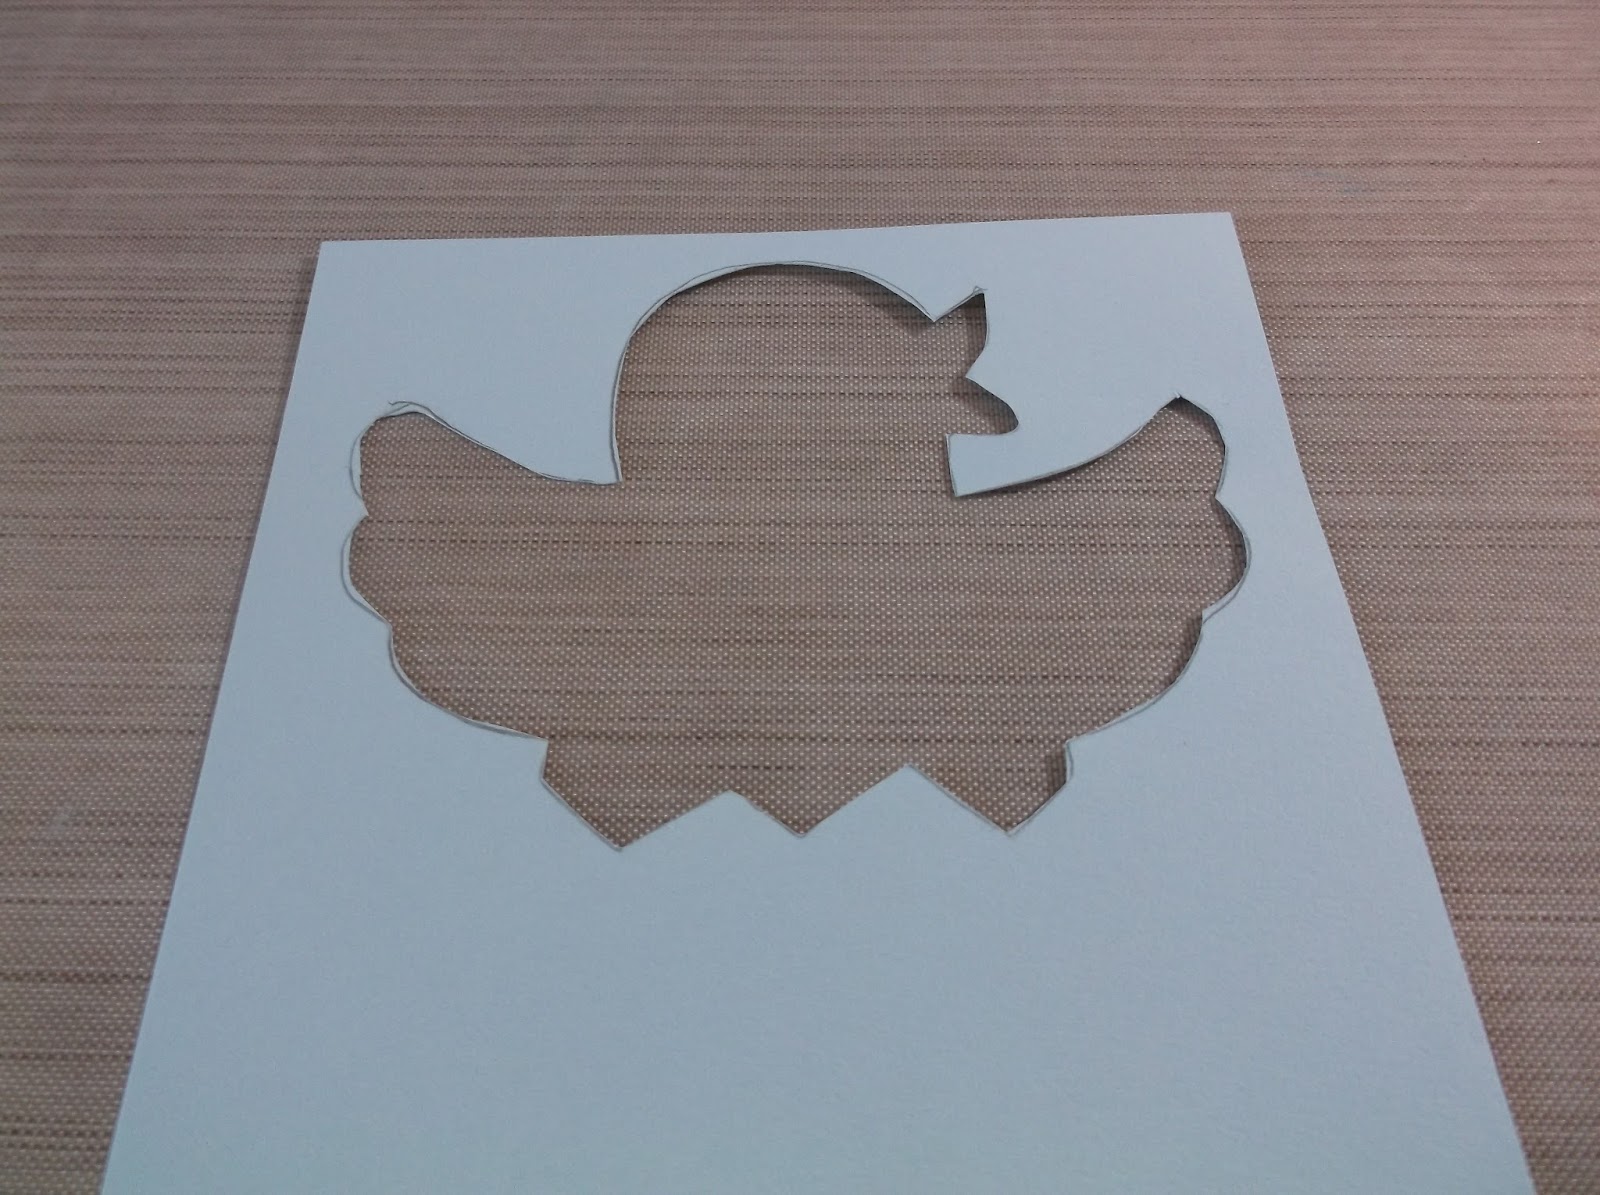
And now the hard part, at least for me. You have to cut out the pattern and you have to be very careful while doing so.
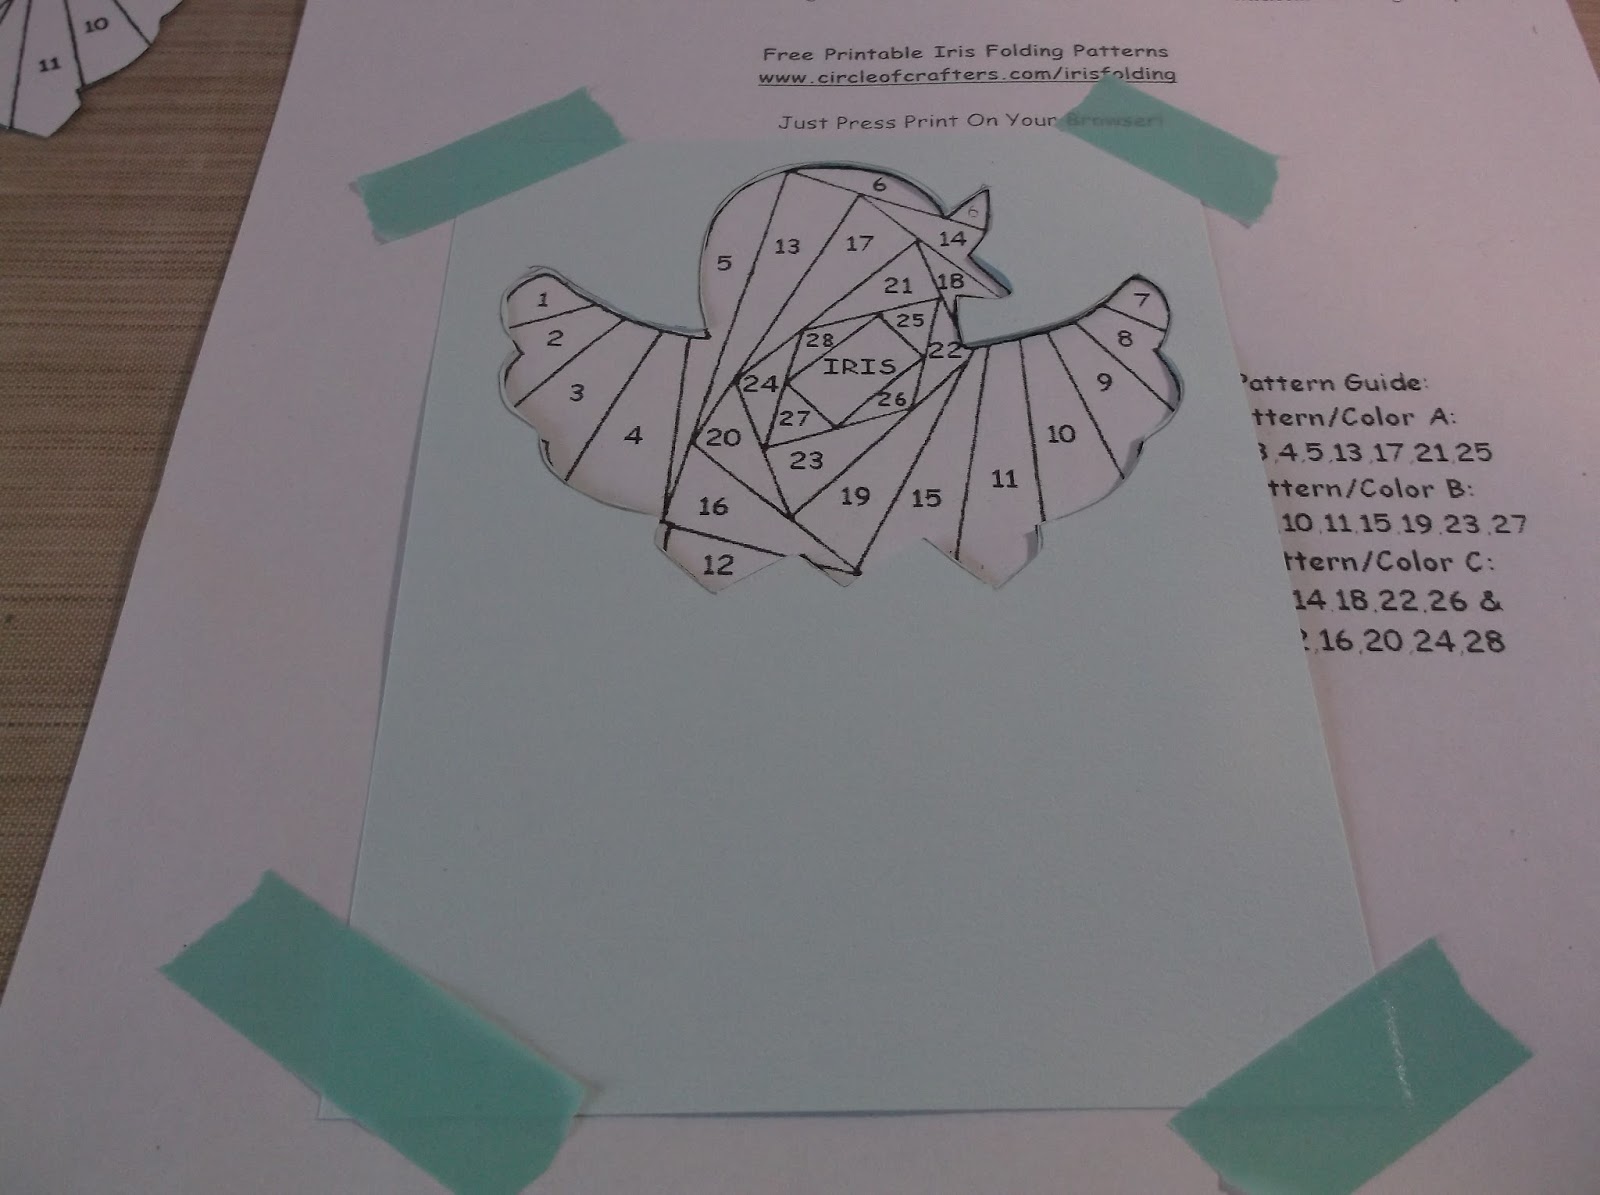
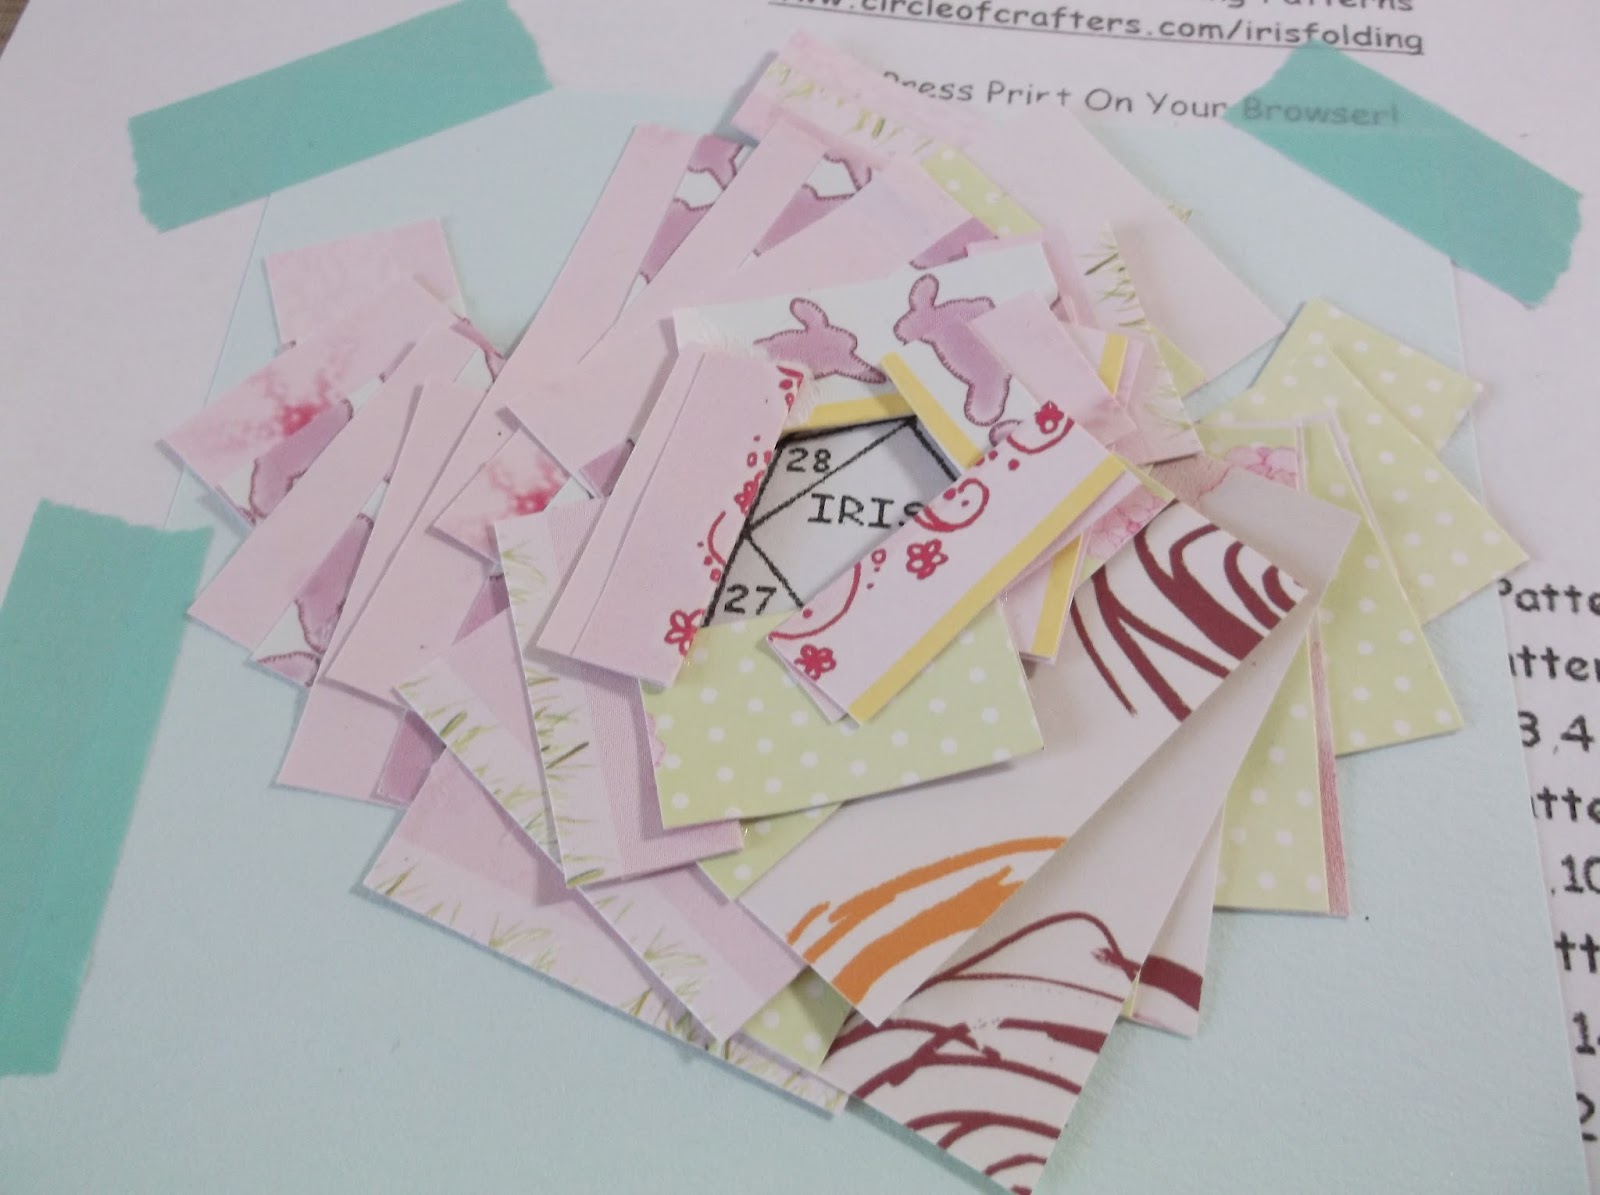
Then place it over top the original pattern that shows you where to place your strips of paper. I used washi tape to hold it in place. Each pattern will tell you where to place the different papers you use. This one called for 3 different patterned papers which you can see off to the right side in the photo below.
Cut strips of paper 1 1/2″ wide and fold in half lengthwise. Using the guide provided with the pattern, start at #1 and put the appropriate strip on the pattern. The class I took told us to use scotch tape to adhere the paper strips but I used the Best Glue Ever and it was so much easier to position the strips correctly. The photo below shows all the layers done except for the last 3.
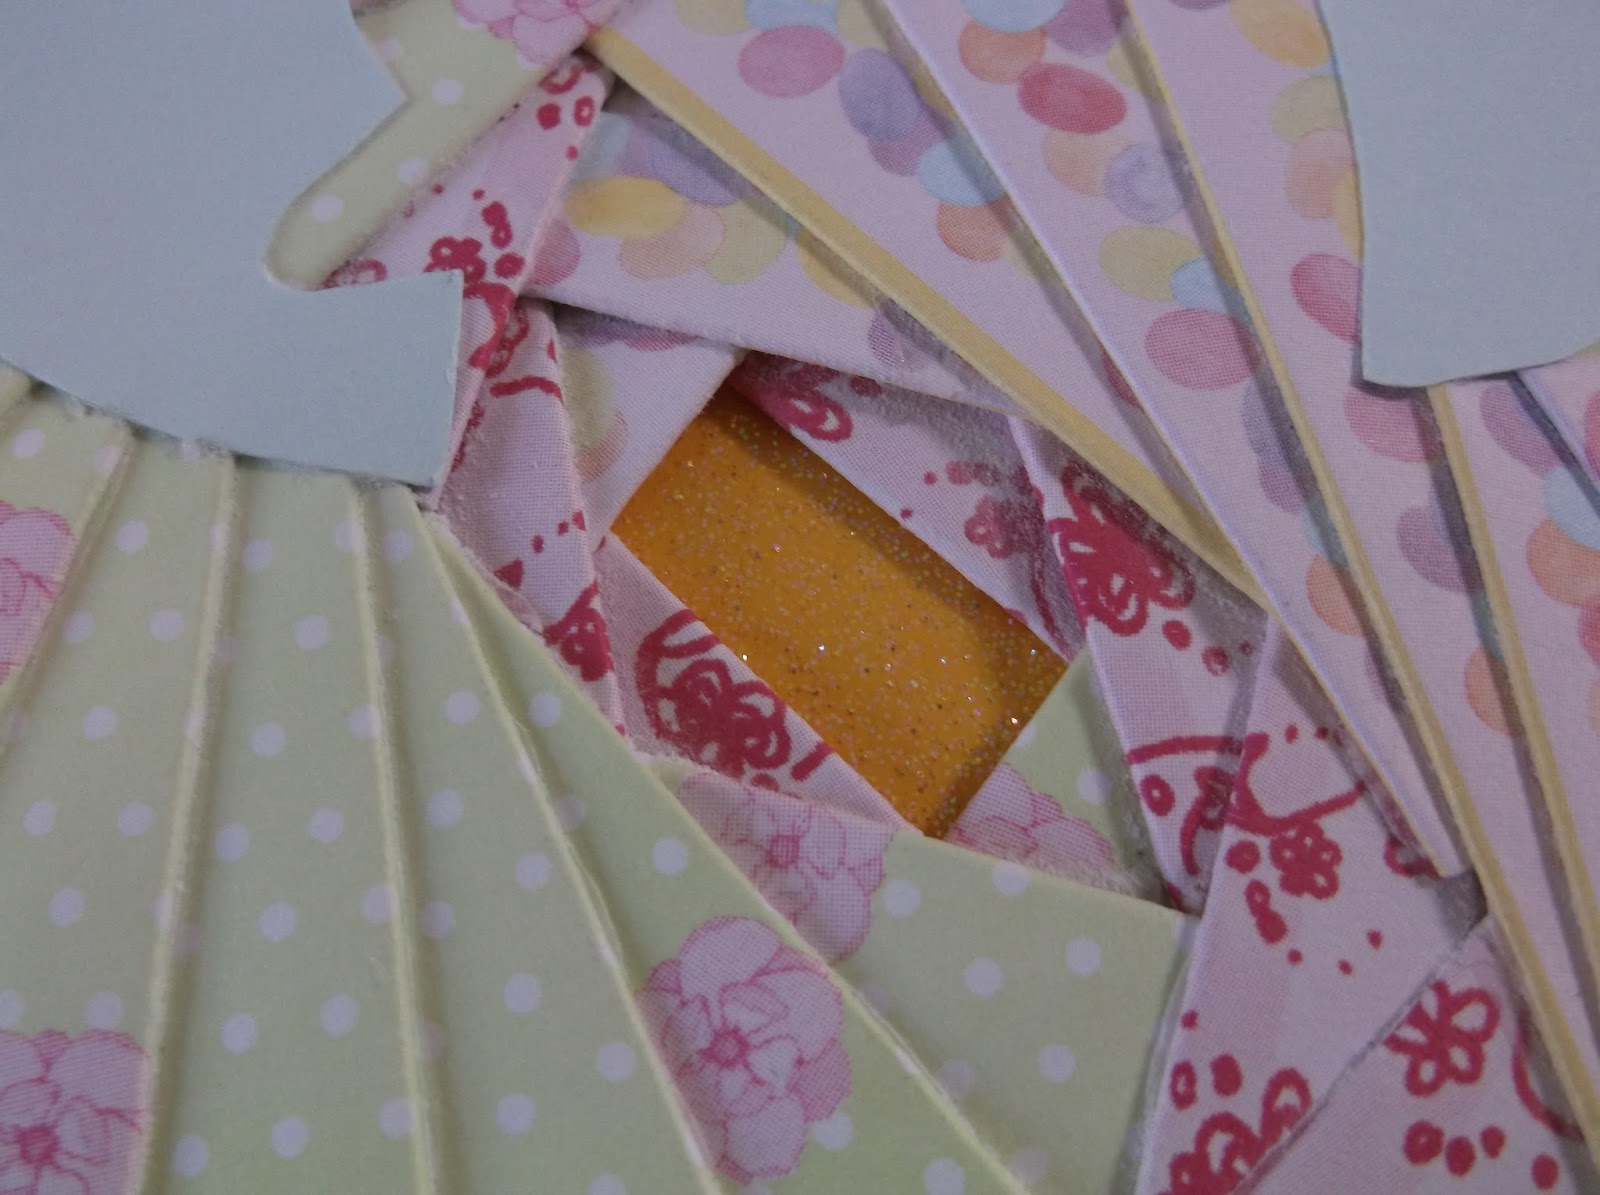
The center of the pattern is called the Iris and you should cover it with holographic or glitter paper. I decided to use a bright yellow glitter paper.
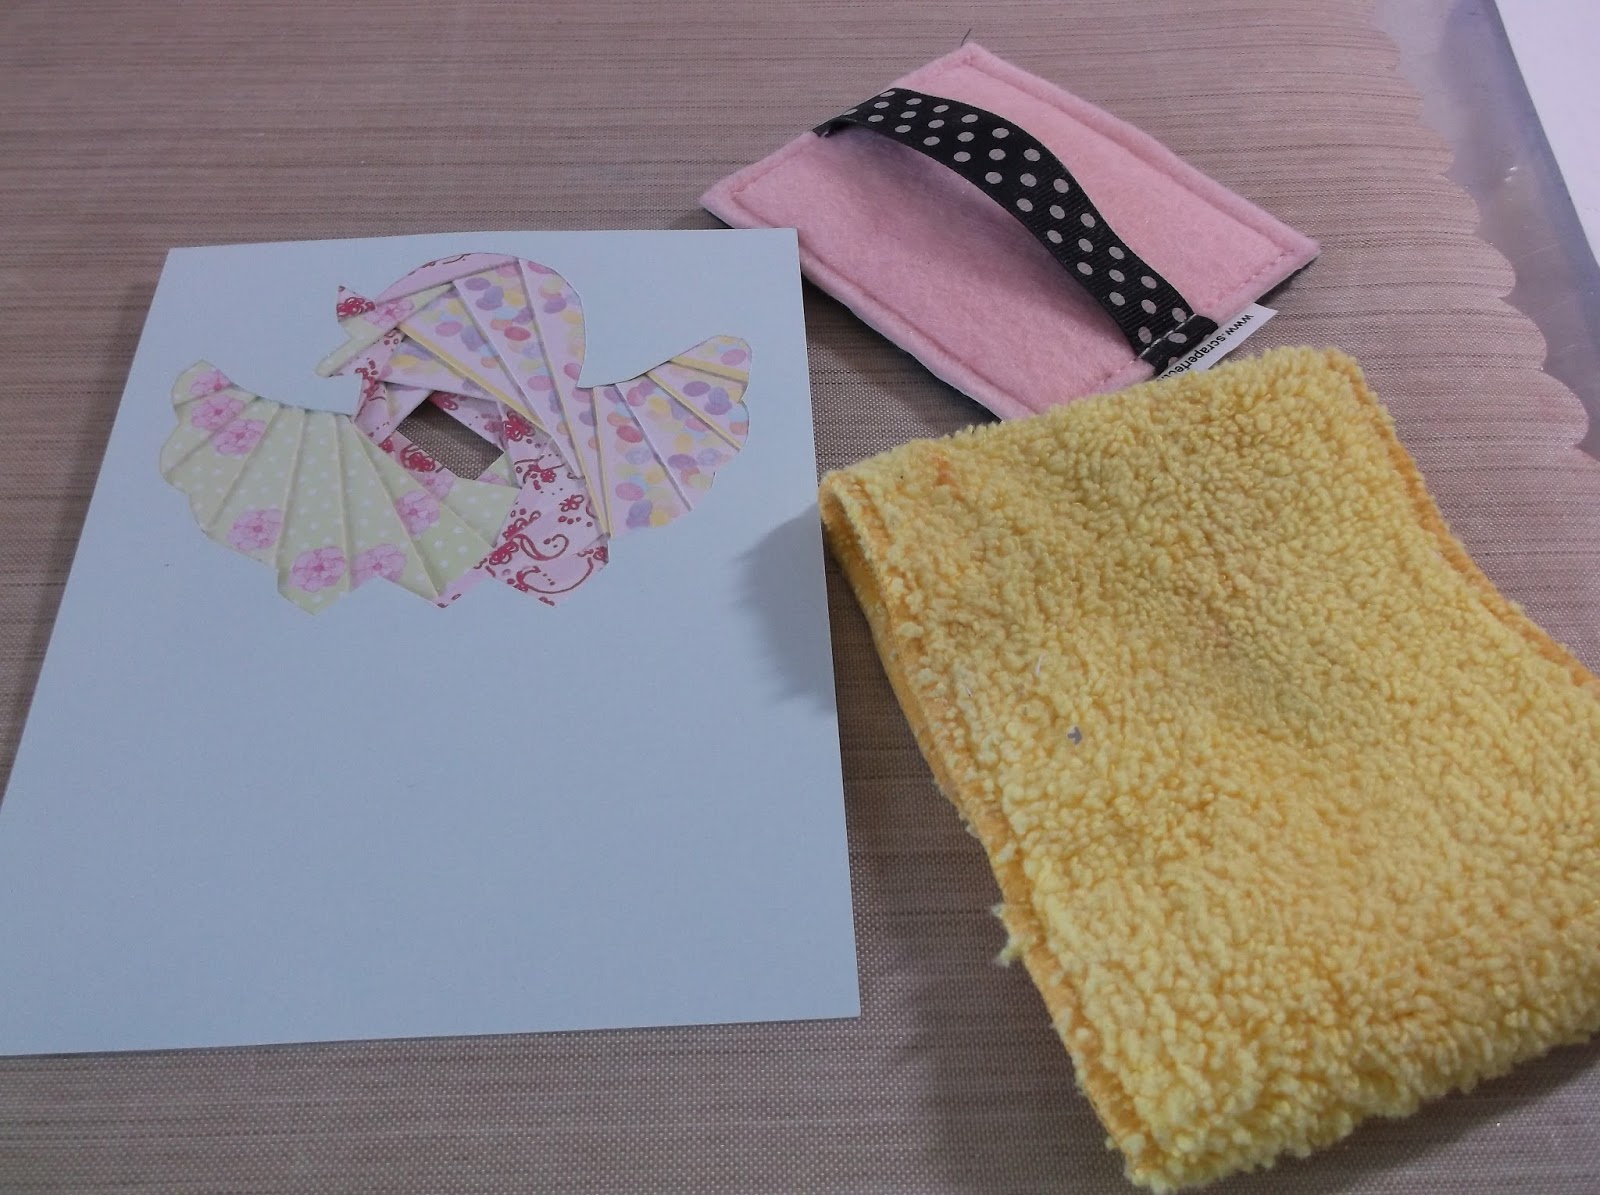
Once I finished it and removed the pattern from it I found that some of the glue had leaked through. I just grabbed the Perfect Crafting Pouch and patted it all over the front of the card and then wiped it off using the Perfect Cleaning Cloth. It got rid of all the stickiness and cleaned it up beautifully.
Iris Folding can be quite bulky so I ended up popping this up on the card. I cut out the bottom pattern in printed cardstock and then added some grass and found some old stickers in my stash that went so well with this card.
Here’s another look at the finished card
Thanks for stopping by!


