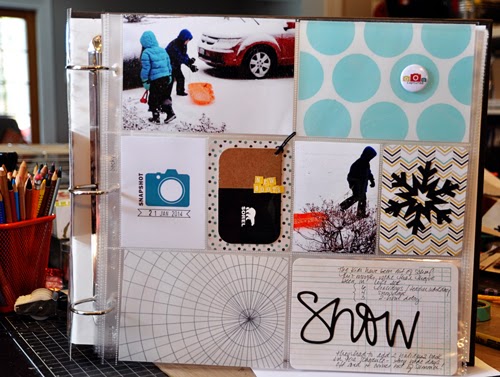
Today I am here to show you how to successfully print on vellum. I’ve recently been converted over to the pocket page, / day in the life/ project life kind of scrapbooking. What really hooked me was all the cool cards and digital kits available. Adding pocket pages into your scrapbook can give you added interest – there’s so many different sizes and arrangements. I don’t like to limit myself to just 12×12 pages, but instead mix it up.
Here’s a page a put together with a digital kit. You can find it at the Lilypad – Valorie Wibbens – Pocket Fillers #2. The kit is a collection of png files that you add to other images or print out. As you can see from the preview, the background of these designs are transparent.
I really liked the transparency of these cards. I thought they’d be great printed onto vellum, which would allow me to keep a semi-transparent look.
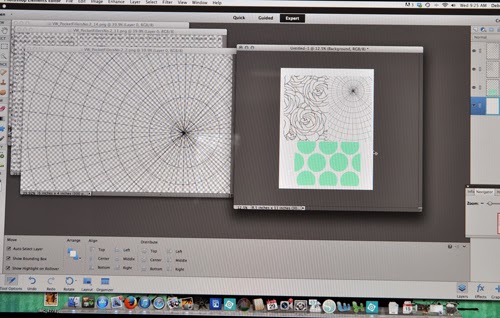
After opening the file in Photoshop Elements, I created a new letter-sized file. I then dragged three of the designs onto my file and arranged them so they’d all fit. If you notice I kept them in the middle of the page and not bumped up against an edge – you have less of a chance of getting part of your image cut off that way.
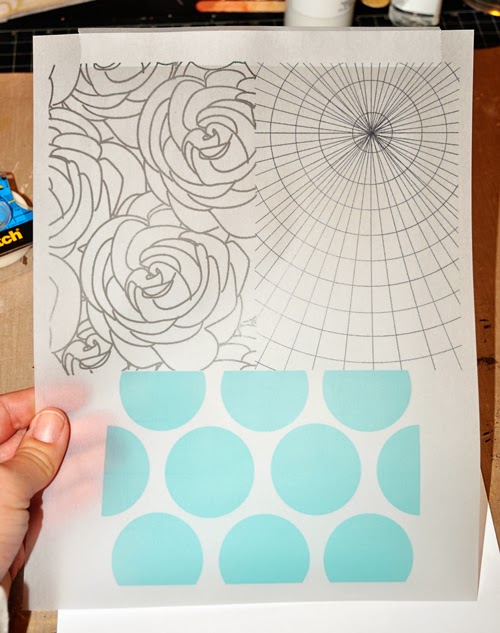
Now I’m ready to print. Many printers will let you place vellum in your printer tray. My printer can be tempermental so when I use vellum I have attach it to a feeder sheet. I use a blank piece of printer paper and removable tape. I leave a small bit of space between the feeder sheet and the vellum and run a large strip of tape across the top.
Once I’ve taped my vellum to the feeder sheet I rub the Perfect Crafting Pouch over the vellum. The pouch helps the ink grab onto the vellum and keeps it from smearing.
If you use a feeder sheet you need to be aware of where your image will
print. The vellum is already slightly lower than the top of the page,
and the tape takes up space as well. As you can see above, I should have
moved the images down slightly, as I got a little bit on the bottom of
the tape.
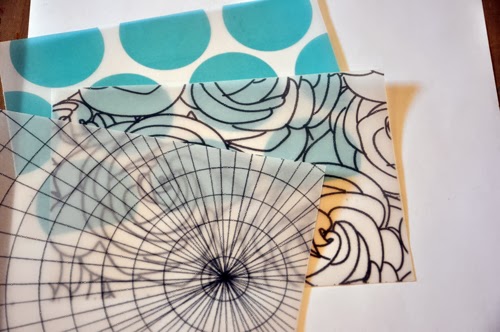
Once it’s out of the printer you can cut the designs apart. Now I’ve got three 4×6 pieces to use in layouts, cards, or other projects.
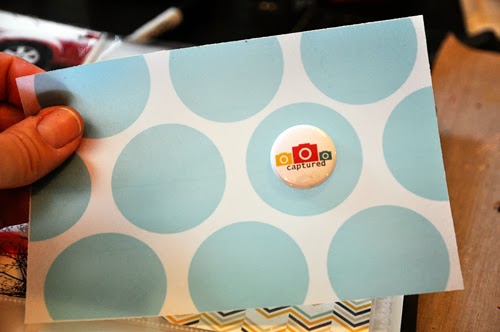
As I put my pocket page together, I grabbed a piece of flair and smeared a bit of the Best Glue Ever on the back and placed it onto one of the circles on the vellum – a quick and easy accent!
And I’m finished! Here’s another look at the project. It’s a bit hard to see the transparency of the vellum without another layout behind it, but you’ll have to just try it out for yourself.


