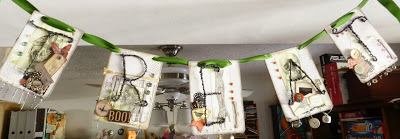
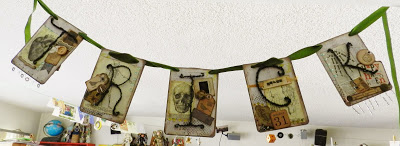
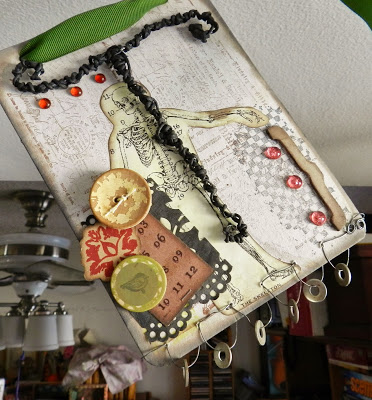
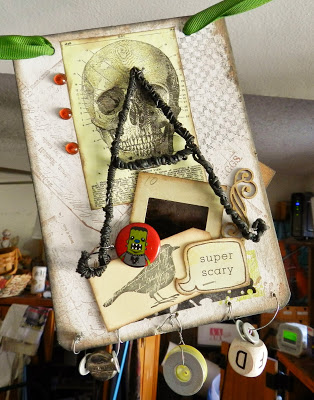
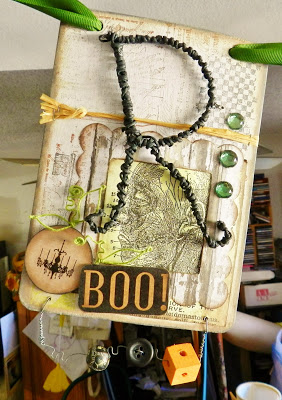
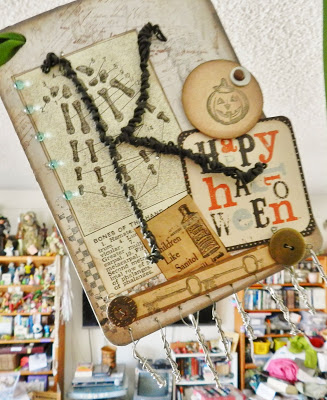
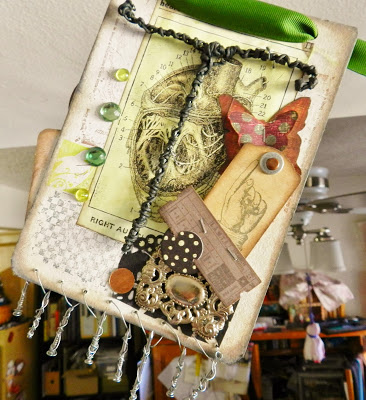
All the ScraPerfect products got a work out making this double sided Halloween Banner, that coordinates nicely with my Halloween Canvas mini-frames.
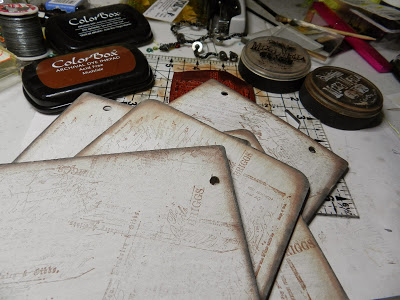
I started with a couple of chipboard mini album kits, so the holes were already punched. I used my Round-It-All to round the bottom corners, then painted both sides of the pieces white – without being too careful. The next step was some random stamping with crowded text and texture stamps from several sources in brown and black Color Box archival inks. Then I inked my edges with Mixed Media pigment ink, and dried it swiftly with my Perfect Crafting Pouch. I also added a few random rub-ons – but they didn’t all like the painted base and some refused to transfer. Oh well.
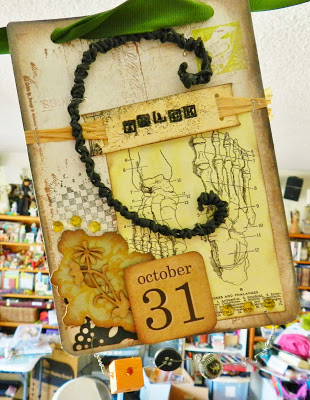
I printed off a bunch of my Sepia Collage Sheets from the vintage medical dictionary that I’ve been dying to use for Halloween stuff and set about adhering the images to both sides of my banner. As usual I inked and “pouched” those edges too. I just used Best Glue Ever in lines of tiny spots around the edges of each cut out image and few scattered spots in the middle, rather than collage medium. I wanted the glue to dry fast, and with Best Glue Ever I had no worries about wrinkling, even though my images were printed on regular plain paper. I stamped some images of skeletony keys or odd birds in the spaces left.
To add mixed media elements from my stash, with a grungy, shabby feeling, I drilled holes (Dremel) on the bottom of each panel and threaded galvanized wire with various objects to hang. The hardware store featured on this project too with small washers, picture nails and a few other odd pieces.
I knew I wanted 3-D letters, but the truth is that my table space was so limited (too many projects in progress) that I couldn’t get out my Cricut to cut them, and I was not up for a trip to the craft store. So I hit upon the idea of wire wrapped letters. This allowed me to make a custom curly “font” and was great fun to do. The letters are the same galvanized wire, twisted, then wrapped in either black paper string (Ikea!) or heavy waxed thread (stash). Even though they took some time, I love how they turned out – knobbly and grungy.
The next step was carefully determining which letter went where, and ensuring that no two of the same collage image would appear on the same side of the banner. For a moment one side almost read KCIRT, but I caught the error in time!
Prior to wiring the letters to the chipboard (with holes drilled in such a way that both sides were tied through the same holes), I assembled and adhered a fun assortment of halloween, spooky or grungy embellishments, including stamped tags (lots of crows), a few title tags, flags, buttons, raffia and ephemera. I even embossed a few tags using the Perfect Crafting Pouch to reduce static. Lots of inking and pouching, a few brads and staples for the metal, and some layering with foam and grunge board, all adhered with Best Glue Ever and the new super fine No-Clog writing cap. (Probably not necessary but I kinda like how it makes the spots even tinier than the regular fine tip on the BGE bottle). I even added a few touches of foil by drawing fine lines of glue. (I’ll be doing more of that for the holidays!)
The final touch for each side was adding coordinating Dew Drops with the Embellie Gellie, and then stringing them on a nice grosgrain ribbon for hanging in the archway. They could easily be hung from wire or loops of some kind too.
This banner will be part of my Halloween decor for years to come. I’m really happy with it!
Tip: Unify disparate elements with distress inking! Even a butterfly ^ can look right at Halloween if it is aged and distressed with a bit of brown ink. I used the same color throughout, including on some of my shiny metallics (Perfect Crafting Pouch helped it adhere to some slick surfaces) and the result looks good.

