Hey there!
Lisa here to share a layout and tutorial with you today.
Here is my layout:
For this layout, I used Transfer Foil, The Best Glue Ever with the No Clog Writing Cap attached, and The Perfect Crafting Pouch along with Crate Paper Love Notes collection.
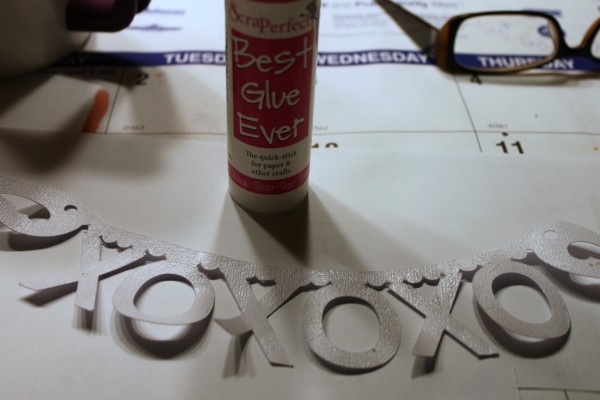
I have had this XOXO banner sitting on my desk that I cut from my Cameo on white cardstock. I had planned on using it for another layout but didn’t. So I decided to use it for this page of my hubby and I. I added Transfer Foil to it:
I added a thin layer of The Best Glue Ever using a paint brush. After I had it covered, I moved it to another piece of paper just so that it wouldn’t stick to the one I had glue all over:
I let it dry for about 10-15 minutes:
Once it dried to a clear finish, this stage it is tacky, I placed the Transfer Foil on top, with the color side up and used my fingers to rub over the diecut:
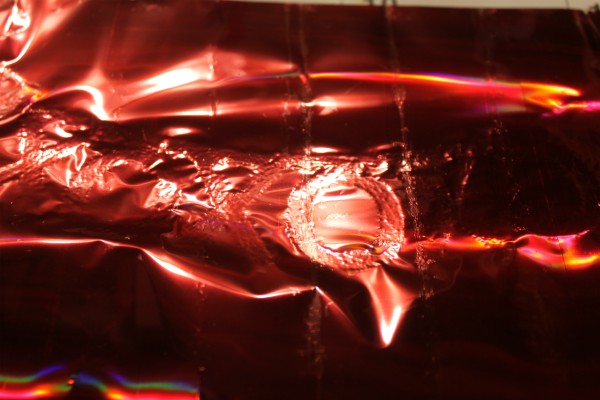
After you have rubbed it, peal away the foil and this is the result. Since I used a textured cardstock, I don’t have complete coverage. This is the result I was going for:
Finally, I rubbed the Perfect Crafting Pouch over the front of my banner to get rid of any stickiness the glue may have left:
I decided I needed a few foiled hearts for my page, so I started the above process on 3 diecut hearts:
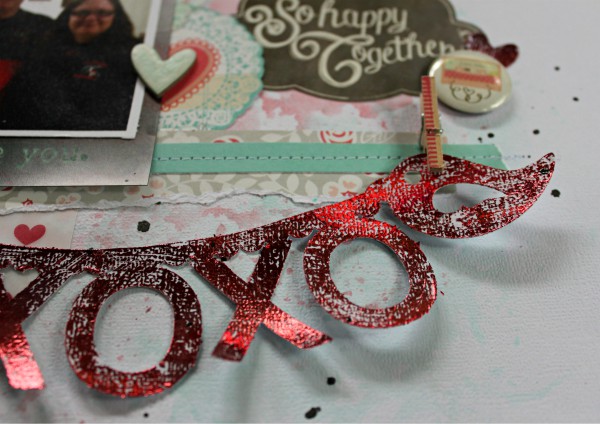
Here are a few close ups of my layout:
See those gorgeous foiled hearts? I love them!
and check out that pretty shiny banner! Love that too!
The next time you have some scrappy time, try foiling your diecuts. The end results are fabulous!


