
Scrappin’ Chaos with a frugal guide to shabby chic scrapping. Do you love the layers, doilies, and die-cuts of a vintage
flavored scrapbook page but HATE cutting into your beloved patterned
papers? With a bit of thrift and placement practice you can make a
layout that embraces shabby chic without completely depleting your
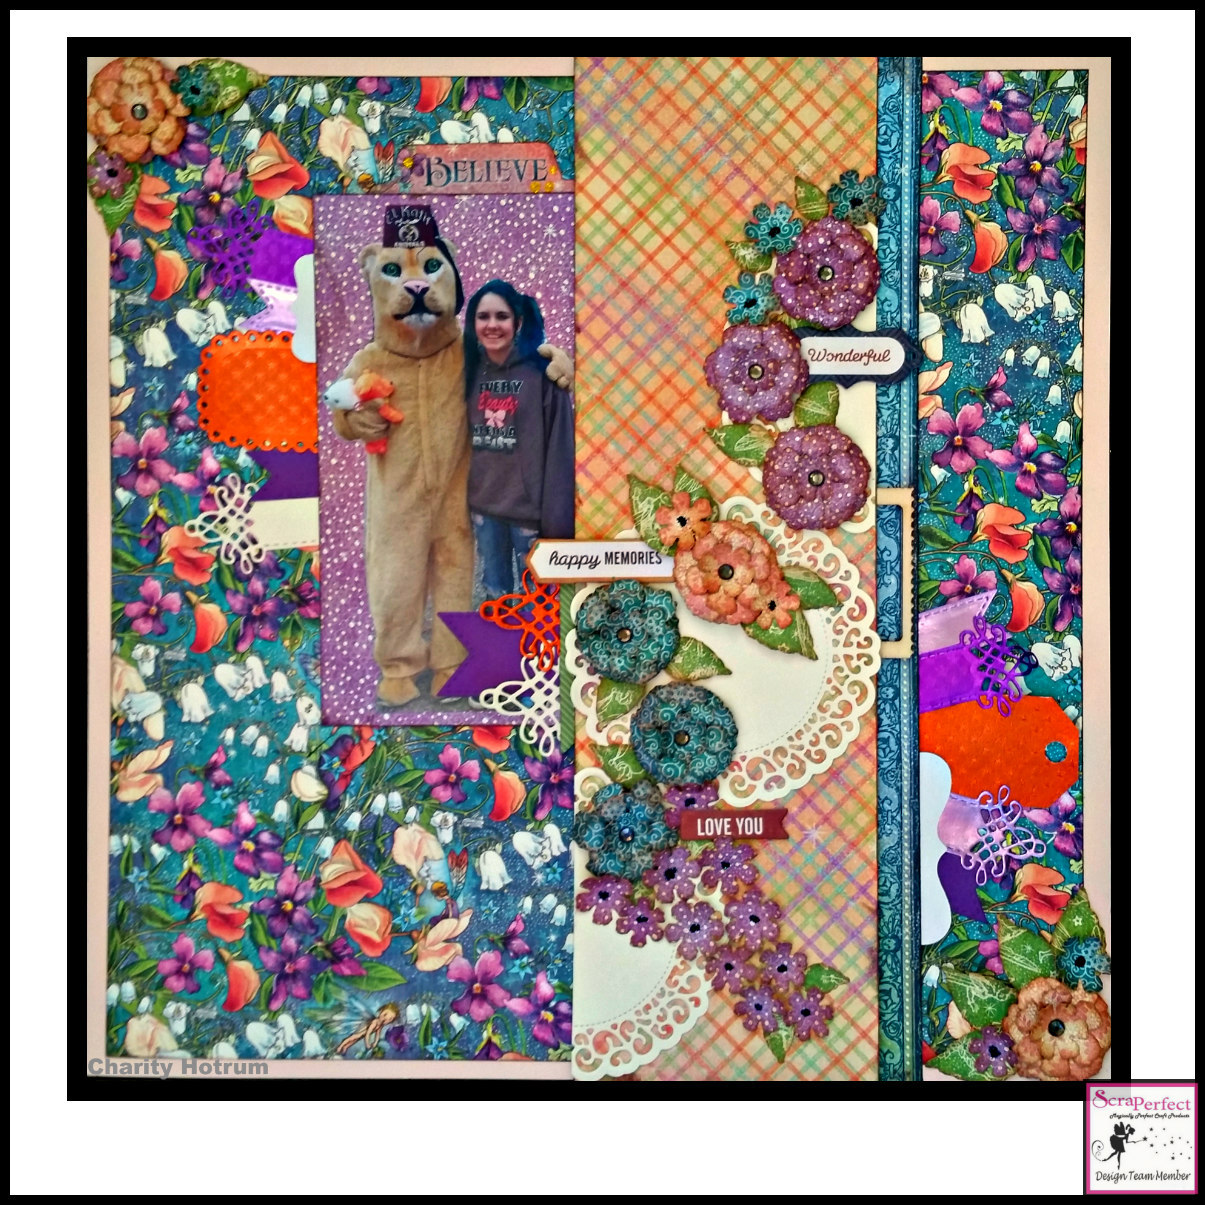
paper choices. This layout uses less than two sheets of patterned paper, one and a half sheets of cardstock, and assorted foiled paper scraps.
~ Believe ~

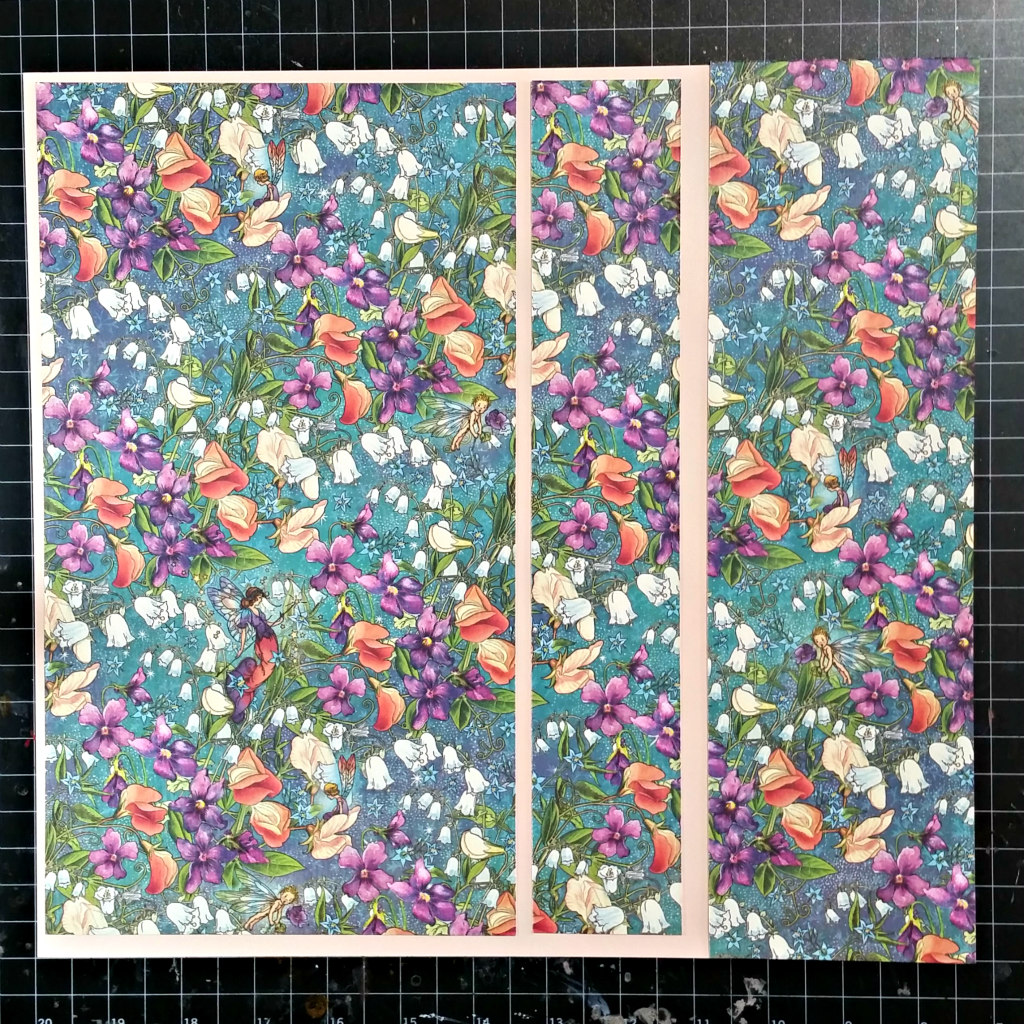
Step 1: Cut
patterned paper into three strips, 7”, 2”, and 3” wide. Cut 1”
off the top of the 7” and 2” strips. Ink the edges of the 7”
and 2” strips. Turn the 3” strip to the opposite side, ink the
edges.
7×11” strip to cardstock, ½ inch from the top, bottom, and left
side. Adhere 2×11” strip to cardstock, ½ inch from top, bottom,
and right side.

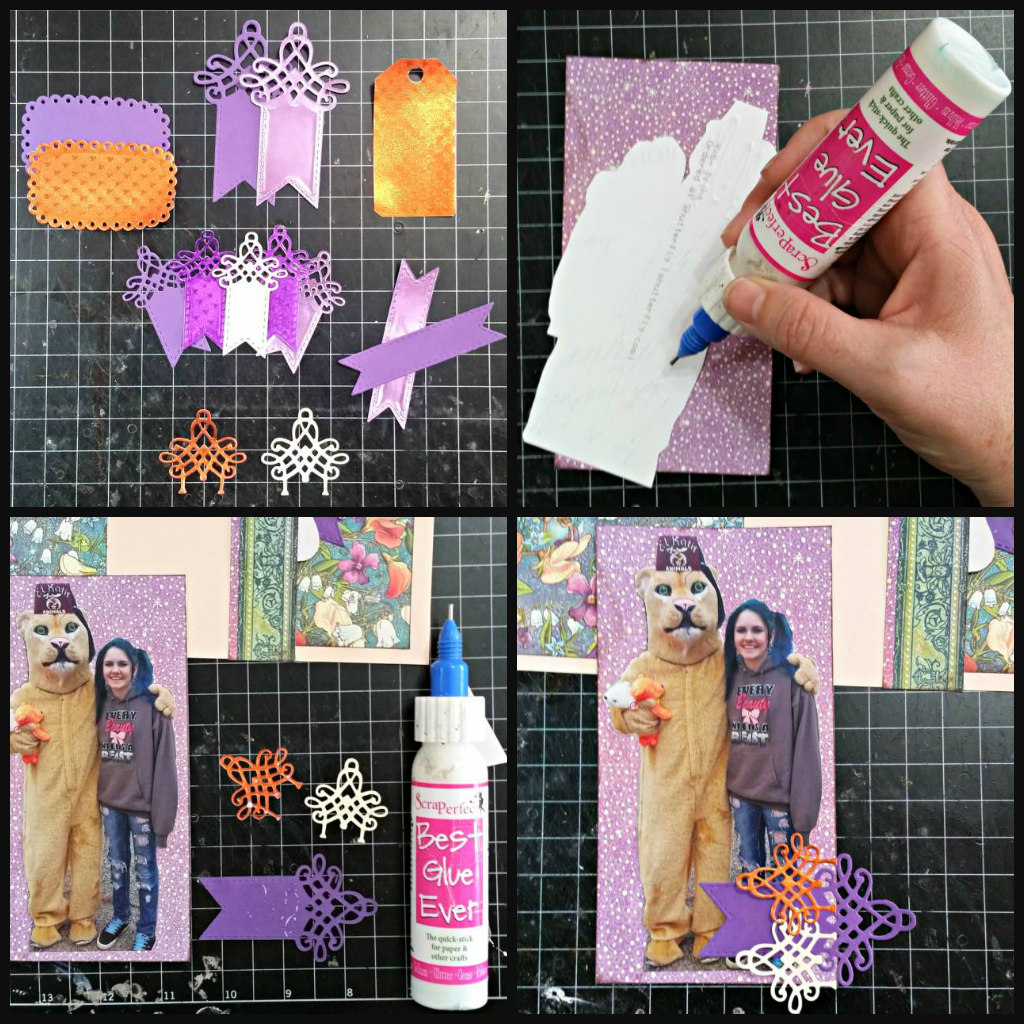
assortment of shapes from cardstock
and foiled paper remnants.
to photo mat with inked edges.
No-Clog Writing Cap to get glue on the intricate die-cuts. Remember,
only a dab here and there of this super strong glue.
of die-cuts over one edge of the photo.
Step 8: Layer
die-cuts and chipboard over lower left edge of 2” strip using scant
amounts of Best Glue Ever.
strip of patterned paper, ink edges, layer over die-cuts on 2”
strip.
strip.

adhere an assortment of unwanted chipboard shapes in the space
between the 7” and 2” strips.

Step 12: Adhere 3”
strip to chipboard risers so that it overlays the edge of the 1”
strip and wood shape.
prepared photo under the upper left edge of 3” strip. Add chipboard
shapes to support left edge of strip. Layer diecuts and chipboard
under photos left edge.
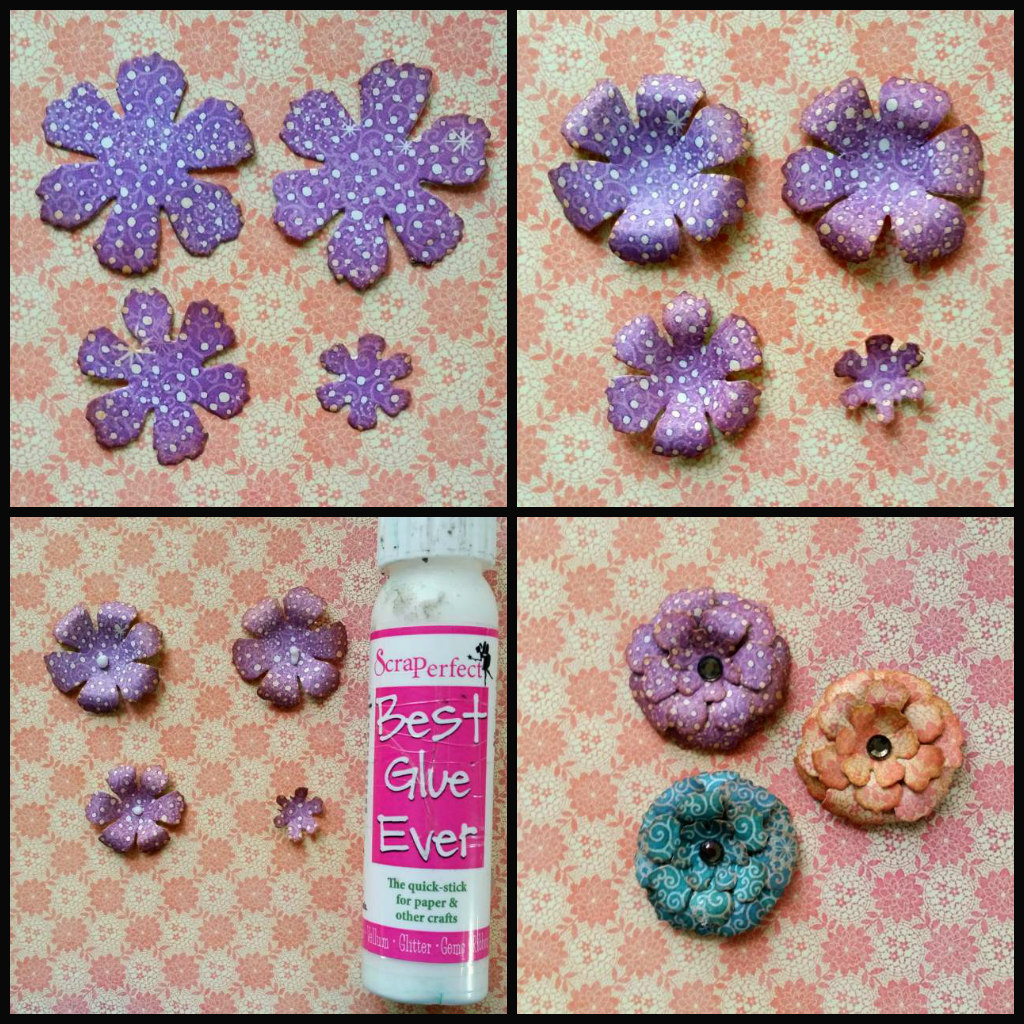
Step 14: Use punches
or dies to cut flowers from 2×12” strips of three complimentary
colors. The flowers I used have four layers; 2 large, 1 medium and
one small, all with inked edges.
and medium layers over paintbrush. One dot of Best Glue Ever in each
flowers center holds the layers together. Let glue dry to translucent
finish then assemble. Add gem in small flower center.
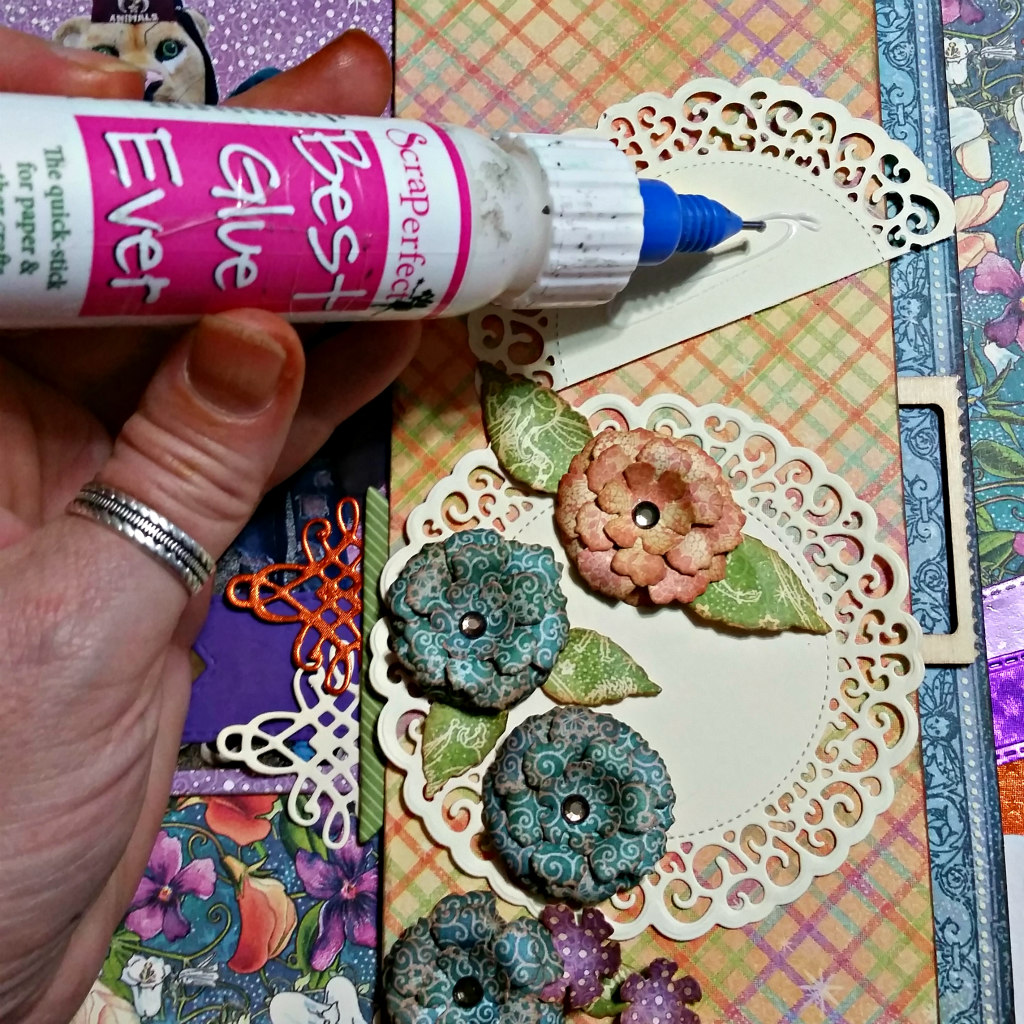
Step 15: Use BestGlue Ever to adhere doilies to 3” strip. Scatters flowers and
leaves along strip. Add chipboard tags.

title. I used a matching sticker from the paper pack. To help it
stand out against the patterned paper I inked the edges and added
dots of glitter glue.
The ScraPerfect store has more to offer than glue and writing caps. Take a look and try out something new today!
Stop by my blog Scrappin’ Chaos for a list of supplies.
Scrap On!
~Charity Hotrum~

