
 The base of the layout is covered with a small print of circles, cubes, and stars. The central 8 inches of the paper is enhanced with sheer, sparkle paint, dabbed thru a stencil. To keep the colors clear I had to apply each color then wash and dry the stencil.
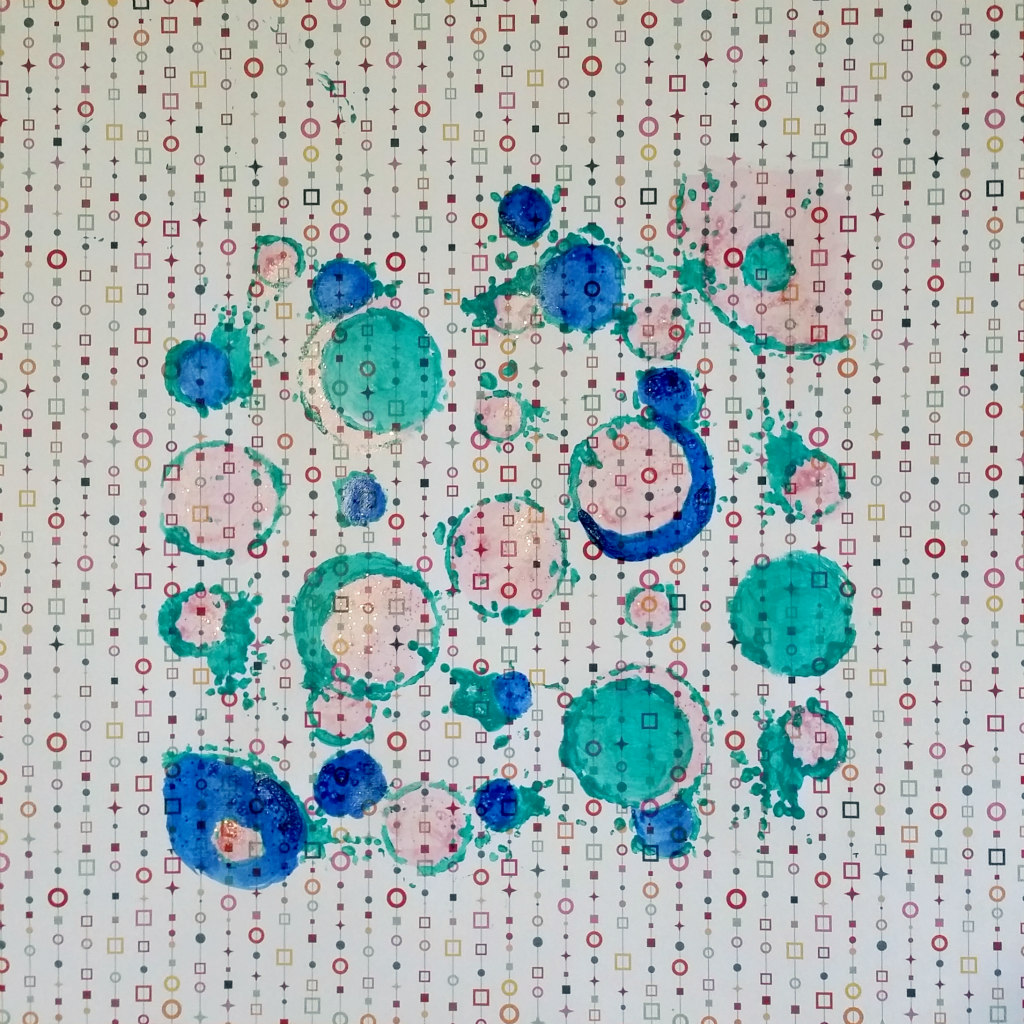
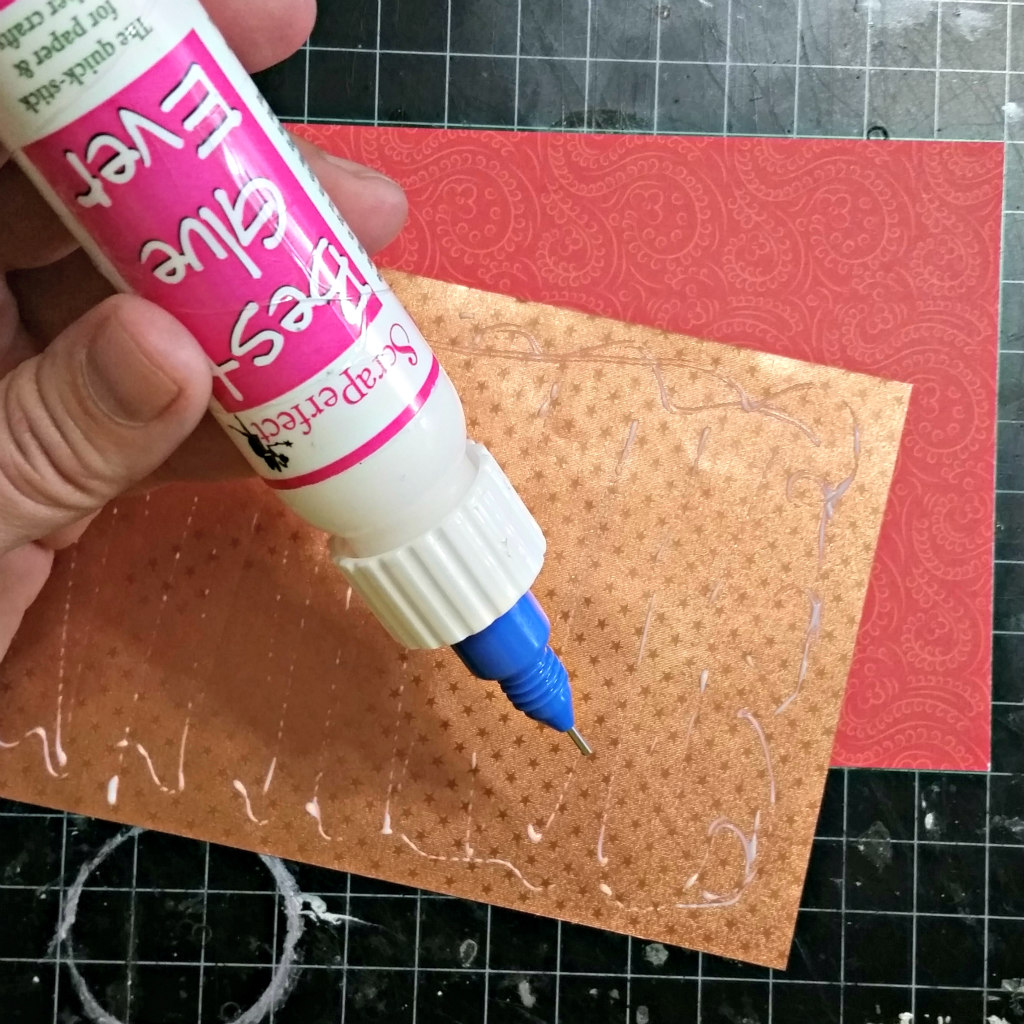
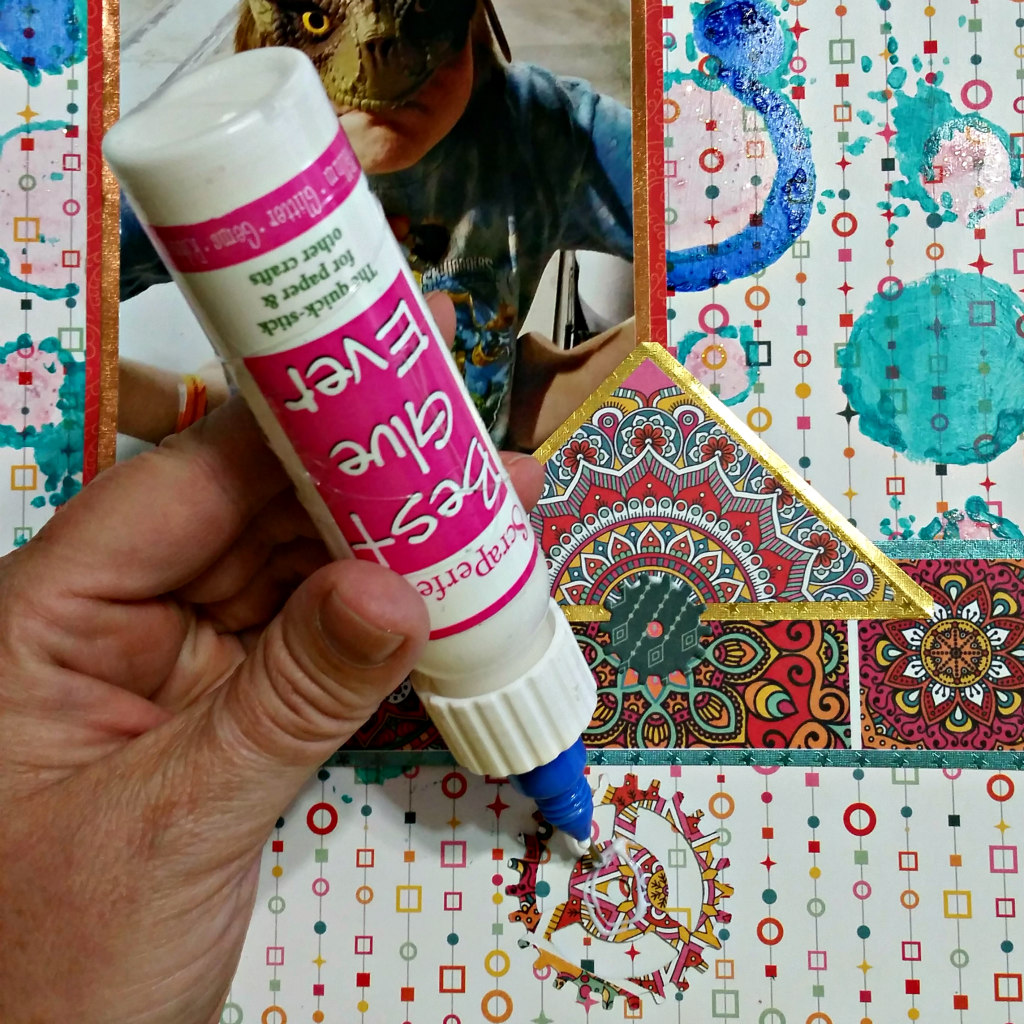
The photo mat is a rectangle of patterned paper topped with a rectangle of foiled paper. Best Glue Ever holds the foiled paper without leaving wet marks or wrinkles.
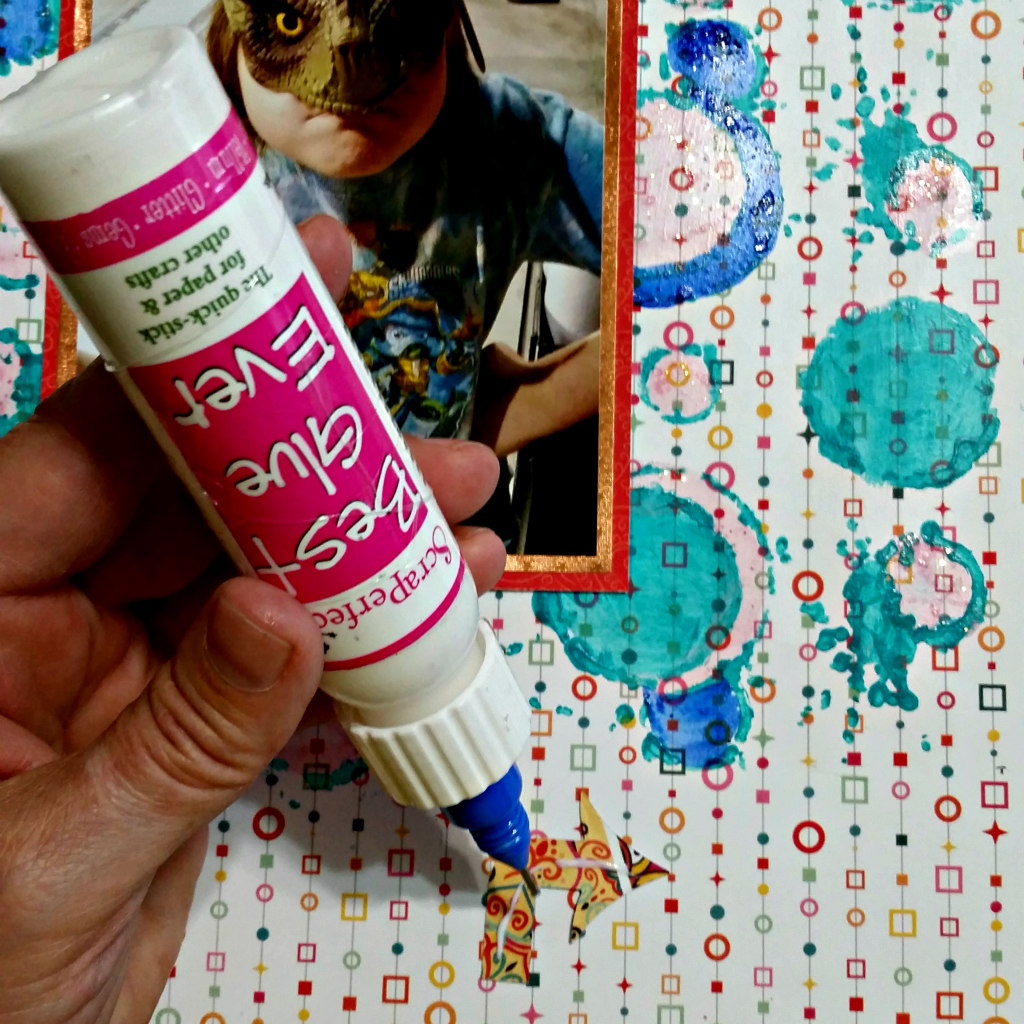
The die-cut arrows and gears are applied with thin strips or dots of Best Glue Ever.
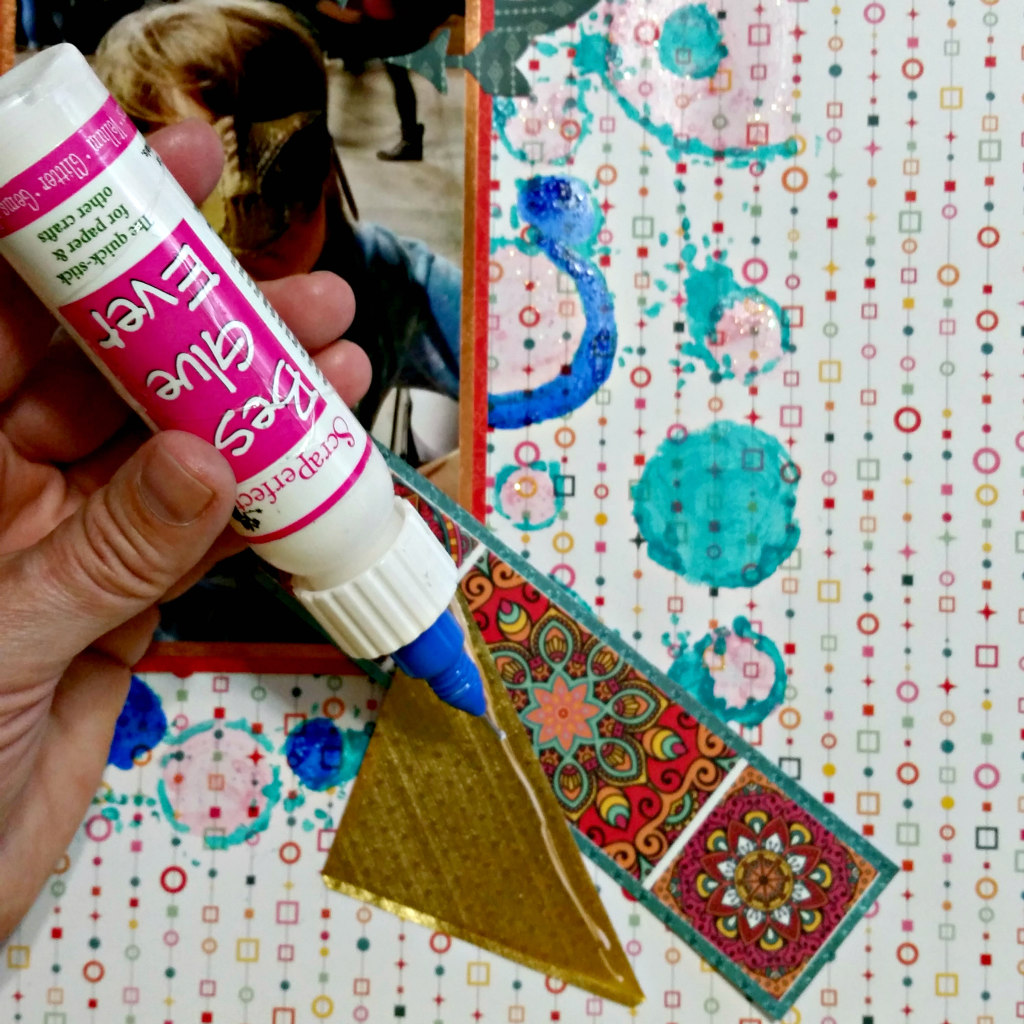
A thin outline of Best Glue Ever holds the foil lined mandala strips to the layout.
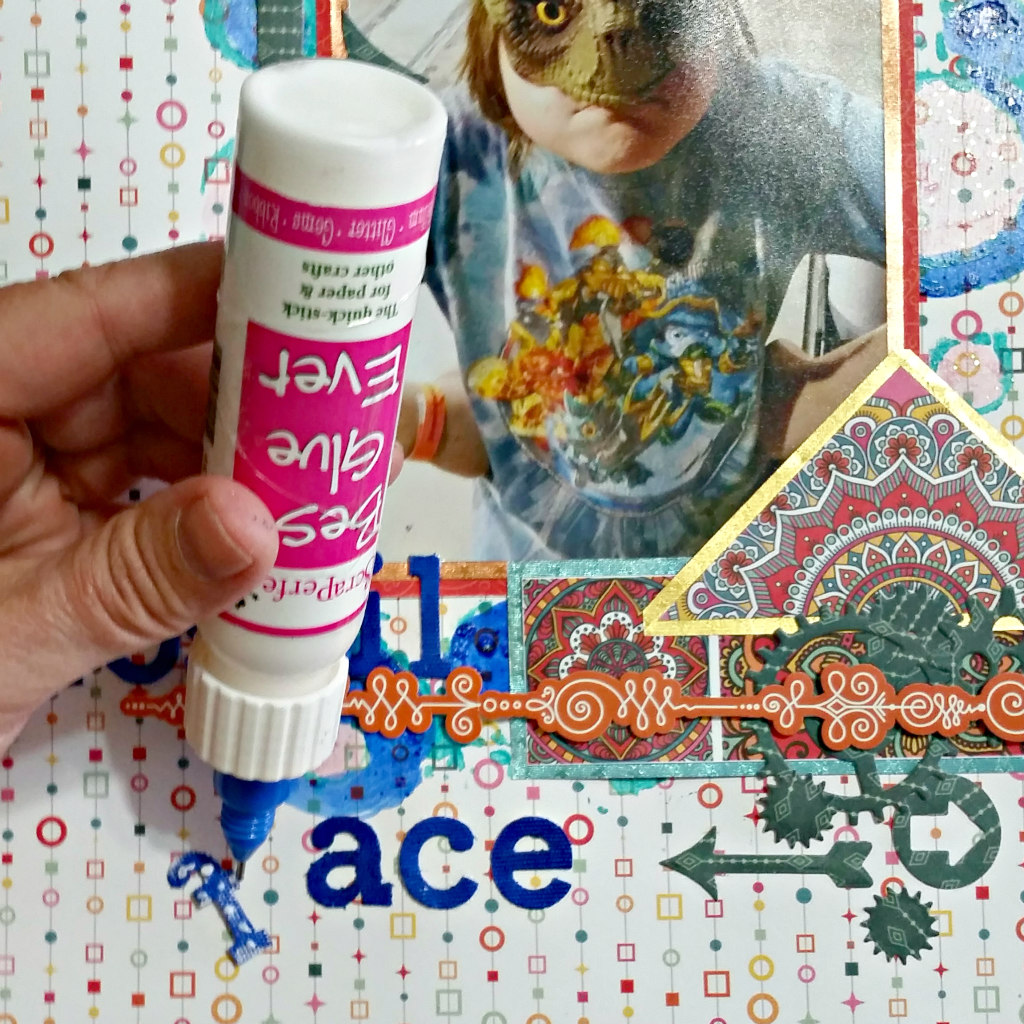
Another layer of die-cuts, these with minuscule gluing surfaces, are added to the layout. The No-Clog Writing Cap places the glue exactly where it is needed.
A thin strip of Best Glue Ever attaches a strip of craft foam to the border stickers.

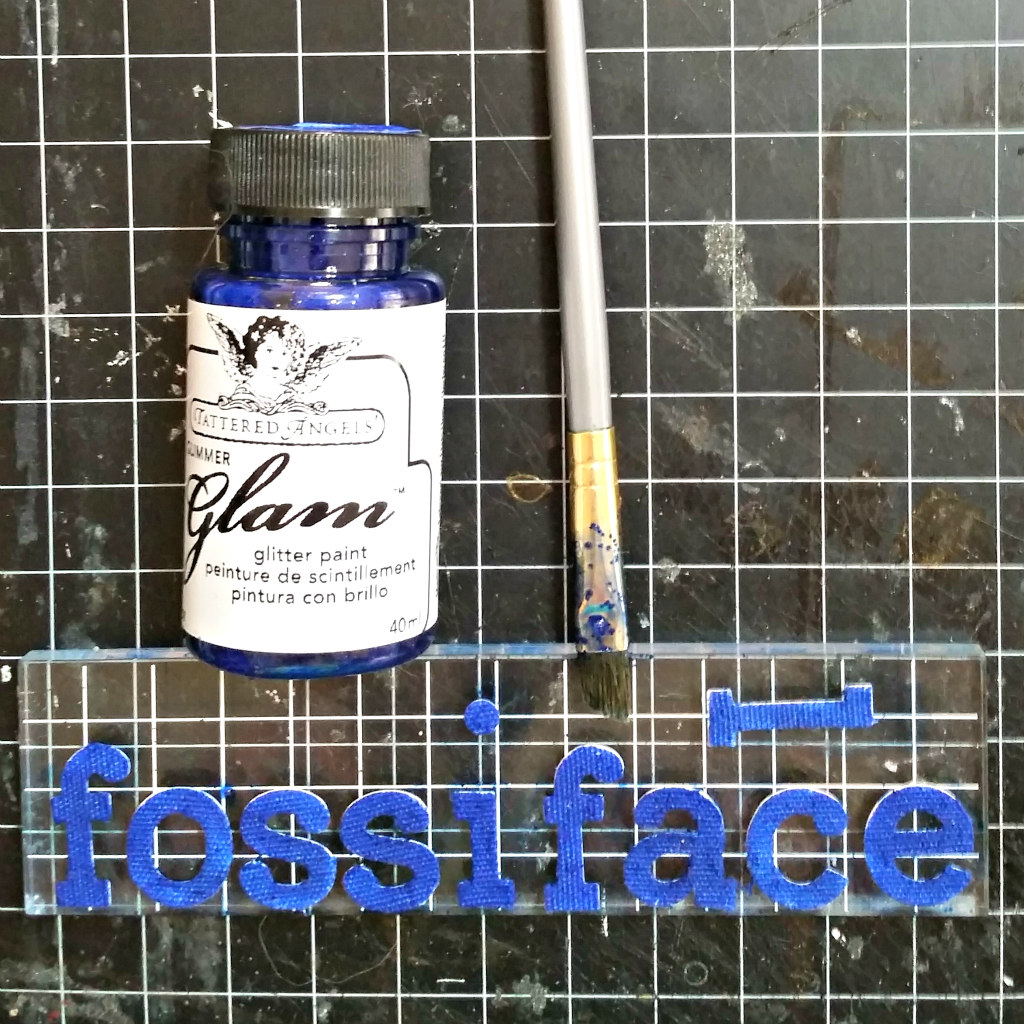
White, fabric thickers are painted with the same blue paint used with the stencil.
Each alpha is dotted with Best Glue Ever then placed on the layout.
From this angle you can see the dimension the craft foam gives the embellishments.

Although the finished product covers nearly half of the stenciled background, the colored circles still enhance the layout and give the page depth.

Stop by my blog Scrappin’ Chaos for a list of supplies.
Craft On!
~charity~

