
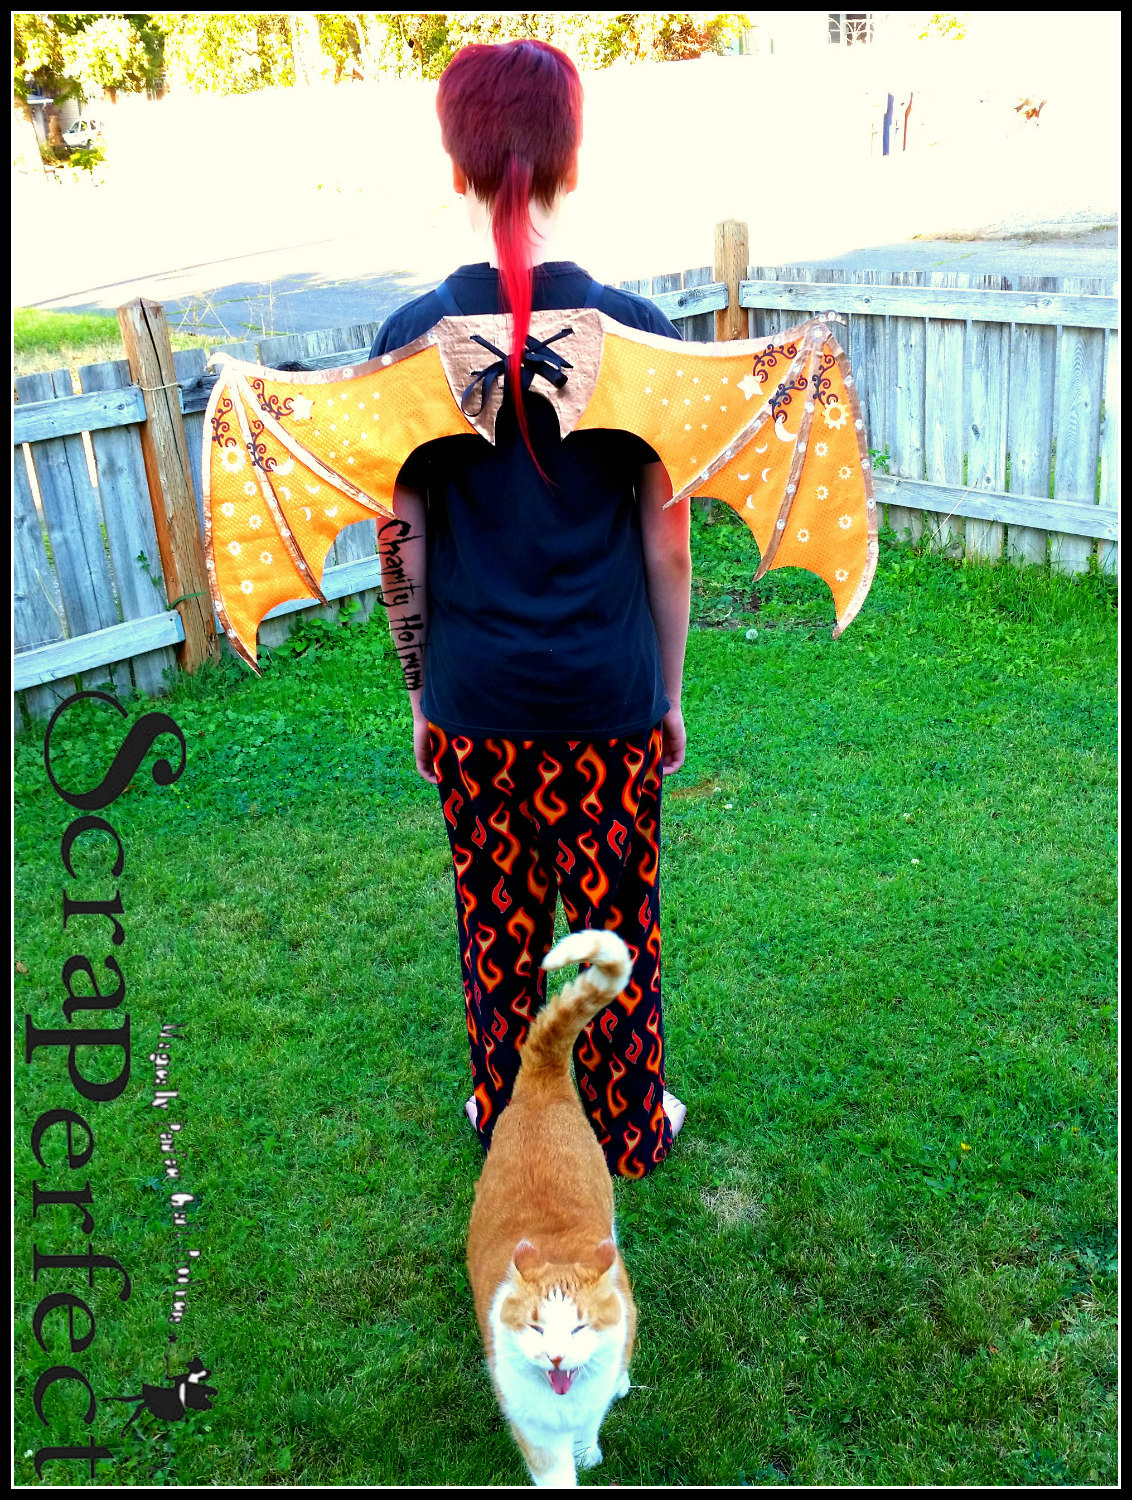
The season would not be complete without a tutorial for how to make stunning wings with beautiful paper. Charity here, dragons are a big part of life at Hotrum Hold. The making of this pair of wings was watched with much anticipation. The model suggested flame pajama pants when invited to participate in this photo shoot.
~ Cosmic Dragon Wings ~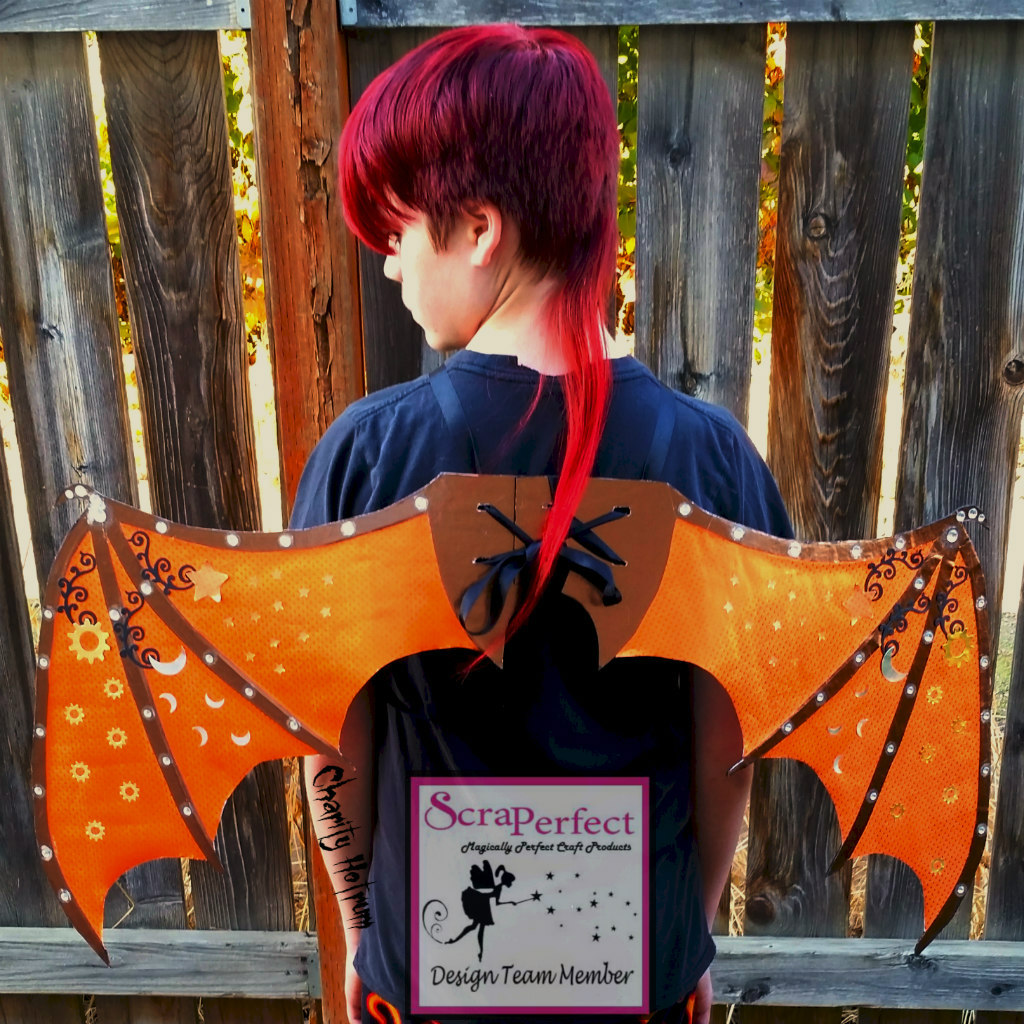
~ Cosmic Dragon Wings ~
Instructions:
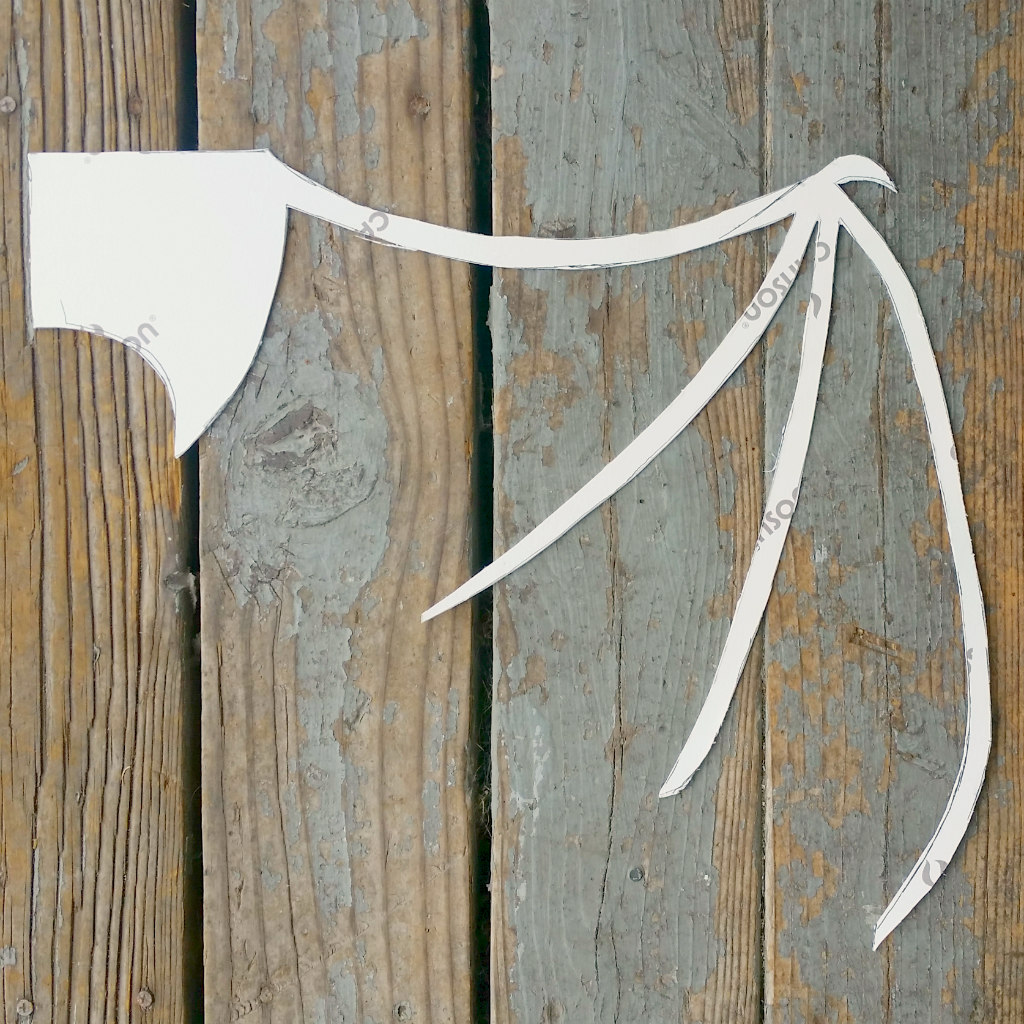
Step 1: Draw wing skeleton and membrane onto paper. Cut out bone structure.
Step 1: Draw wing skeleton and membrane onto paper. Cut out bone structure.
I wanted my wings as big as my foiled paper would allow. I cut paper to the size of a roll of Marigold Rinea Foiled Paper then drew a diagonal line across it. I drew (with many erasures and adjustments) a wing that fit on one side of this line.

Step 2: Trace skeleton onto heavy cardboard or drawing board.
I picked up my drawing board from Michaels. This one was 16×20 and I was able to fit both wing skeletons. I flipped my drawing over and traced it again to get the pair of wings.

Step 3: Cut wing from board using utility knife for best results.
The bone structure can certainly be cut with scissors, however, they bend cardboard and create creases. A utility knife uses pressure straight down and eliminates the extra stress.
Step 4: Paint wing skeleton.
I used DecoArt Acrylic paint in black satin. It took three coats of paint to satisfy me. I added one coat of paint to the edges of the board also.
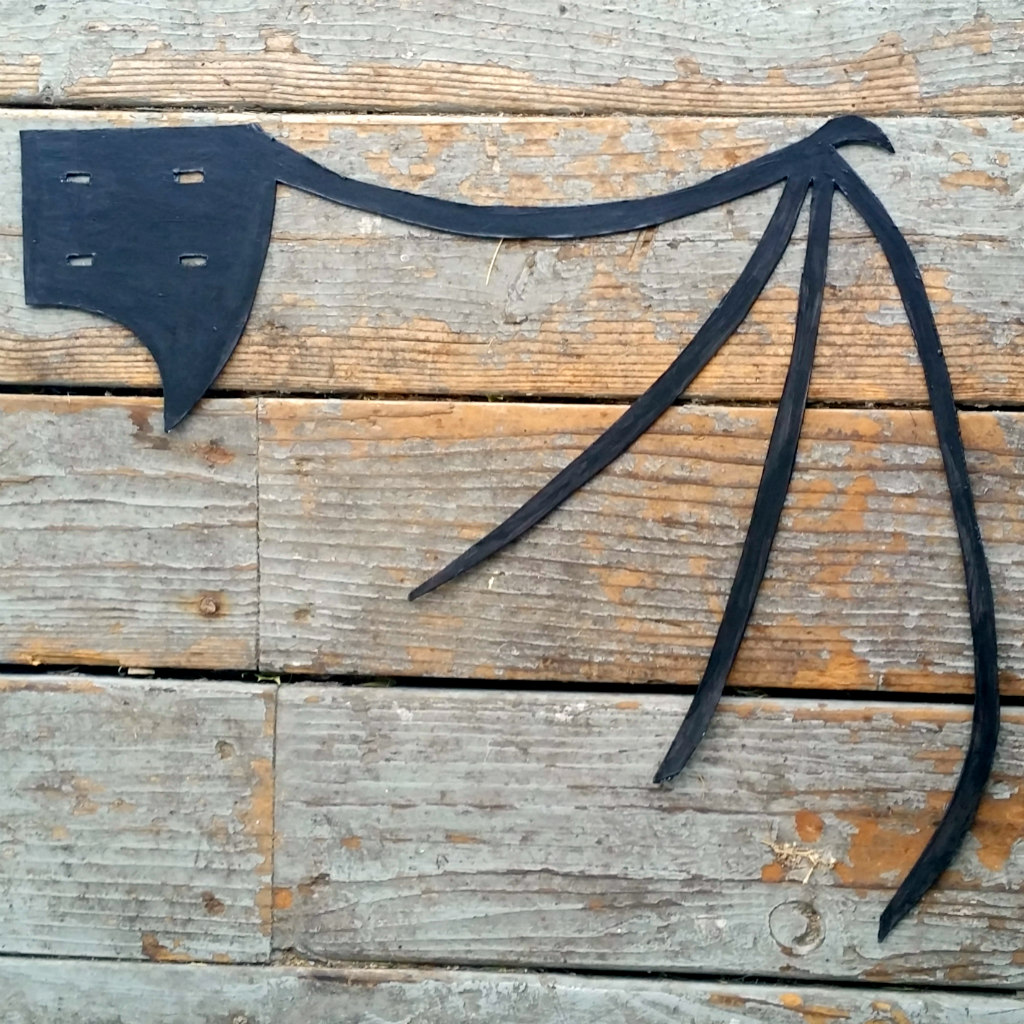
Step 5: Cut slits for harness.
I cut four 1/2″x1/8″ slits in the wide part of the bone structure for harness attachment.
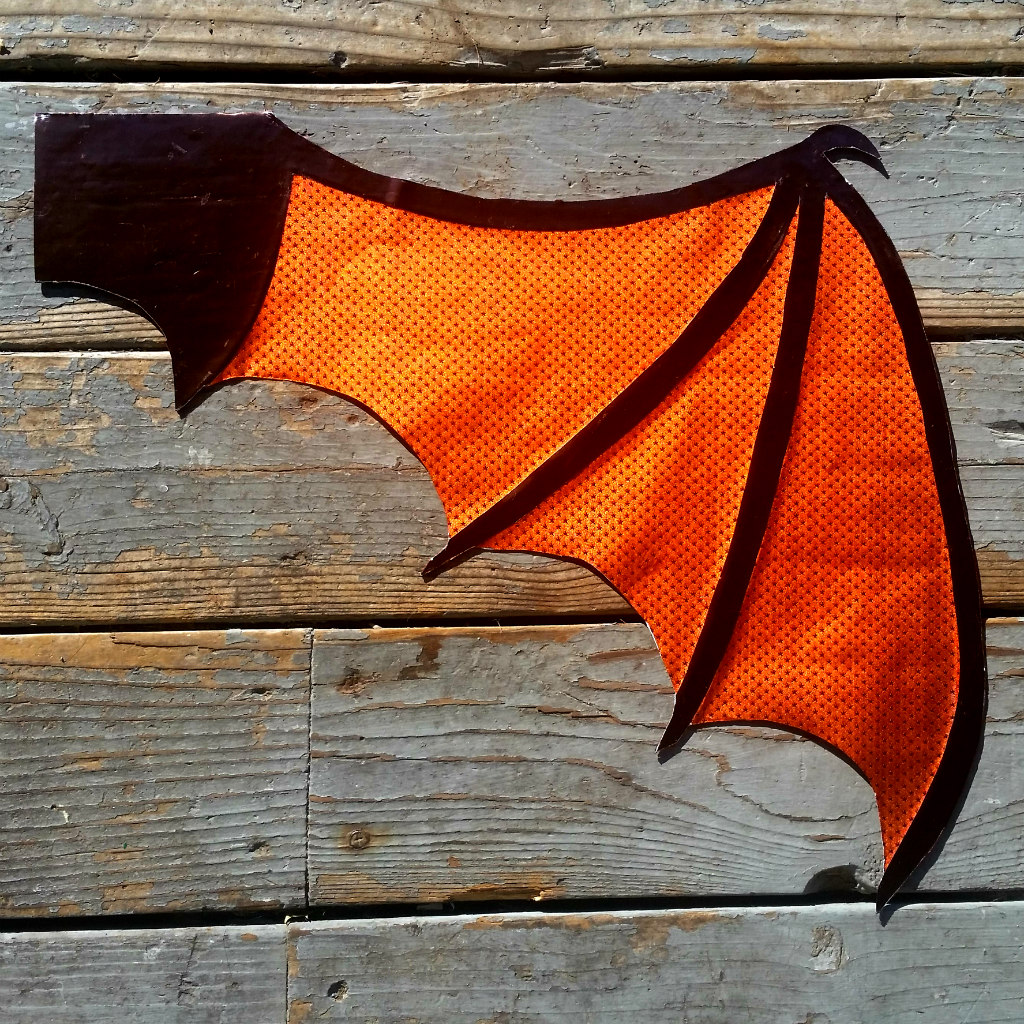
Step 6: Trace outer edge of skeleton onto foiled paper. Fill in curves for membrane, cut, and glue.
I waited to trace the wing onto the foiled paper until my skeleton was finished. There are always little changes when transferring a design from paper to board. I didn’t want to waste a scrap of my Rinea foiled paper.
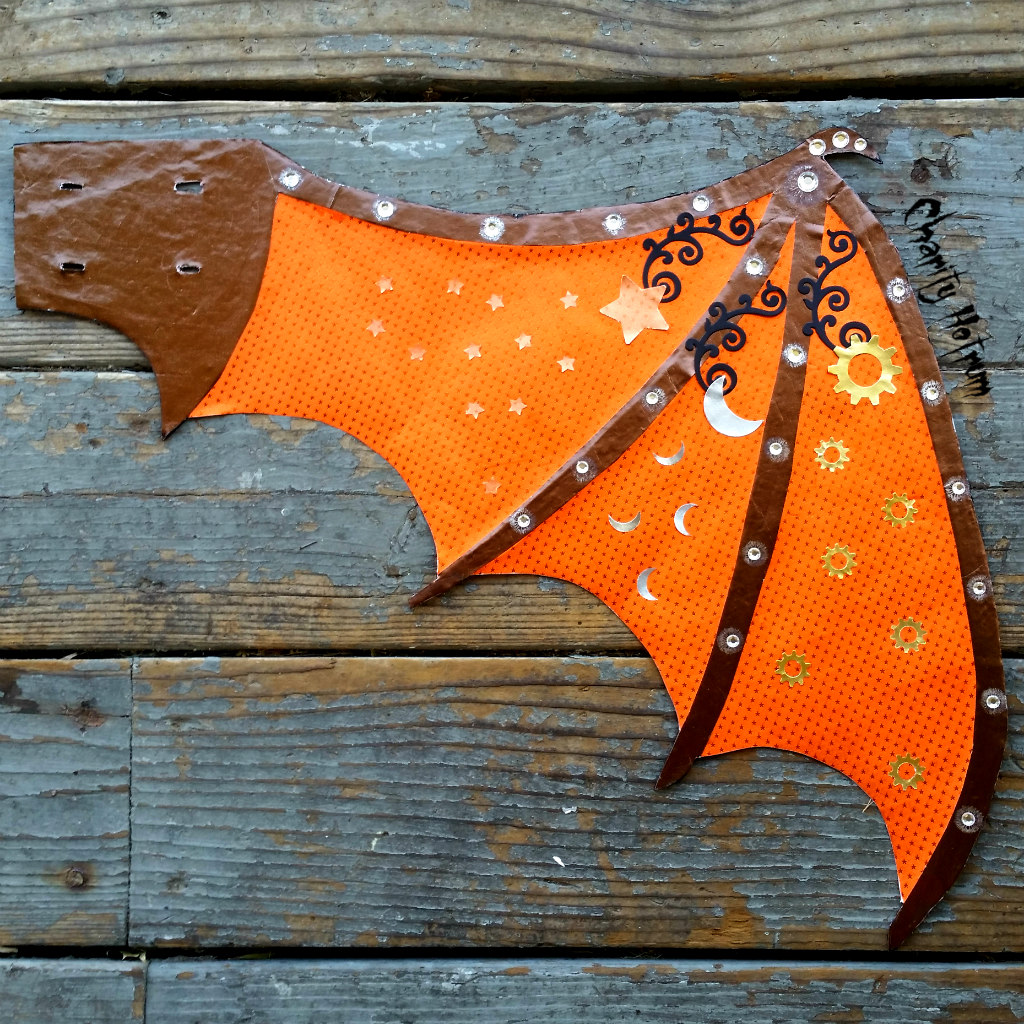
Step 7: Trace skeleton onto contrasting foiled paper. Cut and glue to front of wings. Decorate.
The back side of the wing has the black skeleton for definition. For the front I used Mocha Foiled Paper I punched suns, moons, and stars for membrane decor.
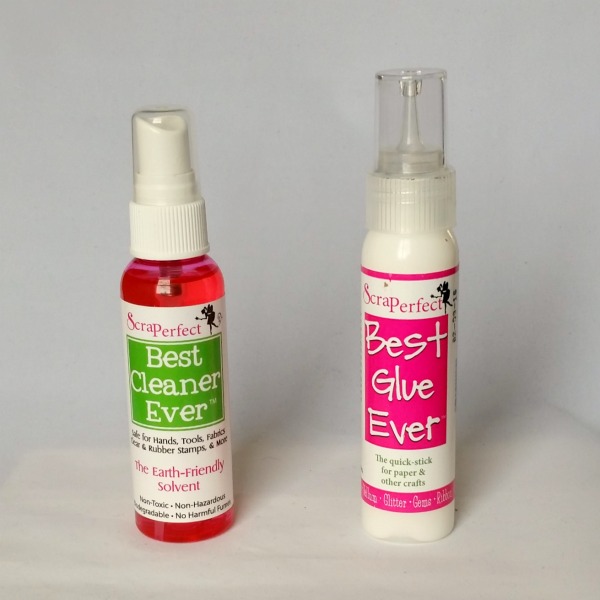
To attach the Foiled Paper from the hefty skeleton to the tiniest star I used ScraPerfect’s Best Glue Ever. I did have one or two “oops” moments that left sticky spots on my skeleton. Knowing these would dry to dull splotches I used ScraPerfect’s Best Cleaner Ever to remove the glue spill.

Step 7: Lace wings together with wide ribbon.
Wrap ribbon over shoulders, across chest, and under arms to make a harness for wearing the wings.
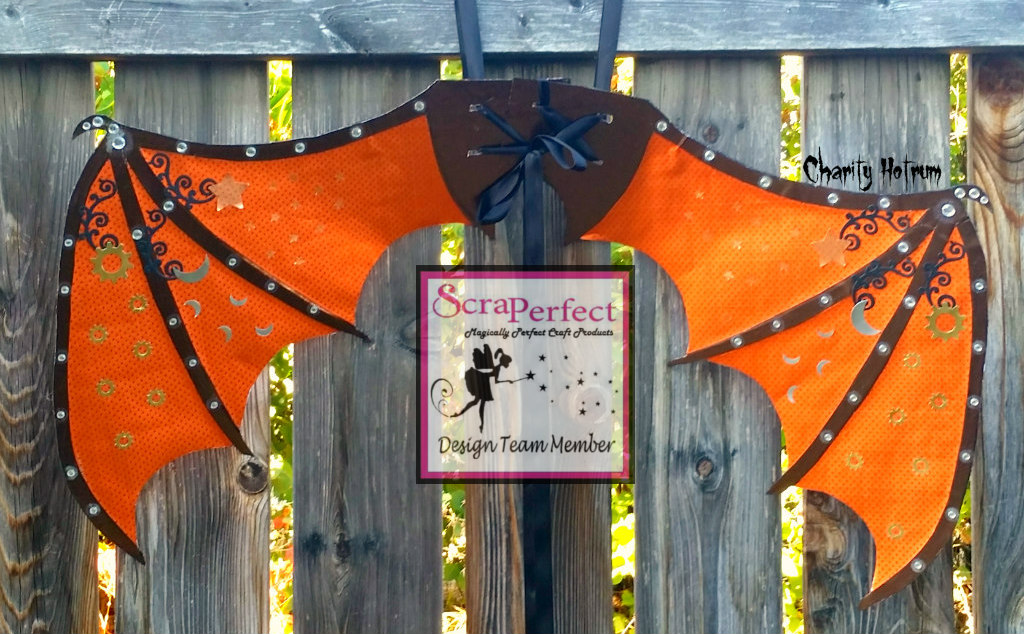
Each wing measure 22″ from lower wing tip to upper harness corner and 16″ from lower wing tip to claw. The handsome young man in the photo wears a men’s size medium shirt. I was able to fit this pair of wings onto one roll of each color of foiled paper with careful placement.
~charity~
#GetFiredupwithScraPerfect

