
 |
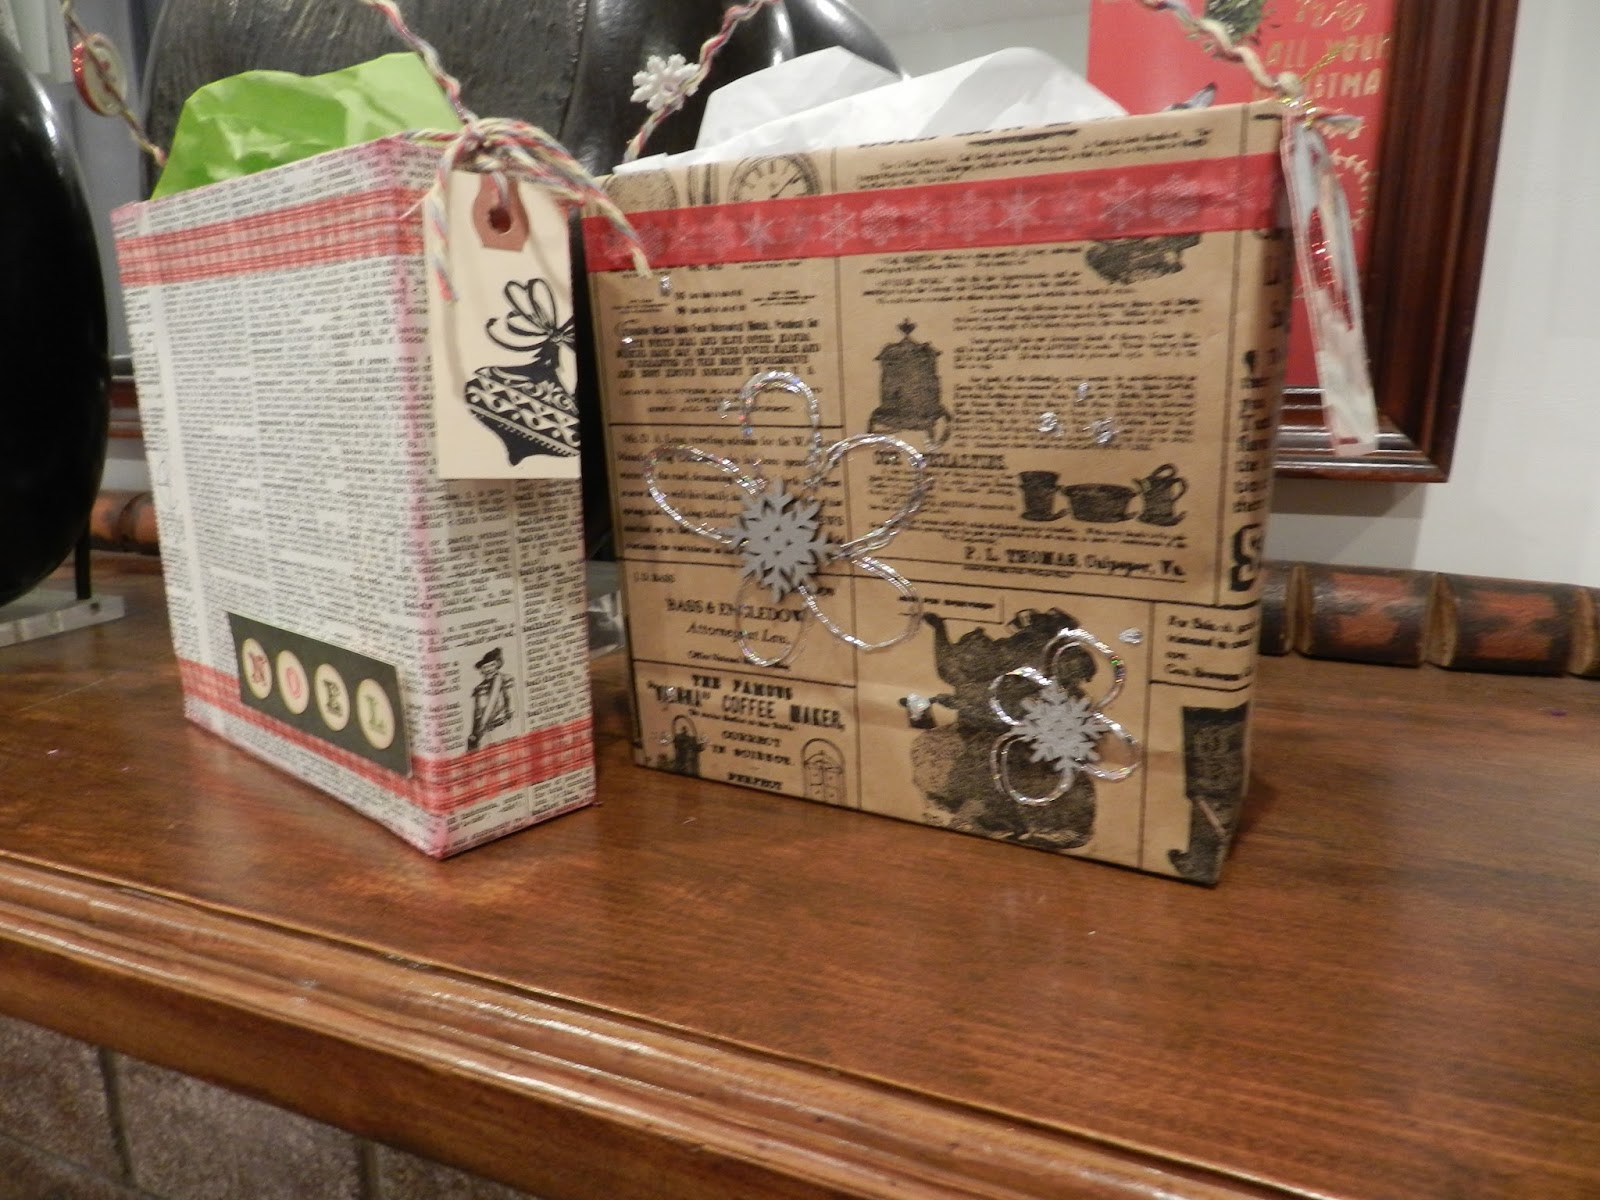
| Here’s the group of gift boxes ready to be filled. |
Robyn Coburn here, with a guest post.
I love repurposing and upcycling and making gift boxes is
one of my favorite things. Here are a couple of super quick, very easy gift
boxes using materials I scavenged!
one of my favorite things. Here are a couple of super quick, very easy gift
boxes using materials I scavenged!
The most time-consuming part was collecting enough good boxes
in useful sizes. I have a pile of popsicle and frozen meal boxes, where the
food was wrapped in plastic so did not come in contact with the cardboard.
in useful sizes. I have a pile of popsicle and frozen meal boxes, where the
food was wrapped in plastic so did not come in contact with the cardboard.
 |
| Started with frozen meal boxes |
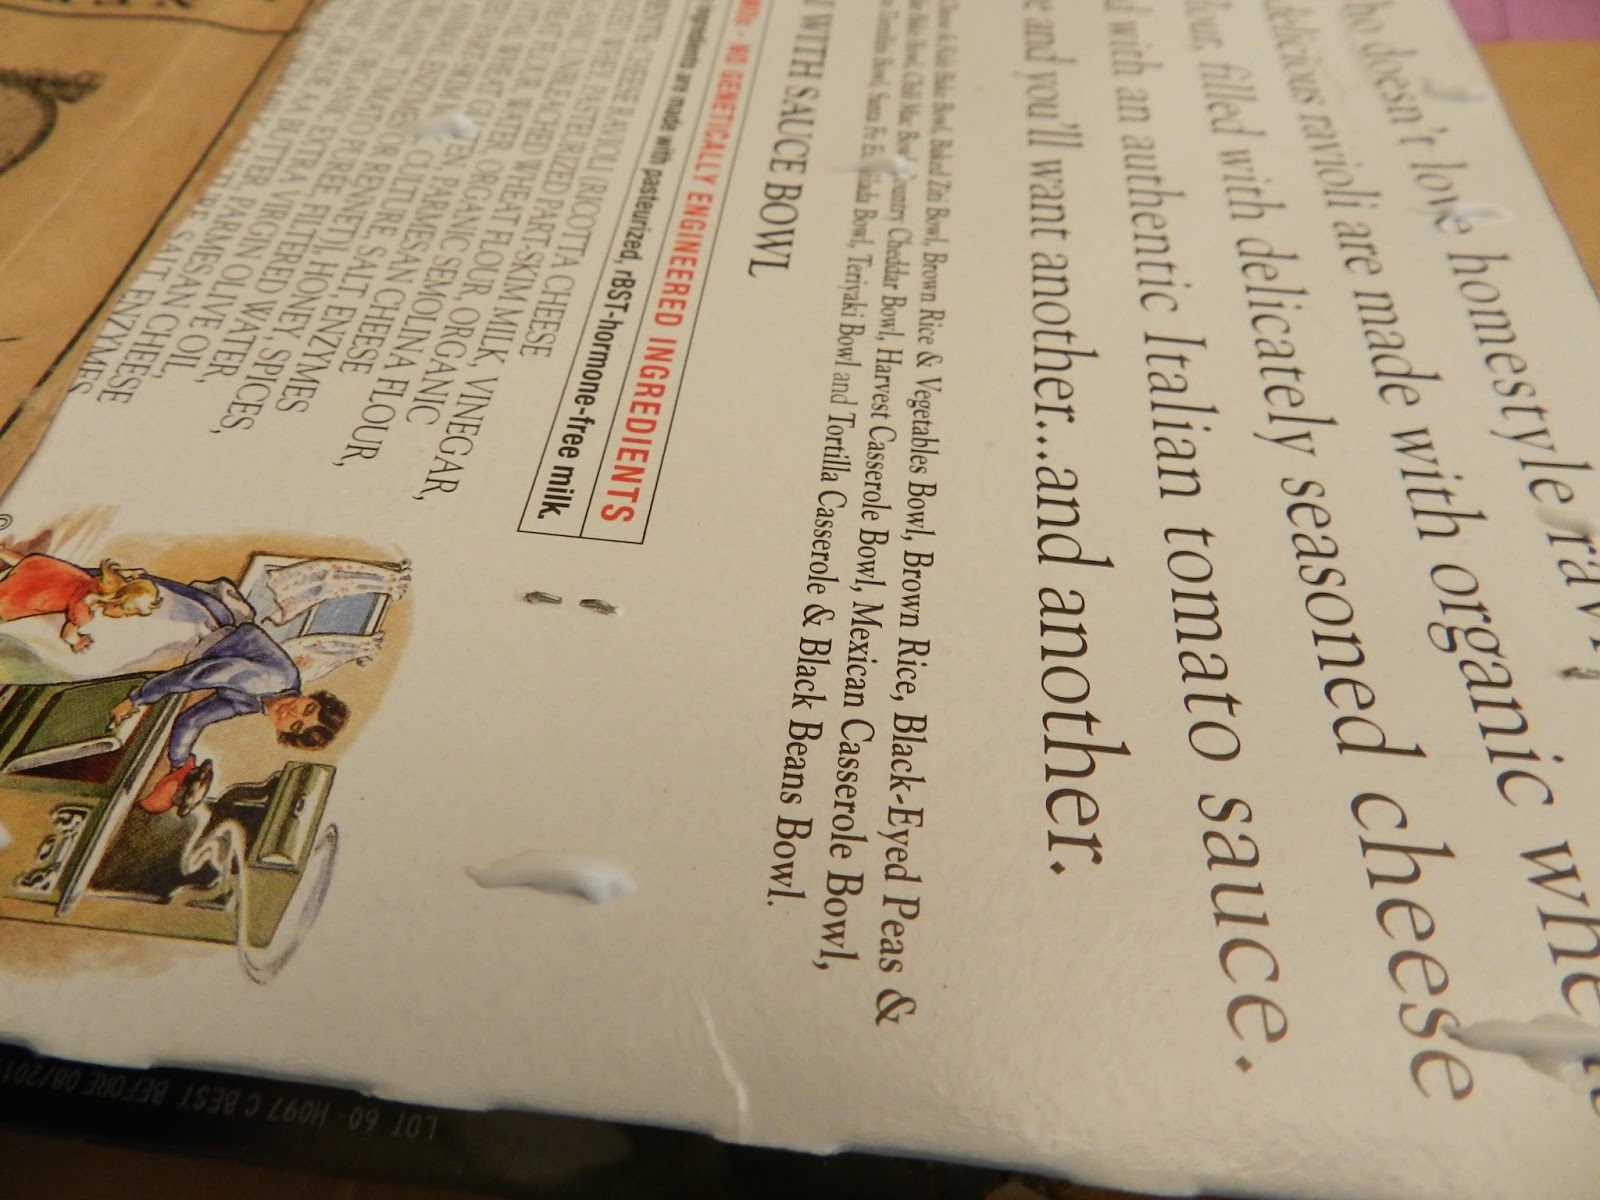
For the first two, I folded and stapled down the open top flaps.
The staples will be covered. Then I covered the outside using found papers. One
was a shopping bag from a boutique, that was printed with vintage ads – of course
a keeper! The other I covered with pages from an old dictionary being given
away at the Library. I love the old fonts and the funny little etchings.
 |
| Tiny spots of Best Glue Ever |
I didn’t do it with decoupage medium, but instead simply put
tiny spots of Best Glue Ever along the edge of the paper and boxes. It worked great!
I pinned the fold down over the open top edge, to hold until the glue fully
grabbed.
tiny spots of Best Glue Ever along the edge of the paper and boxes. It worked great!
I pinned the fold down over the open top edge, to hold until the glue fully
grabbed.
 |
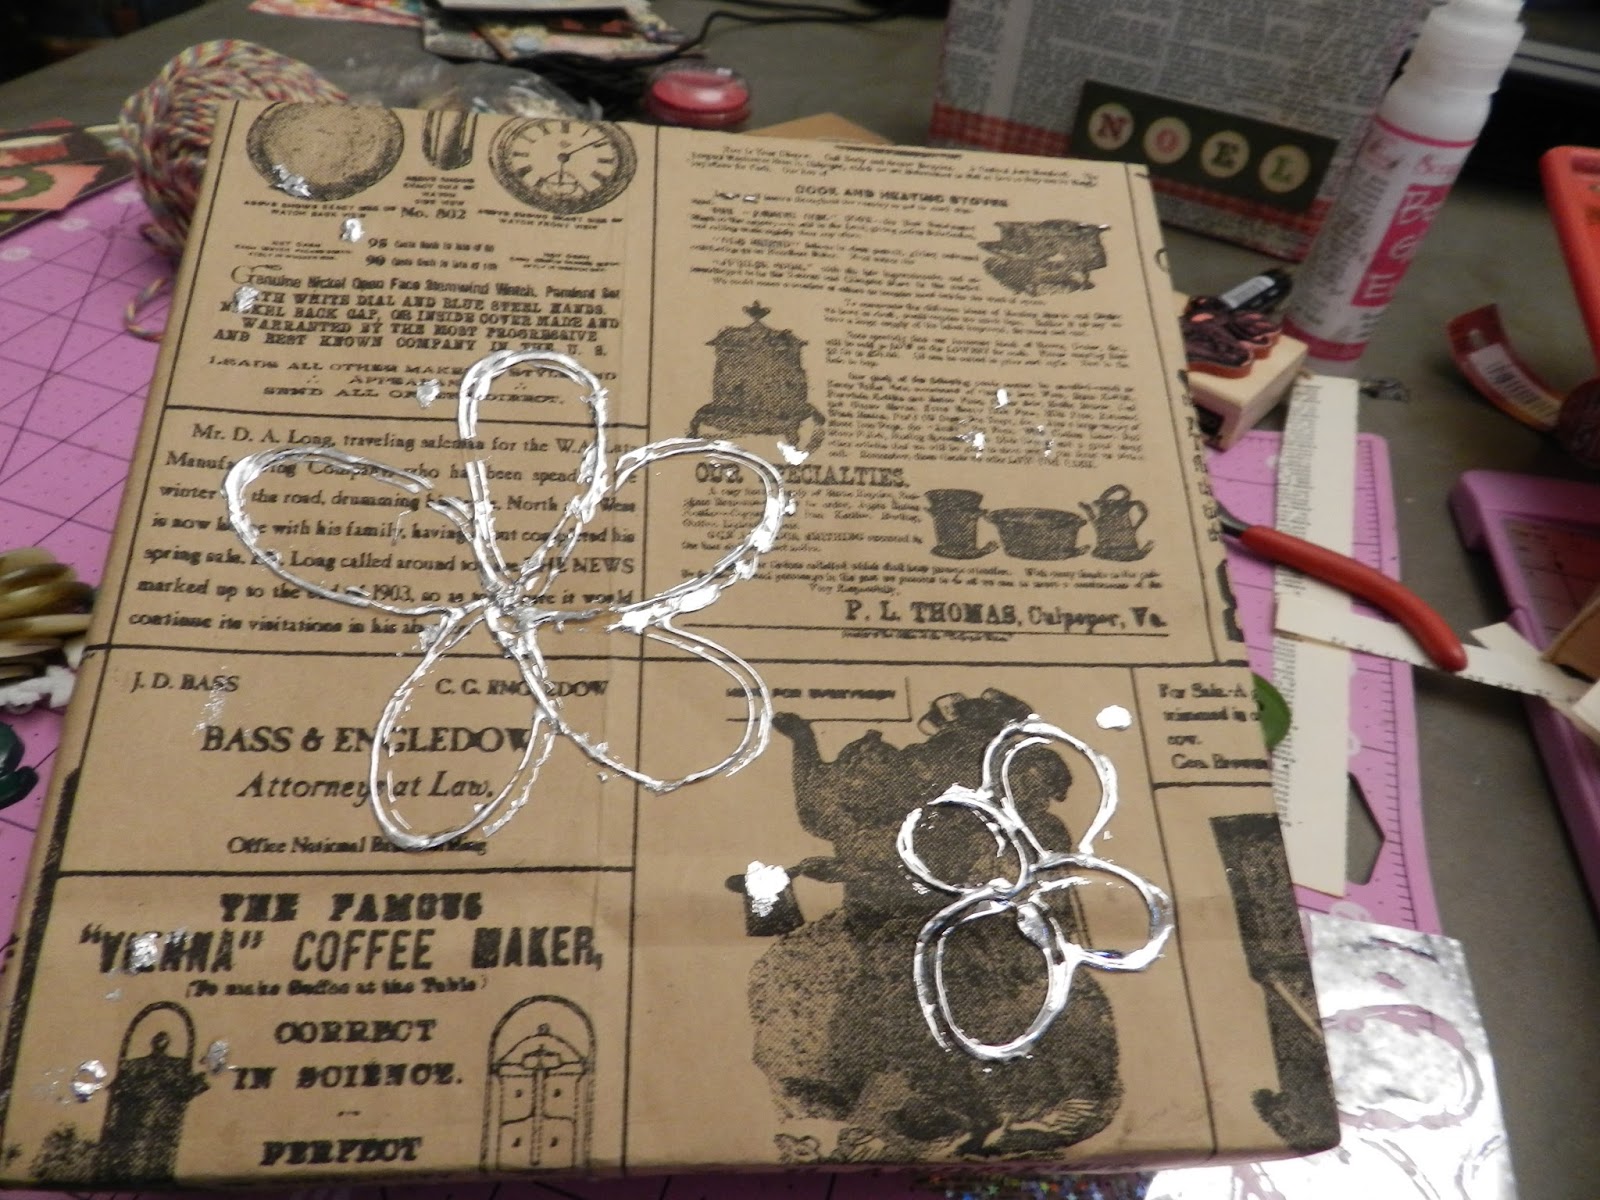
| Best Glue Ever flowers and dots |
Once the boxes were covered, it was a question of how much
was needed to make them pretty. I’ve made boxes with paper flowers in the past,
but I am trying to be quick as I have a few more to make for my small sized
gifts. So, for one of these I drew some linear flowers with BGE, and set it
aside to dry to clear and tacky. Once it was dry, I used some of the ScraPerfect Transfer Foil to create shine.
 |
| Here they are after foiling – they look more silver in real life, with dimension. You can see the used foil peeking out at the bottom right of the picture. |
Then I ran a line of washi tape, from the dollar bins at
Target, close to the top, and adhered a couple of my die-cut wood snowflakes to the flower centers.
Target, close to the top, and adhered a couple of my die-cut wood snowflakes to the flower centers.
For the other, I first inked all the corners with red ink. Then I put two lines of nice themed washi tape (from the
dollar store!) as borders, and adhered a decorative word leftover from my card making, bumped up on foam.
dollar store!) as borders, and adhered a decorative word leftover from my card making, bumped up on foam.
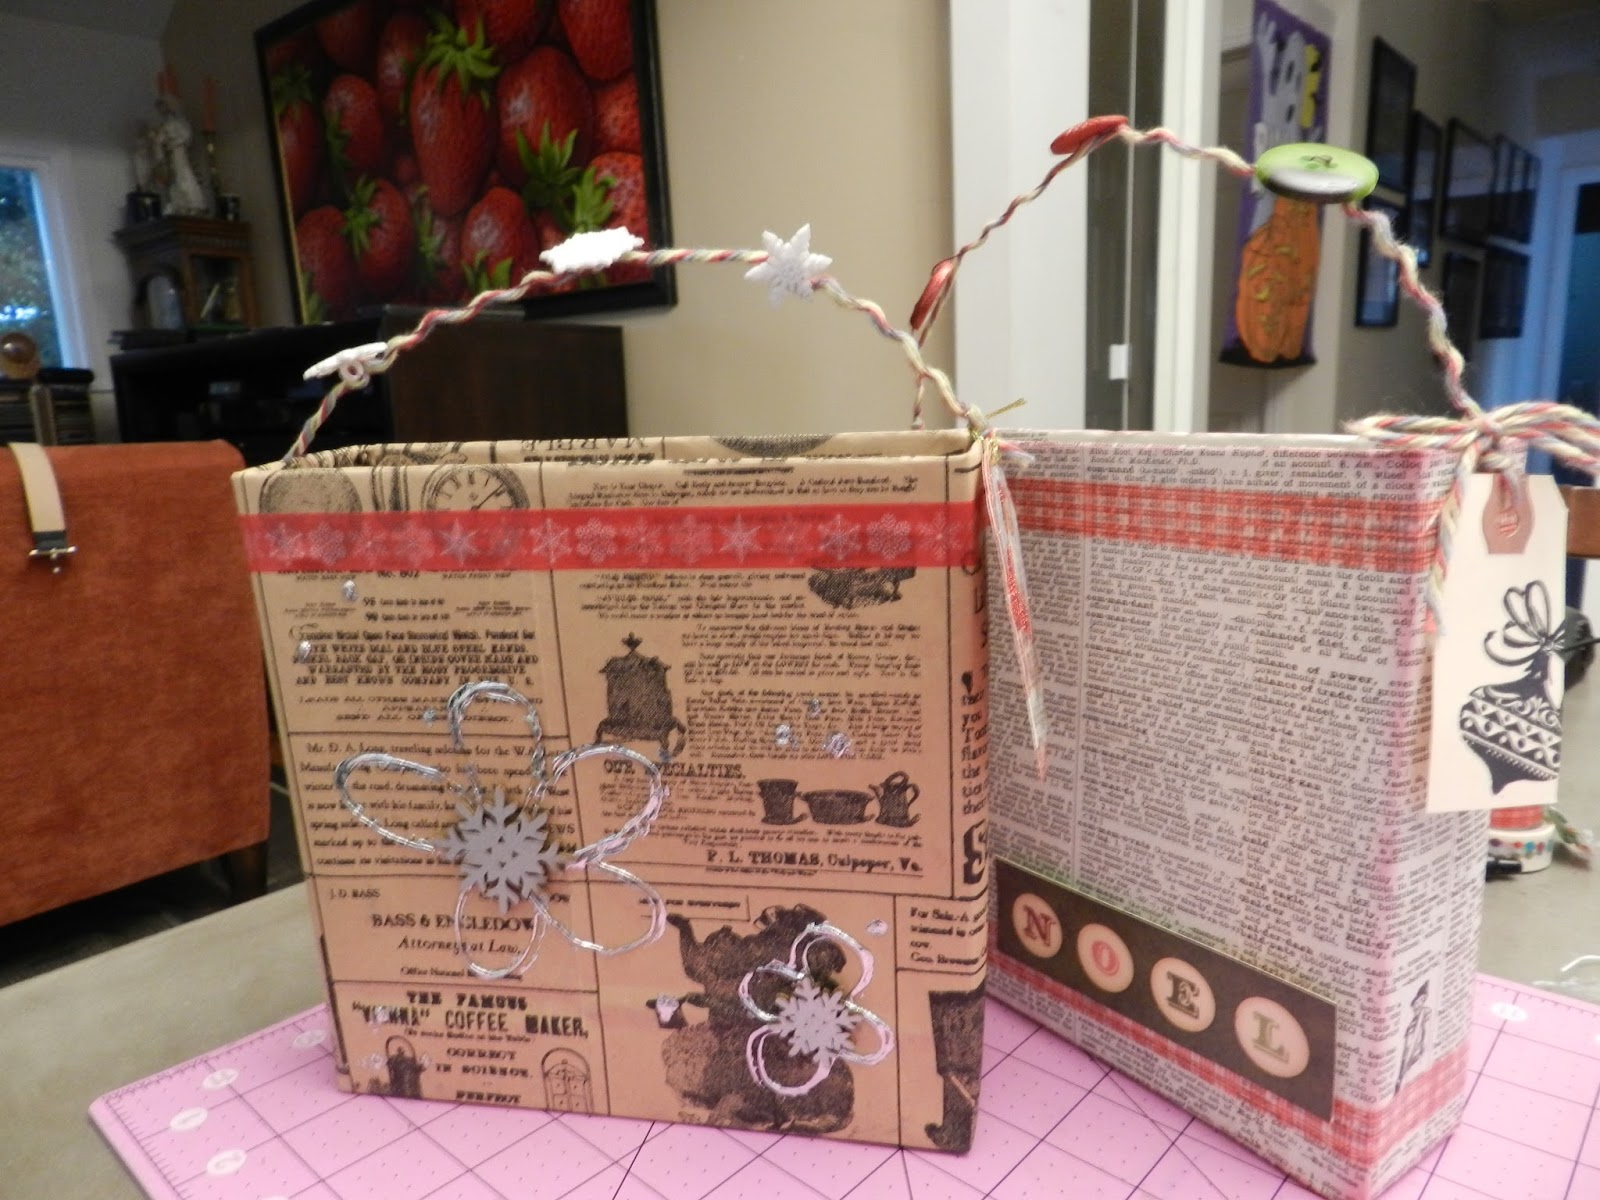
For handles I threaded some appropriately colored buttons on red craft wire and punched tiny holes in the box sides to feed the wire through. Then I tied and twisted
some holiday colored stripey yarn over the wires to make the handle look a little
thicker. I tied tags to the handles – ready to address. One was ready made from
my stash, the other a simple off-the-edge stamp on a small shipping tag from
the office supply store. Just like that, they are done and ready to be filled with a small gift
and some tissue paper.
Products used:

Buttons, craft wire – my stash
Papers – found printed shopping bag; old dictionary pages
Washi tapes – Dollar Tree and Target
Studio G red pigment ink
Die-cut wood snowflakes – Target
Yarn – I have Lily Sugar ‘n’ Cream Twists but any one in the right colors would work
Rubber stamp – Michaels

