
 |
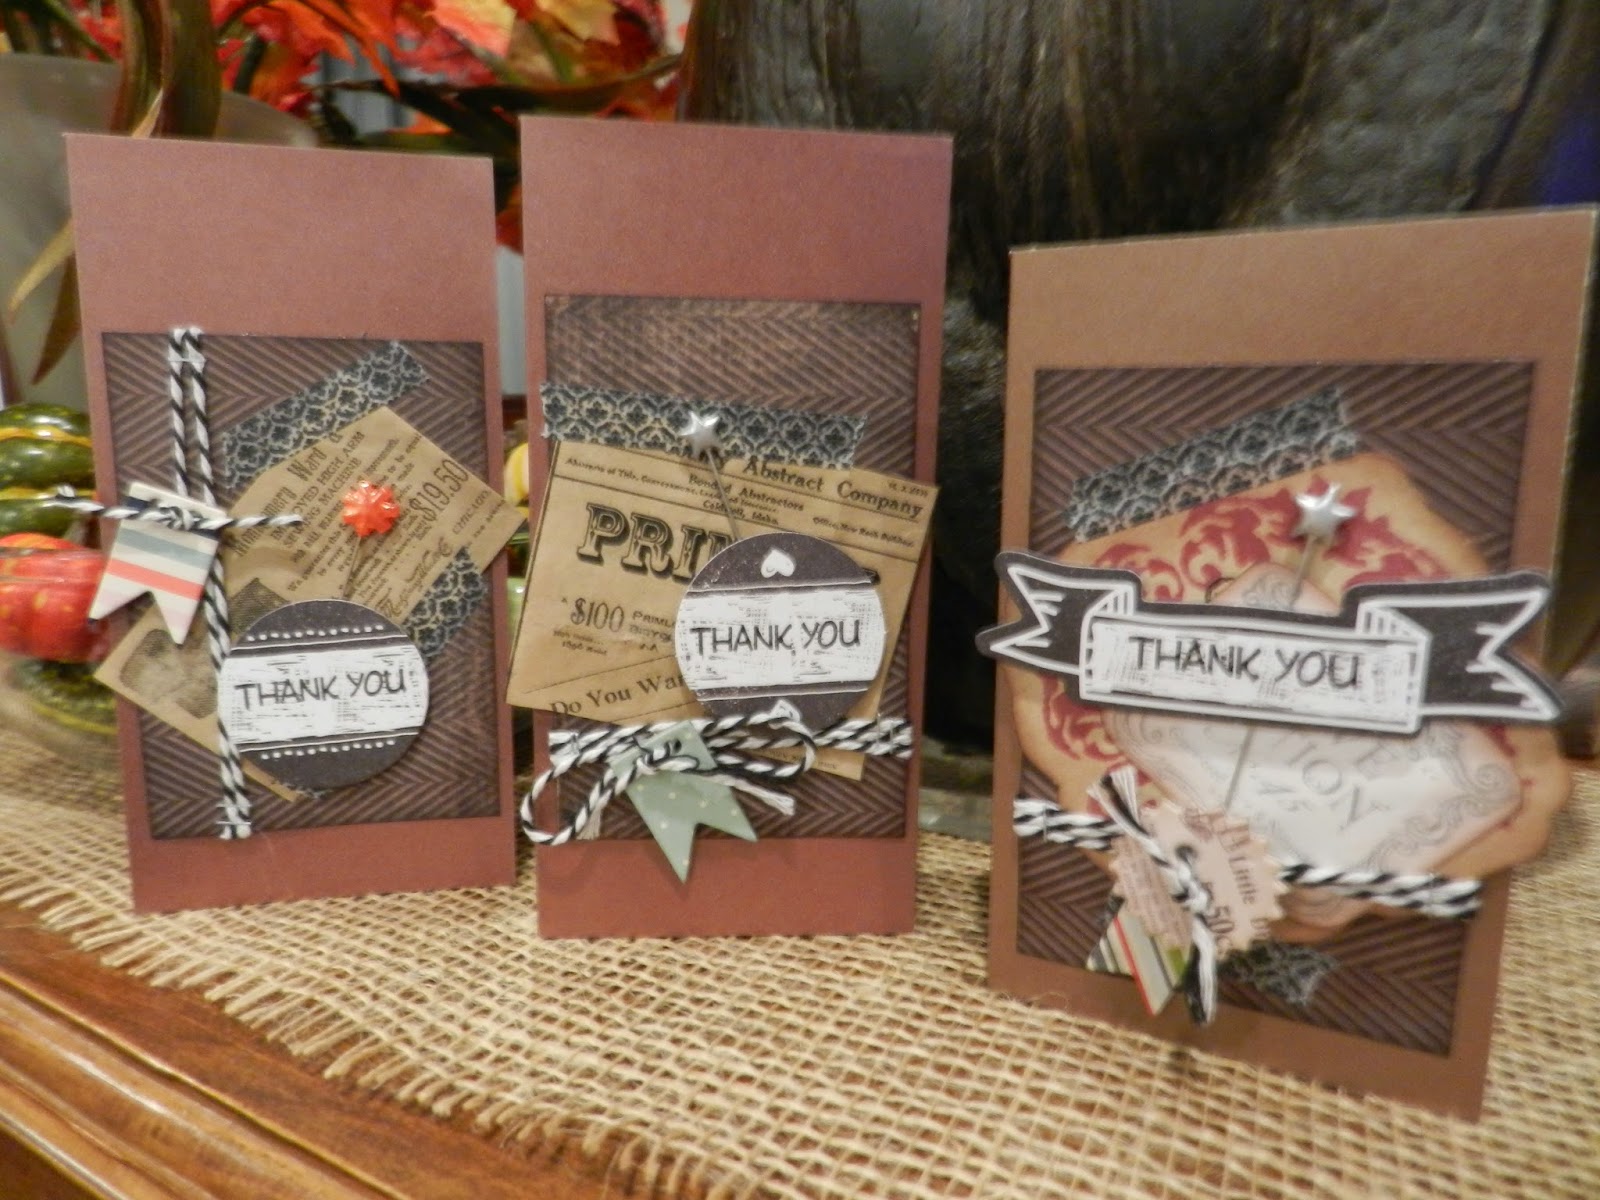
| Here’s the first group |
Robyn Coburn, DT alumnus here, with a guest post – a quick and easy card project.
My daughter’s birthday falls close to Halloween, and the
house is always decorated for her party. For her birthday Thank You cards last year, I
wanted to allude to the Halloween theme but also still evoke autumn and
Thanksgiving. My other favorite thing is layering mixed media.
house is always decorated for her party. For her birthday Thank You cards last year, I
wanted to allude to the Halloween theme but also still evoke autumn and
Thanksgiving. My other favorite thing is layering mixed media.
To start, I gathered all my materials together. I like
to lay out the small tools I use on my cutting board – so that I don’t
find myself searching half way through the project. In this case it was my Best Glue Ever, Embellie Gellie, Perfect Crafting Pouch and Perfect Cleaning Cloth. I
added a pair of scissors and my Tim Holtz Tiny Attacher.
to lay out the small tools I use on my cutting board – so that I don’t
find myself searching half way through the project. In this case it was my Best Glue Ever, Embellie Gellie, Perfect Crafting Pouch and Perfect Cleaning Cloth. I
added a pair of scissors and my Tim Holtz Tiny Attacher.
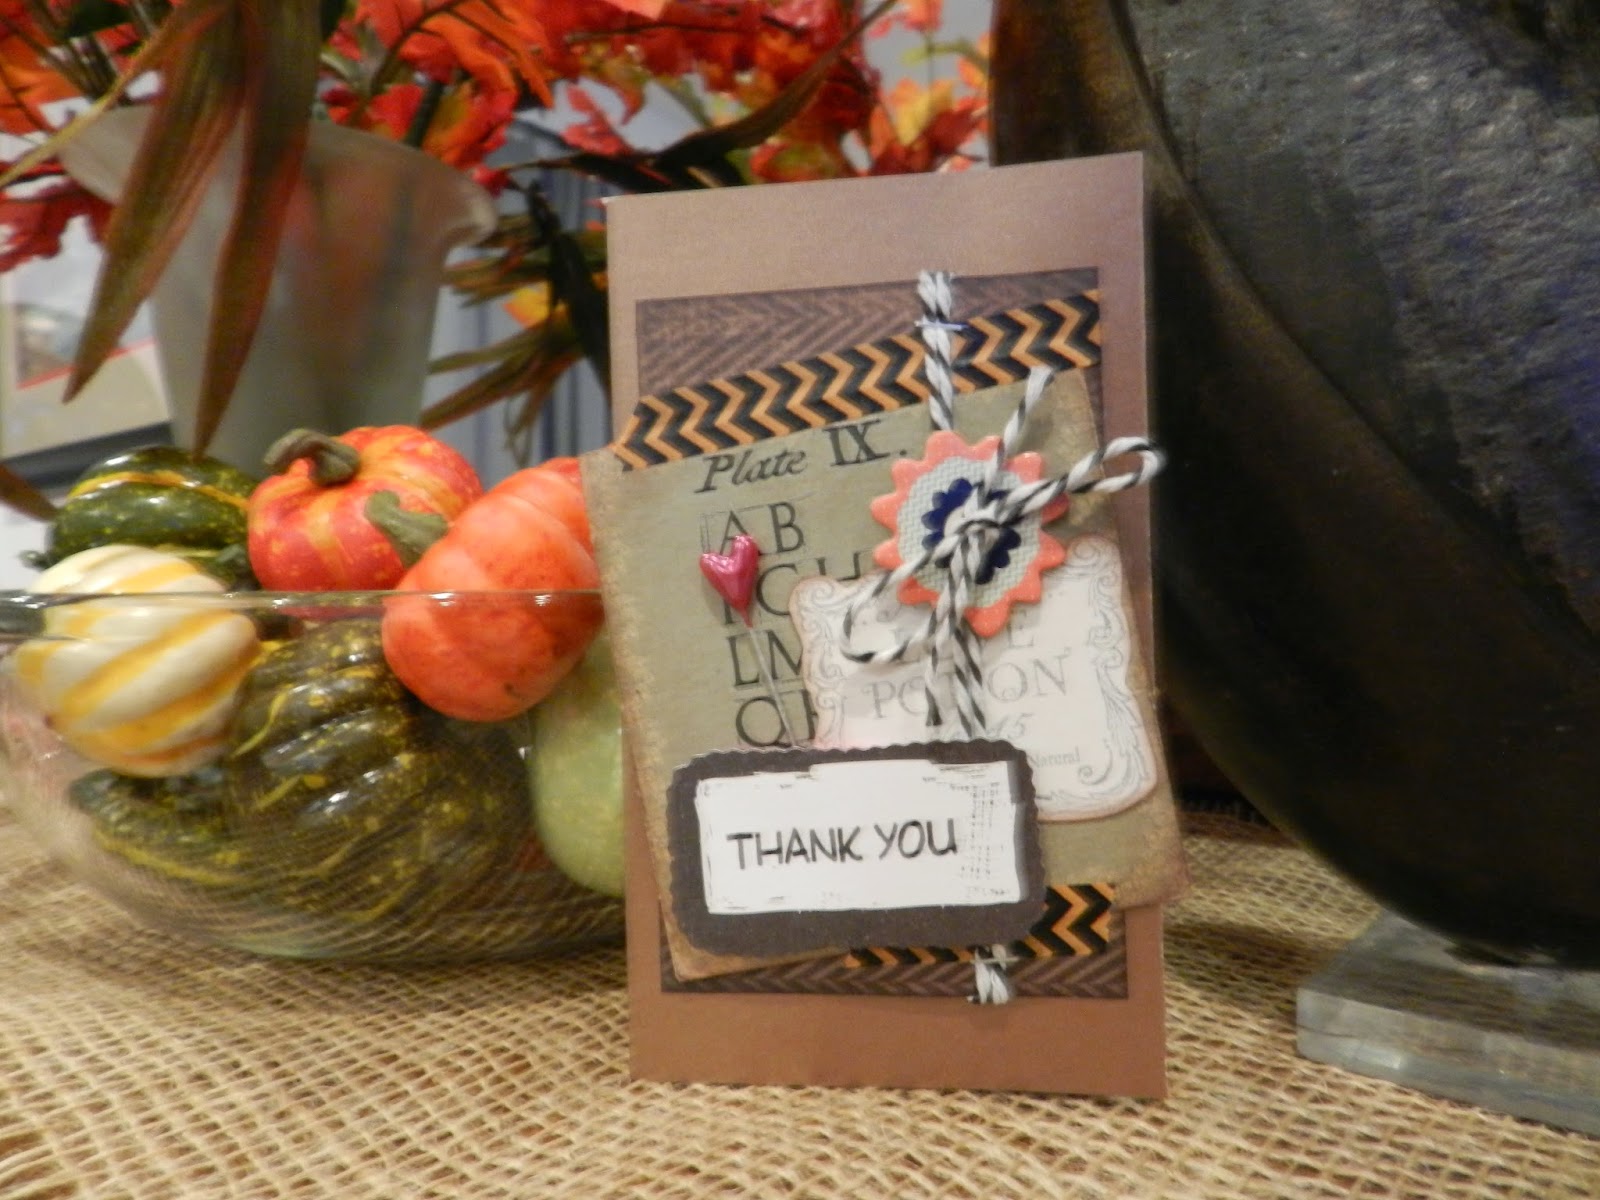 |
| Here’s that fussy cut stamped image, and a rub-on decorated tag |
When I have a bunch of cards to make, I like to make the
elements in batches. I cut the cards out – to fit some envelopes I had – and folded
them on my Martha Stewart Scoreboard. Then I cut a whole lot of pieces from the
nice chevron cardstock I chose as the bottom layer. I inked all the edges and,
being impatient, used the Perfect Crafting Pouch to dry that ink. I also
stamped some Halloween images on cream scrap cardstock and fussy cut them to be
ready, and prepped some tags with rub-ons. (above)
Then I prepped my “Thank You” message by stamping on a
selection of “chalkboard” cardstock tags. The chalkboard look is very current
and goes well with the theme. Again Perfect Crafting Pouch to dry the ink, and
the Perfect Cleaning Cloth to dust off the excess powder.
selection of “chalkboard” cardstock tags. The chalkboard look is very current
and goes well with the theme. Again Perfect Crafting Pouch to dry the ink, and
the Perfect Cleaning Cloth to dust off the excess powder.
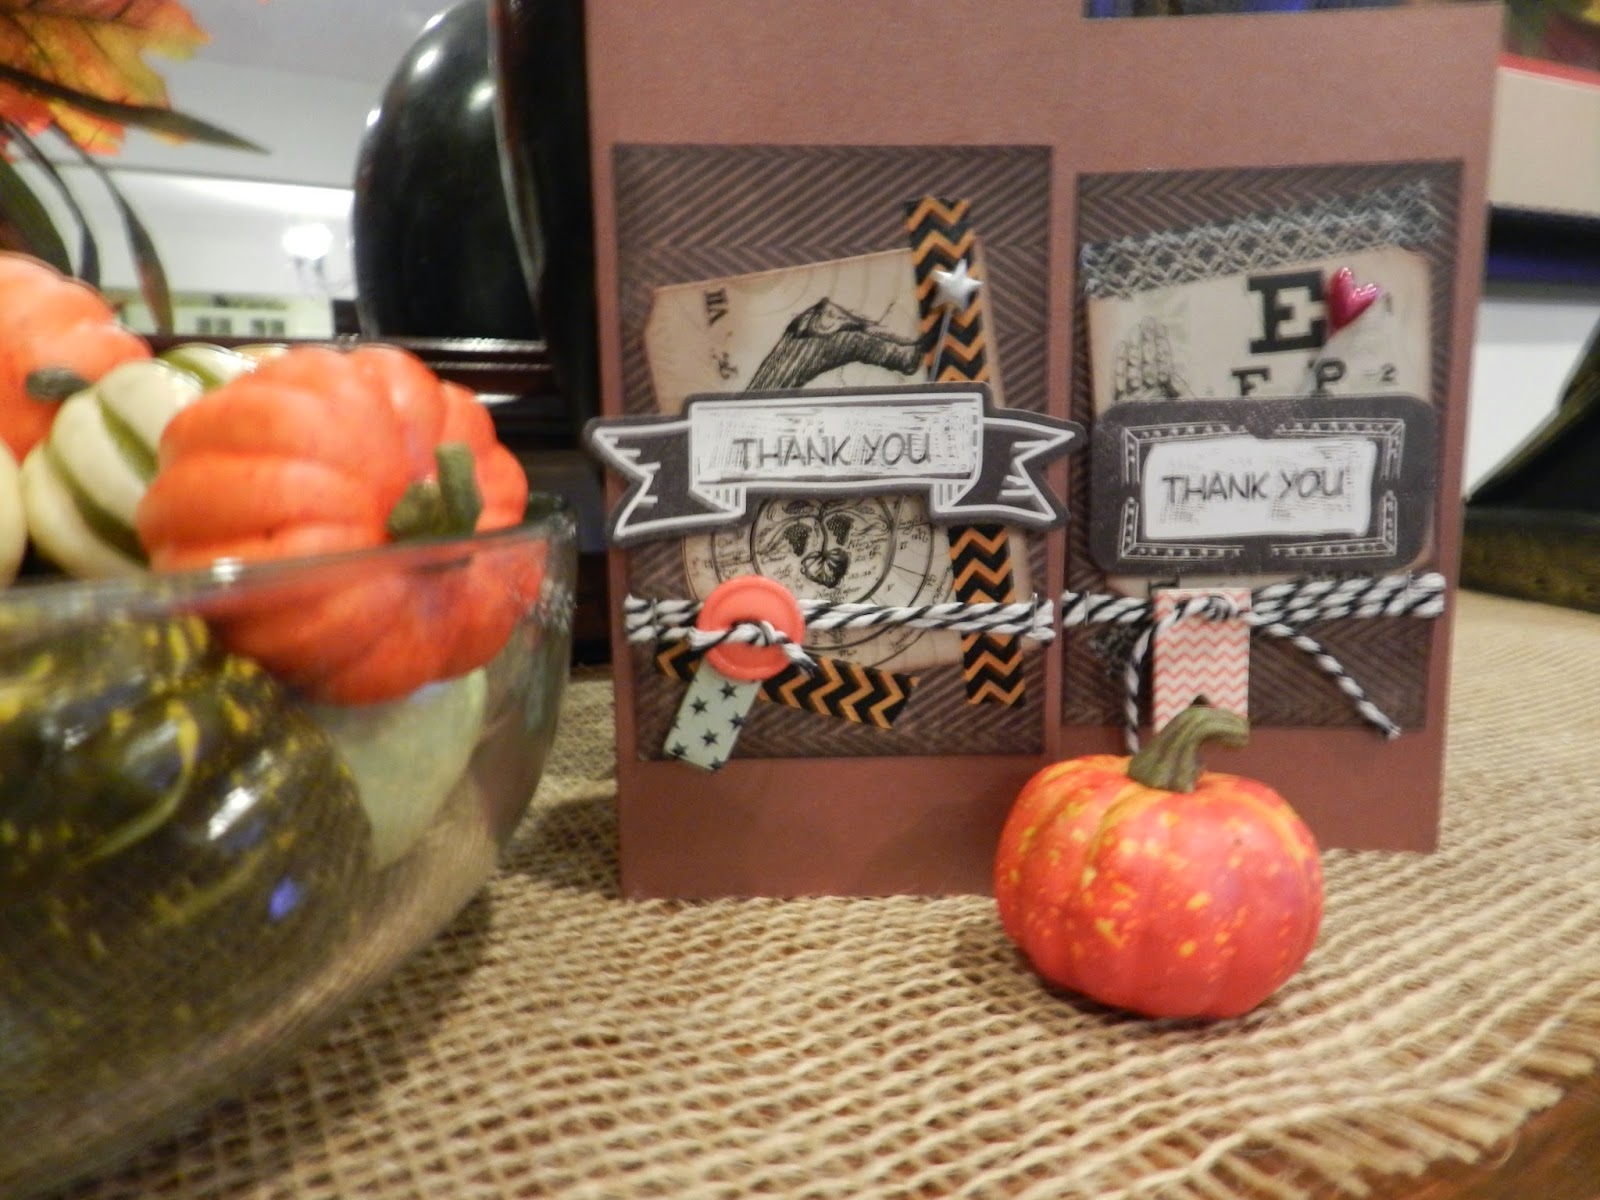
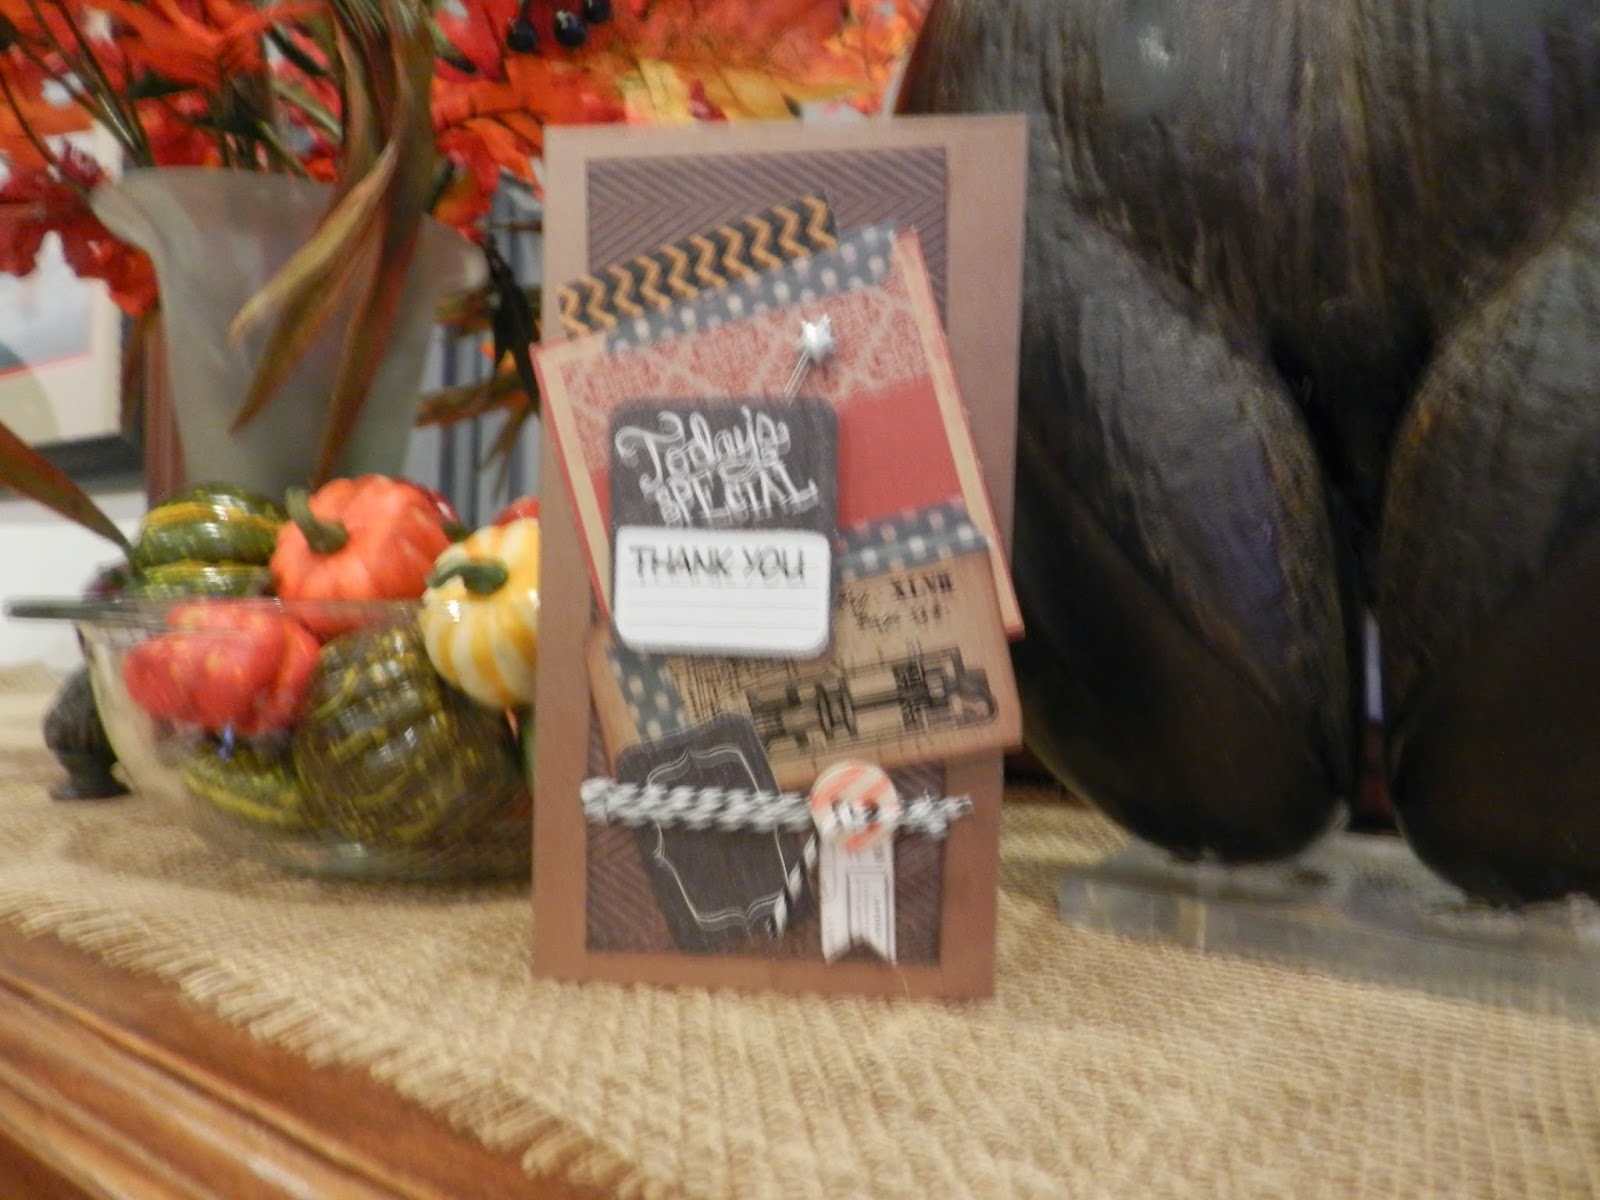
I glued some printed vintage images to the chevron print, and decorated them with washi tape. Then I wrapped the cardstock with some black and white baker’s twine, which I secured with the Tiny
Attacher. I tied on an assortment of chipboard tags or buttons in the fall
colors.
Attacher. I tied on an assortment of chipboard tags or buttons in the fall
colors.
Note: These chipboard mini-tags had either a foam glue pad
or sticky backs that didn’t help me – so I deactivated the sticky with the
Perfect Crafting Pouch.
or sticky backs that didn’t help me – so I deactivated the sticky with the
Perfect Crafting Pouch.
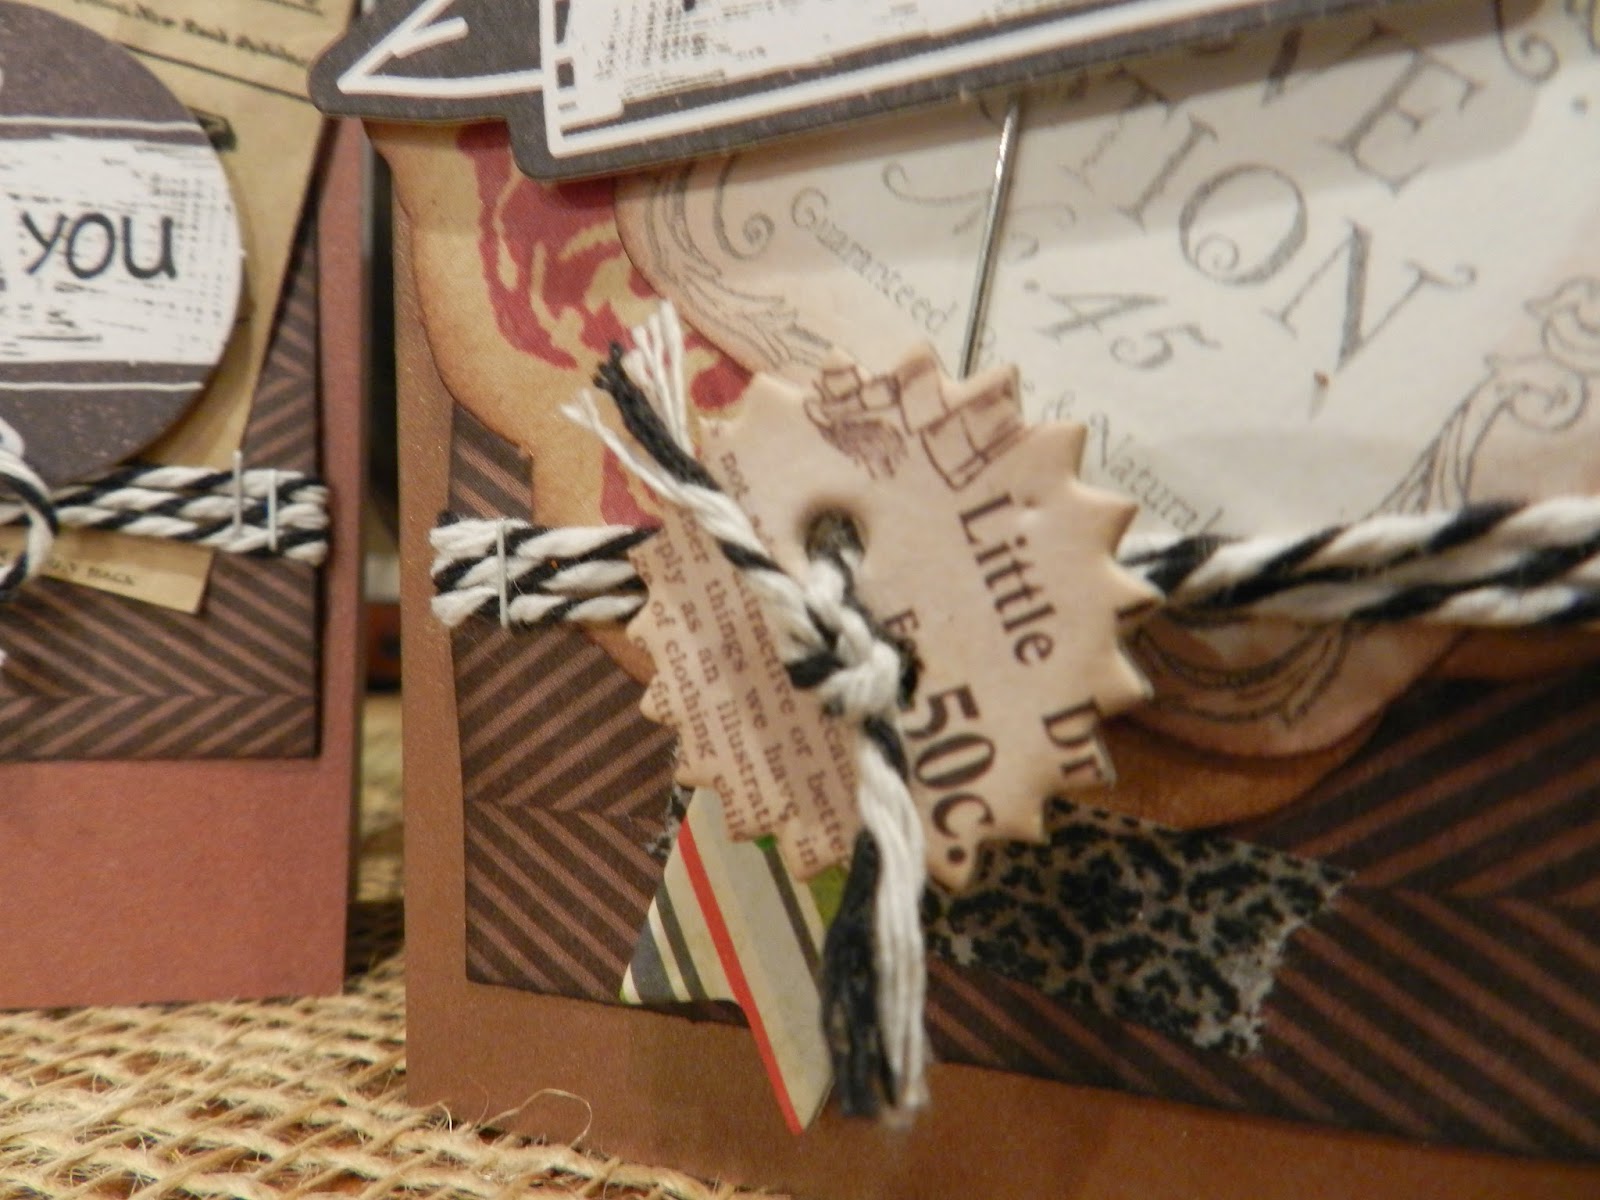
Then I added extra images or tags under the twine. I like to
put a few scattered spots of Best Glue Ever – since you need so little – then pick
up the elements with the Embellie Gellie, turn the element over by holding the
edge and then use the Embellie Gellie to place the piece on the surface. It’s a
lot easier to grab flat things with the Embellie Gellie than try to slide my
fingernails under them and risk snagging the edges.
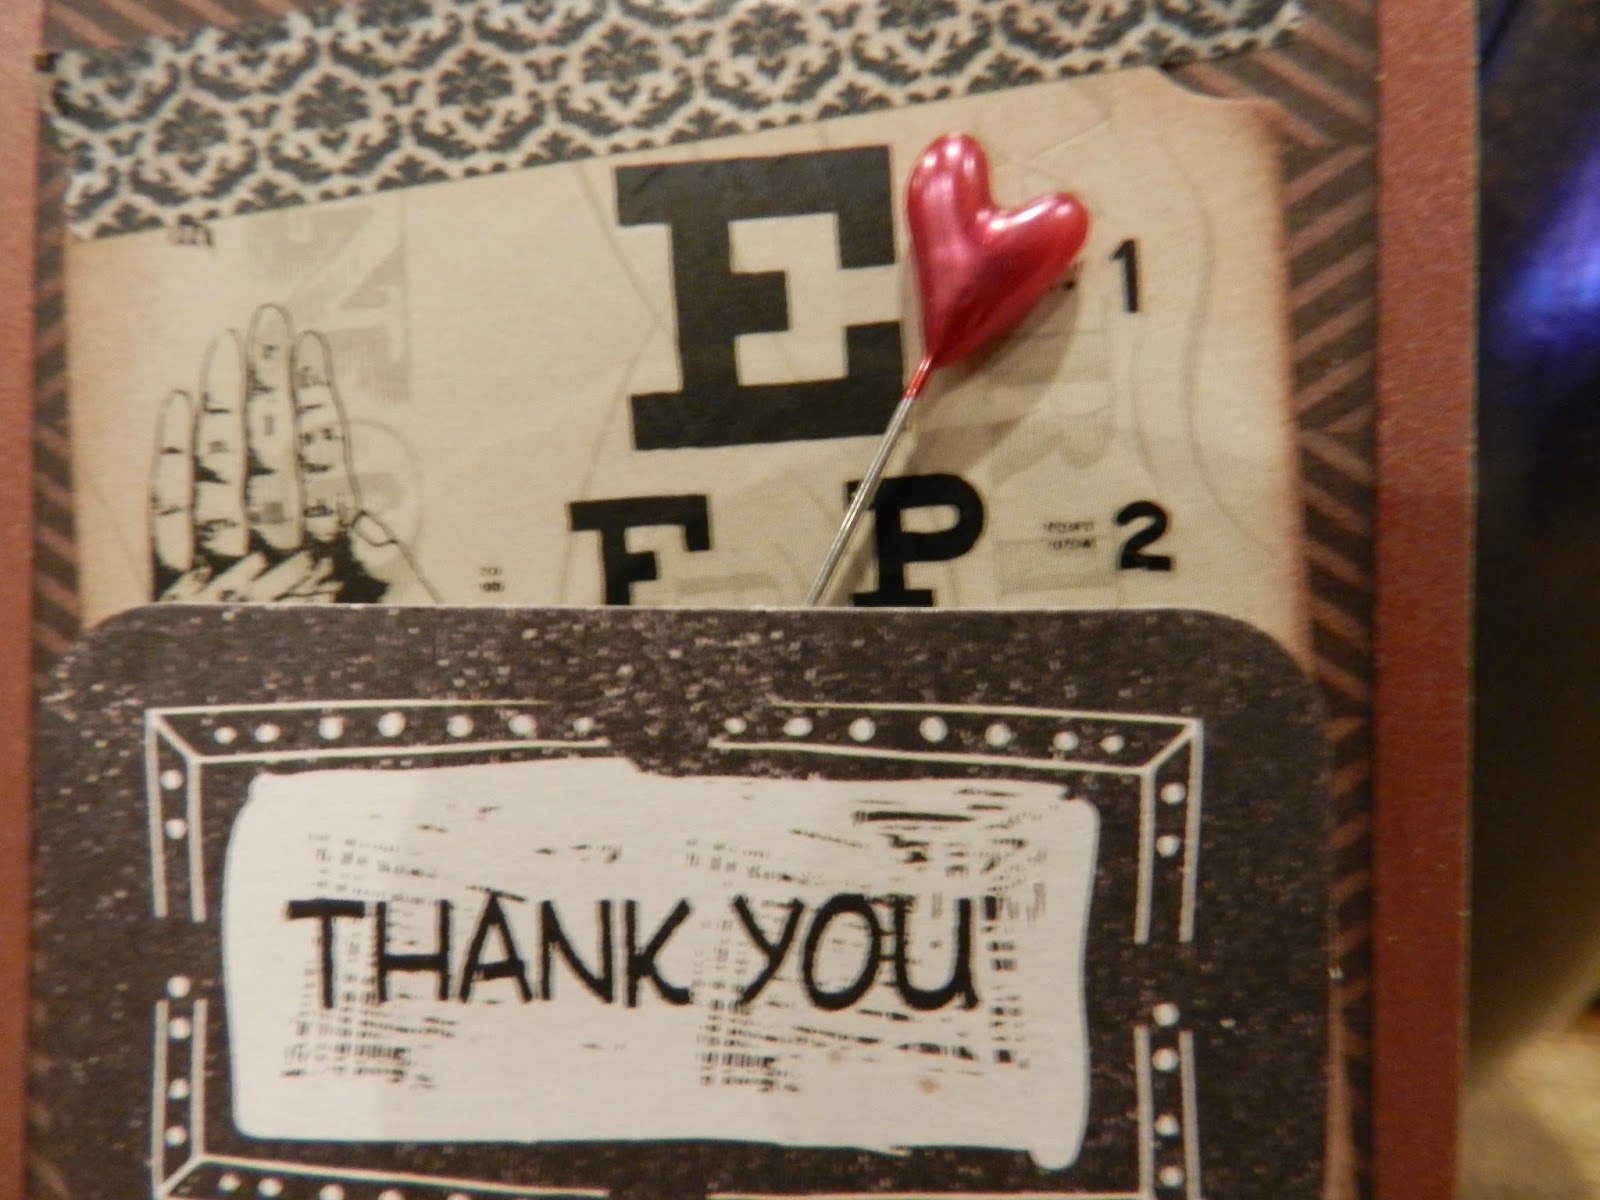
I raised the Thank You tag with craft foam shapes, which
Best Glue Ever handles perfectly. Then I glued the whole thing to the fronts of
the cards. The final touch was a pin, piercing the craft foam once the glue had
set up – which we know only takes a few minutes.
Best Glue Ever handles perfectly. Then I glued the whole thing to the fronts of
the cards. The final touch was a pin, piercing the craft foam once the glue had
set up – which we know only takes a few minutes.
Now, off to clean my stamps with Best Cleaner Ever.
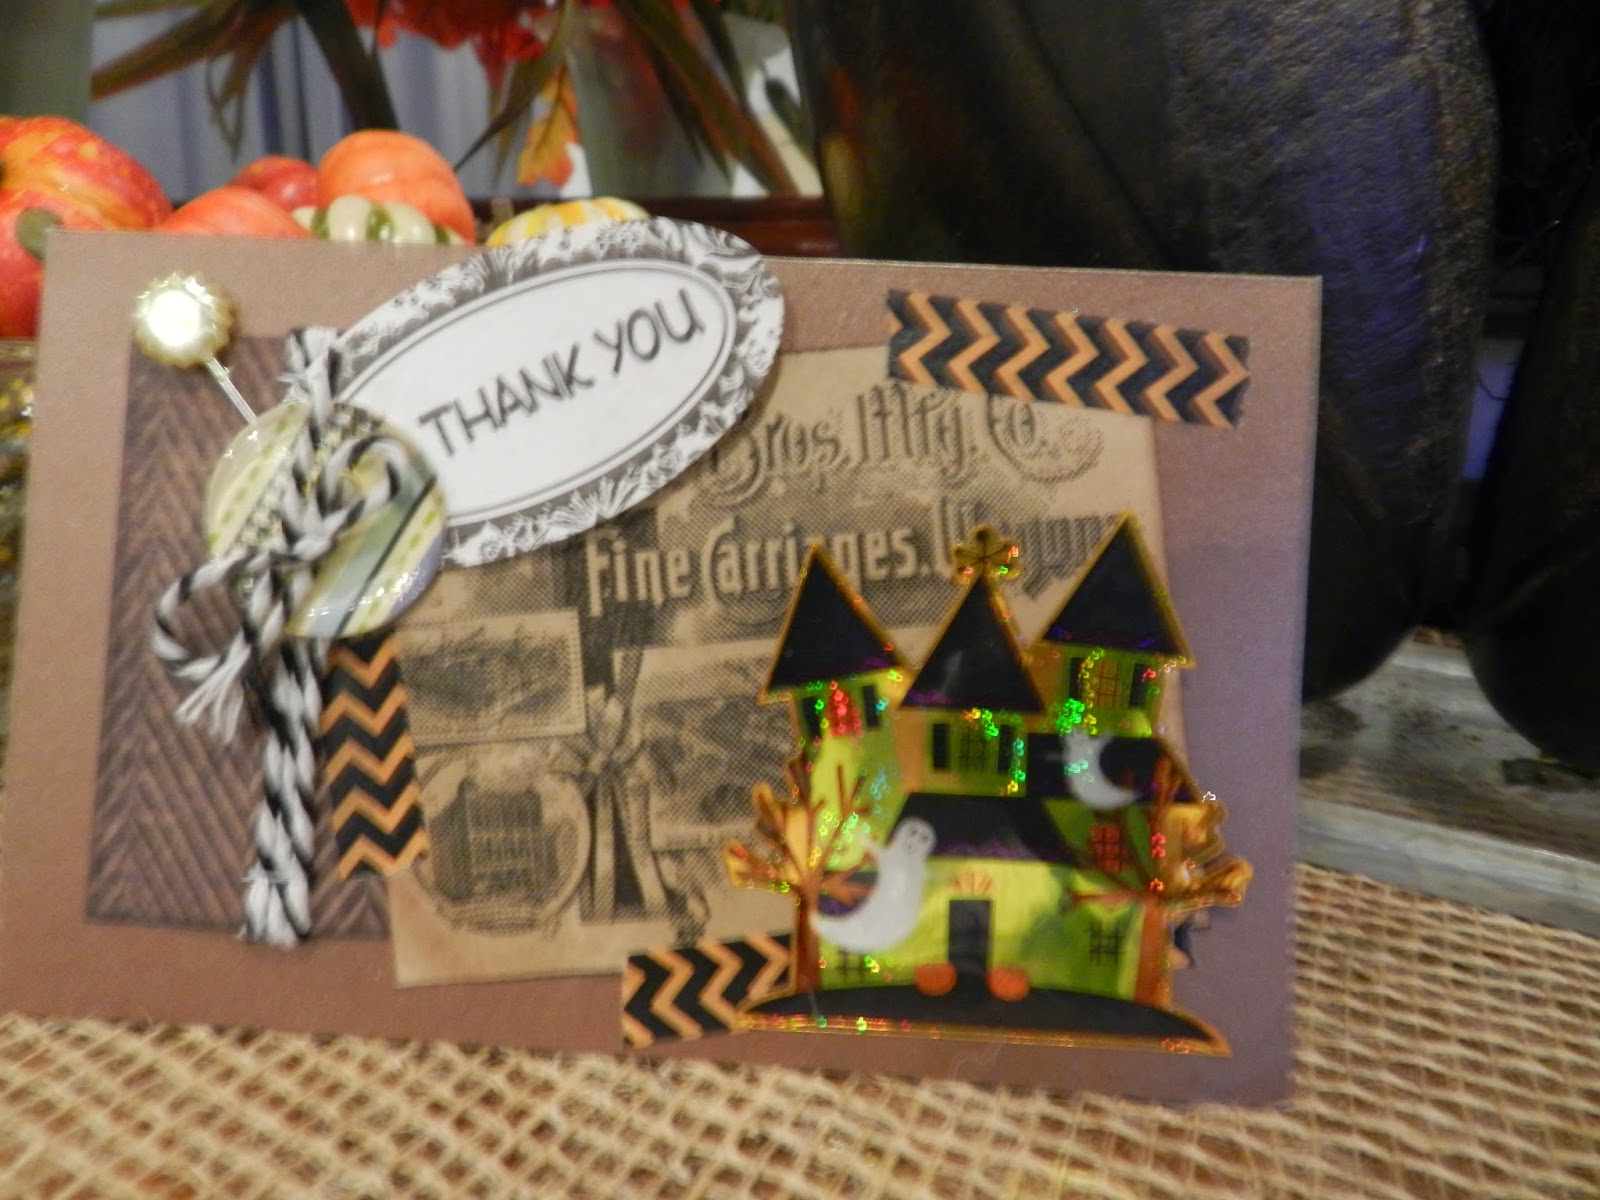 |
Here’s a slightly different one where I tried a Halloween sticker – it still looks fun and any themed sticker could be used in a similar way.
And here is a sketch of the design for you to adapt: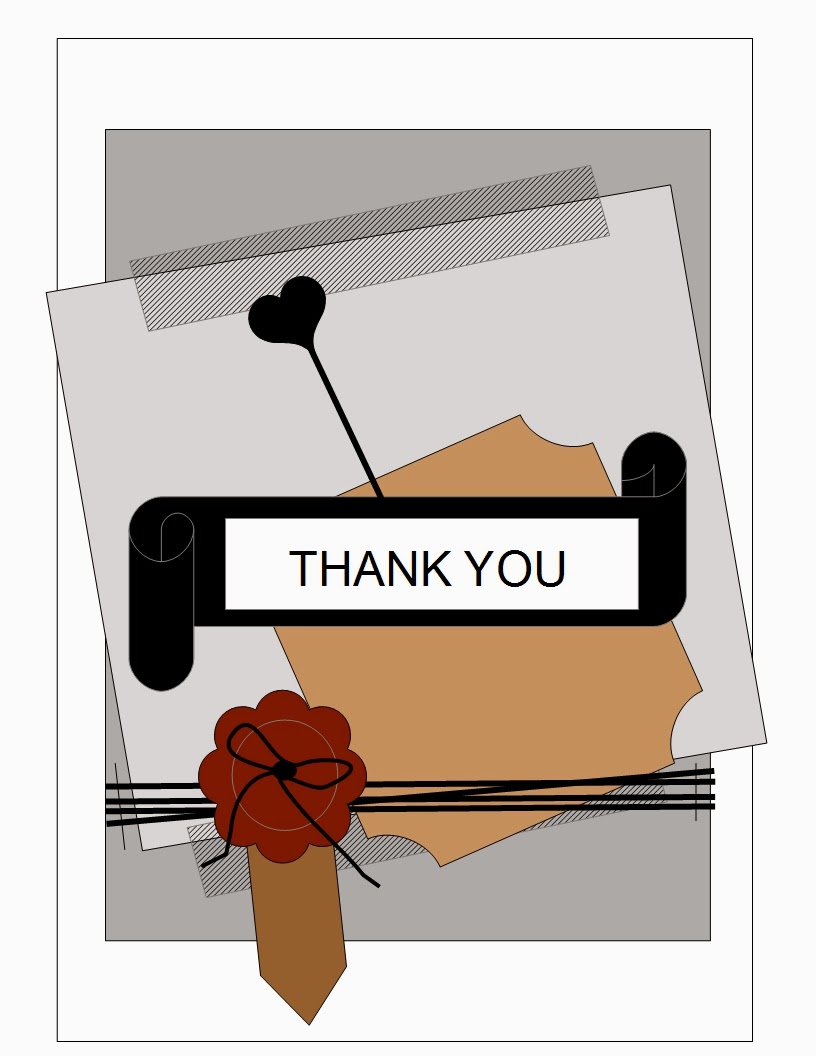 |

