
Watch the video or read step by step instructions (below)
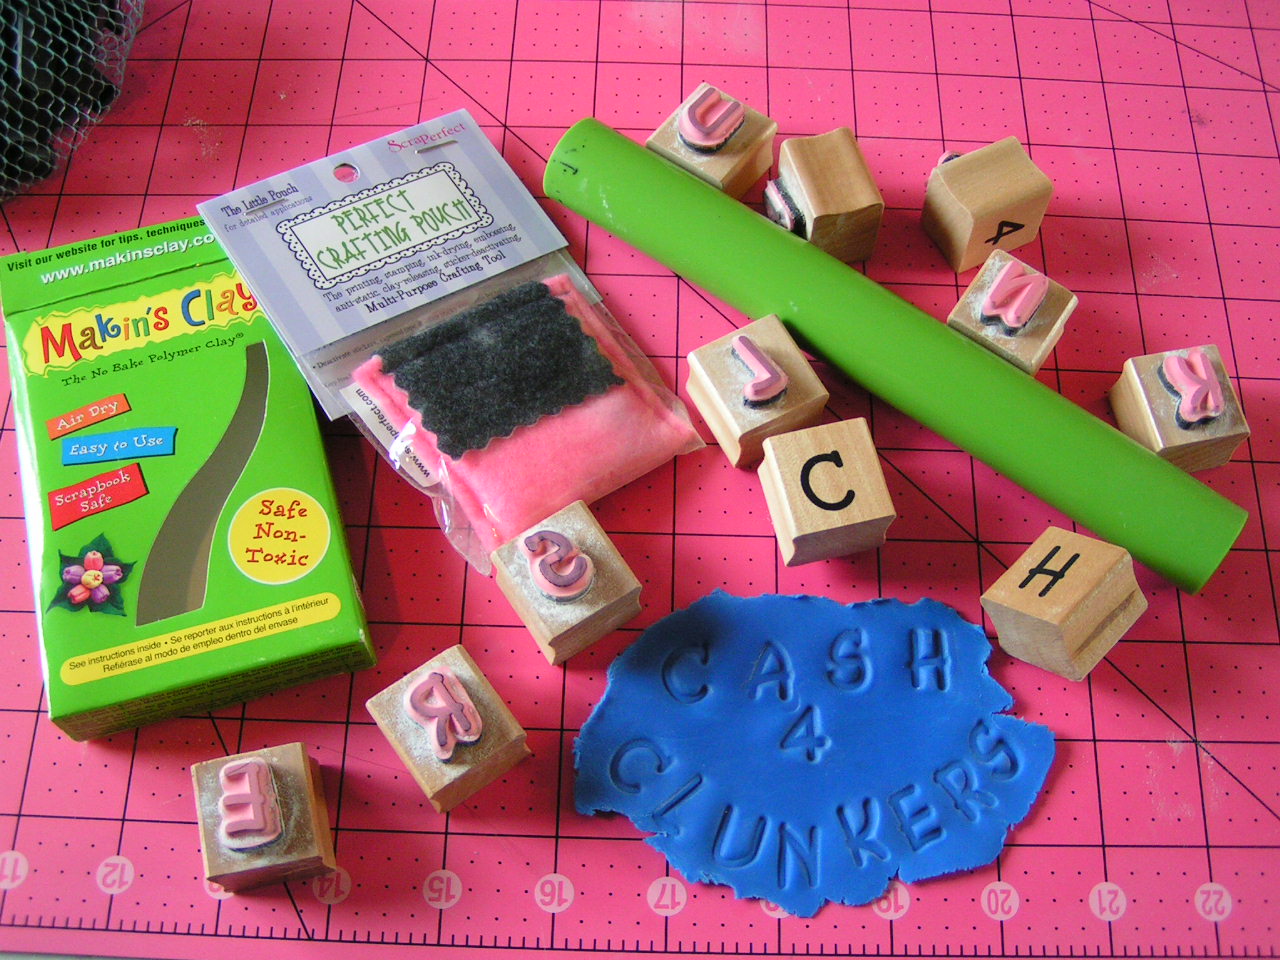
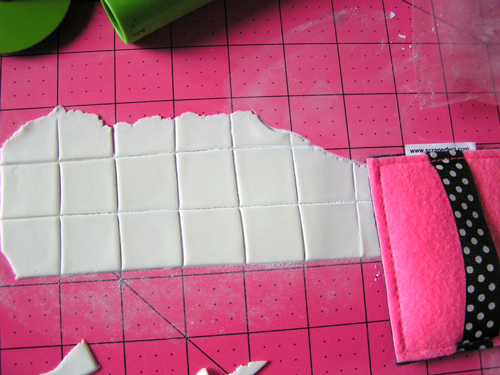
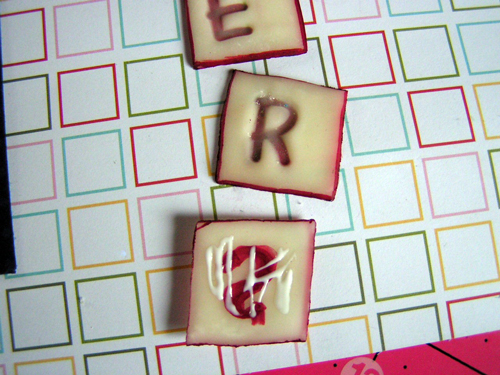
1. Roll out clay medium. I used Makins’ Clay. It’s air dry so there’s no oven needed. Other polymer clays will work fine but follow baking directions on label. I used a cutting mat for easy sizing of tiles. I used a pretty pink one from Westcott. I should have dusted the mat and the rolling pin with the PERFECT CRAFTING POUCH! The clay would not have sticked to the roller and lifting the tiles would have been easier, too.

2. Use the PERFECT CRAFTING POUCH as a release agent so the stamp won’t stick to the clay. I dusted the entire surface because I thought it would be easier. Other times, I dust the stamp directly and not the clay surface.
3. I pressed into the clay with a rubber stamp. The stamp made a perfectly crisp impression and did not stick at all! I wished I’d used the pouch on the mat and tools because there was some sticking. Lesson learned!

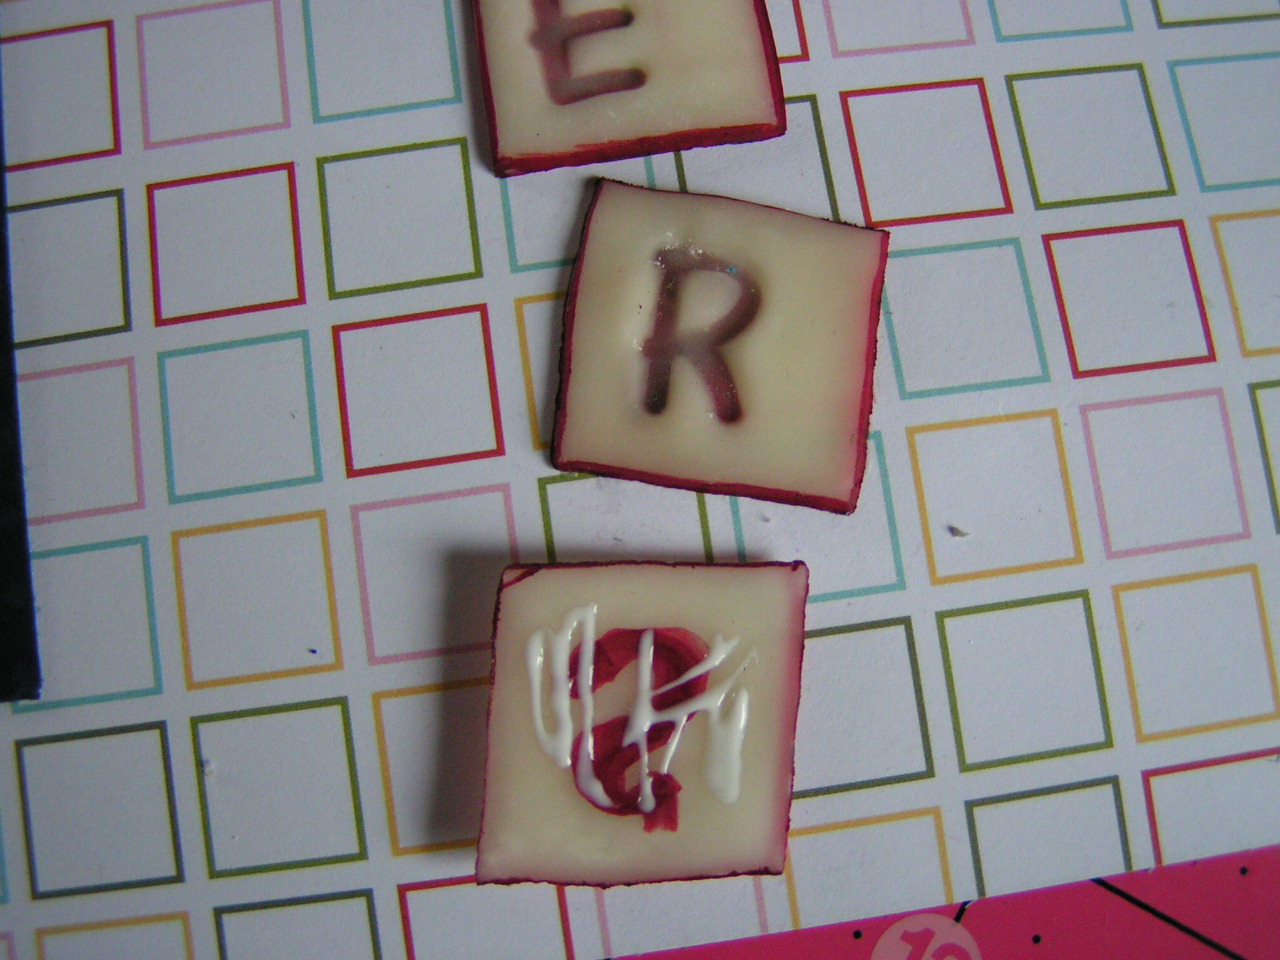
4. After the tiles were dry, I colored the back side and the edges with a marker. I’m sure any marker would have worked, but I had this Copic handy. I did dust the back of the tile with the pouch to stop any bleeding –just in case the marker would bleed.
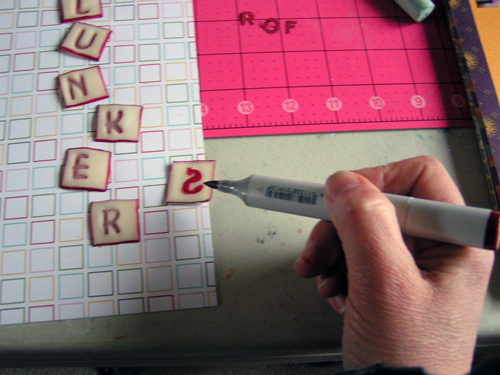
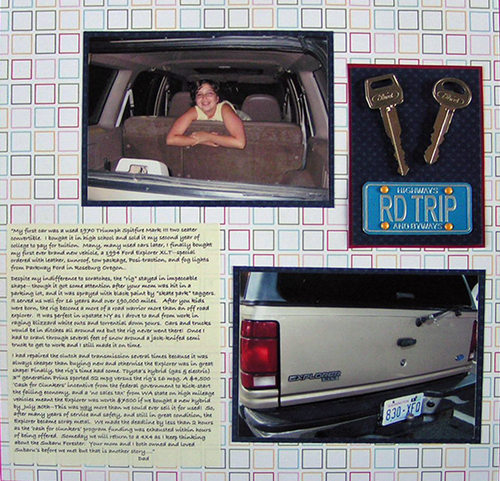
5. I put a little BEST GLUE EVER onto the back of the tile and adhered it to the page. The BEST GLUE EVER is wonderful because it grabs instantly to all kinds of materials like this polymer clay and the paper with no sliding of the tiles!
6. The dollar bill was scanned and printed on an inkjet printer.

7. I adhered the real keys as embellishments by applying the glue to the keys and letting it dry. The BEST GLUE EVER dries even tackier and the embellishment instantly adheres. I did this because the keys were so heavy and I didn’t want to risk them sliding on the paper while the glue dried.
Note: This was the first time I asked my husband to write the journaling, but because the car was his, I thought it would be fitting. It was so cool to read his reflections on his “car history”.
– Amy

