
Hi All-
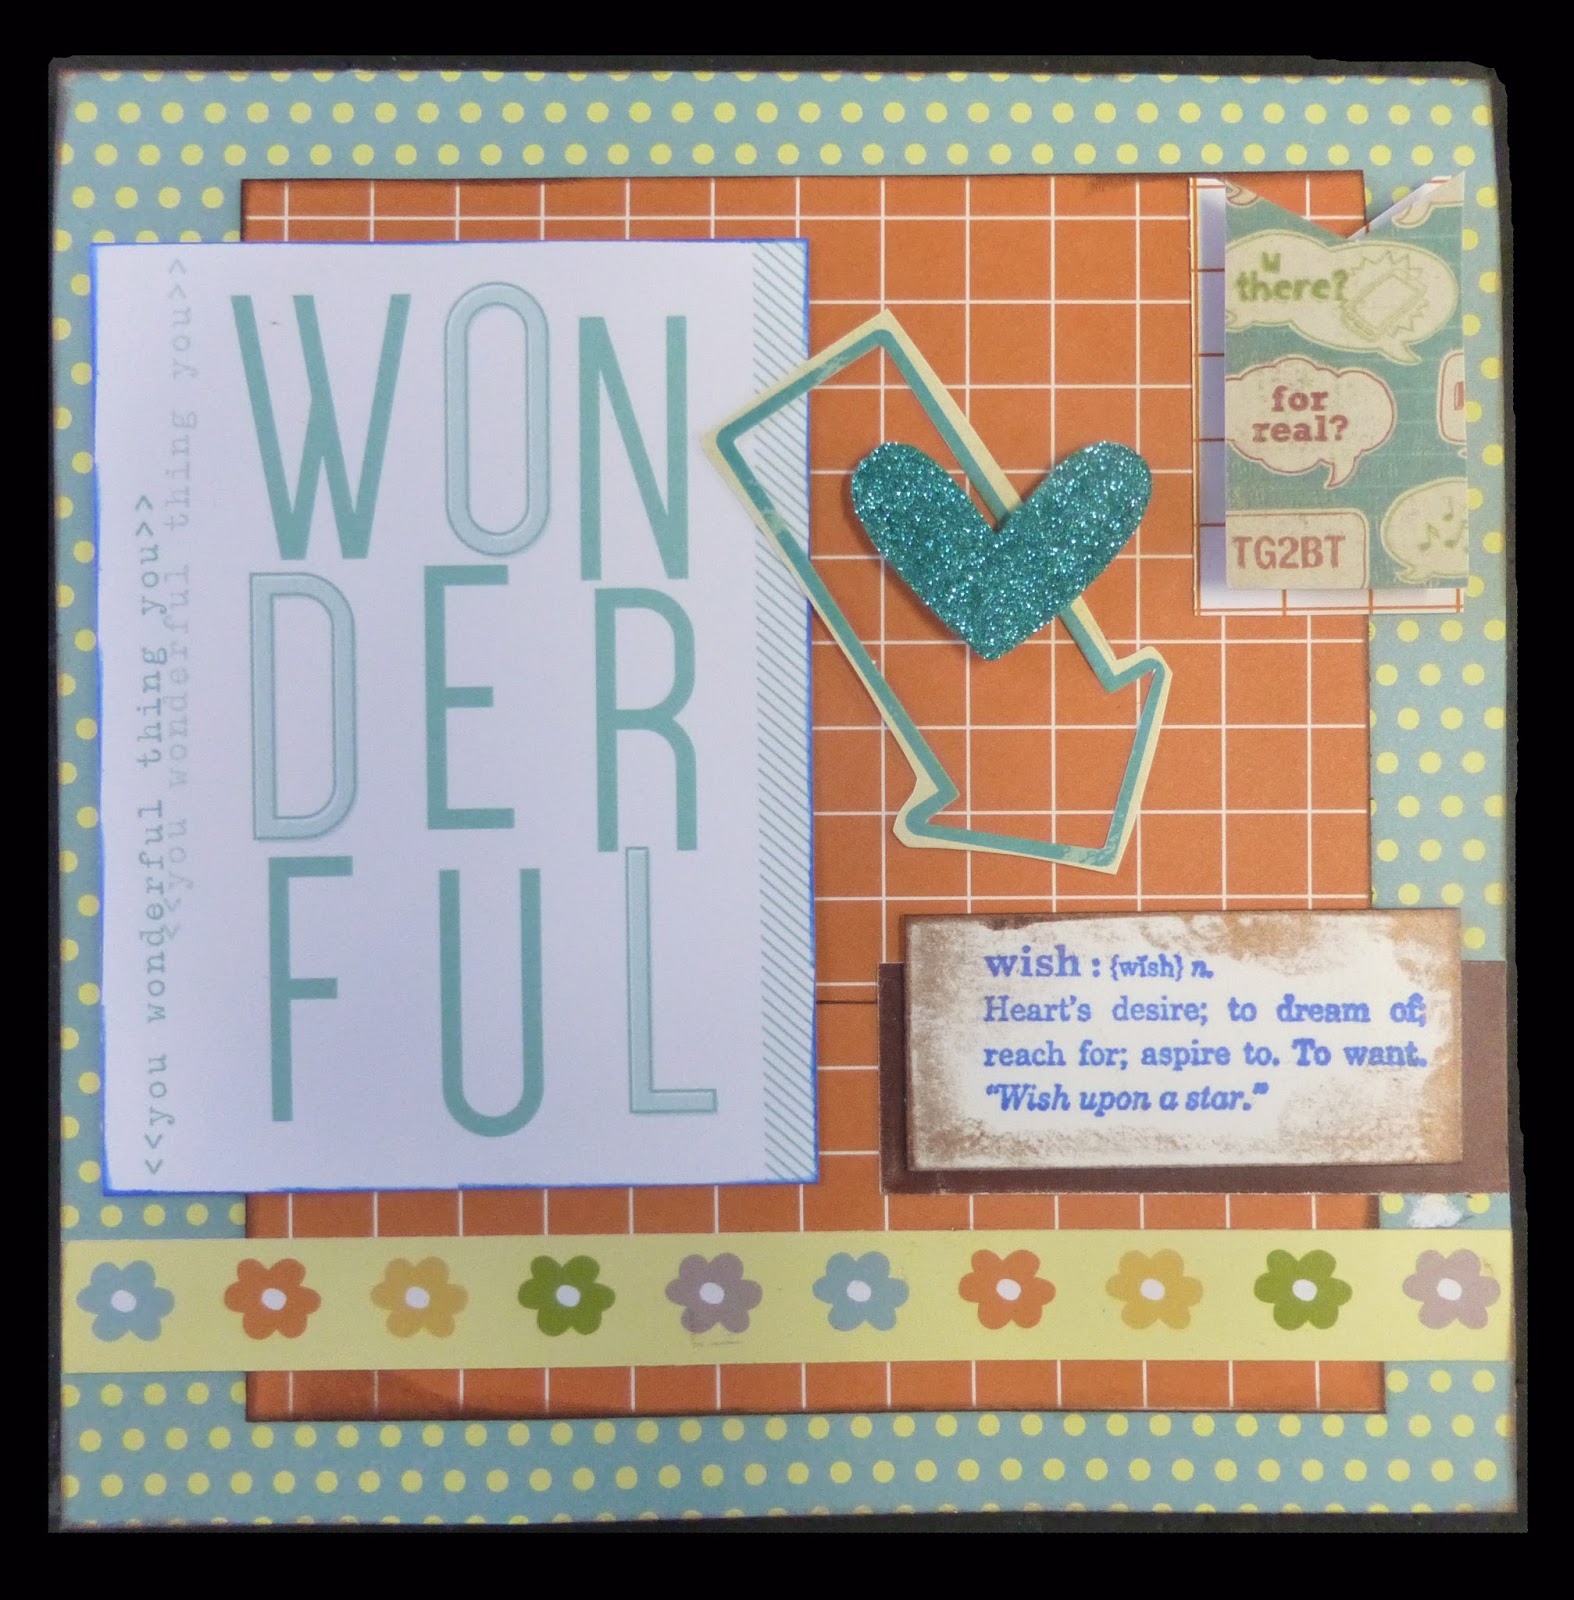 Amy here to remind you that while you might not have a reason for a Wonderful card and may not have the exact paper or embellishments, there are often elements that you’ll want to add to your own bag of tricks. Isn’t this the case on many projects you find on blogs and boards?
Check out these NINE technique, ideas and tips,
using the image below as a reference on each explanation.
P.S. Be sure to read the explanation for #9. It’s a lifesaver!
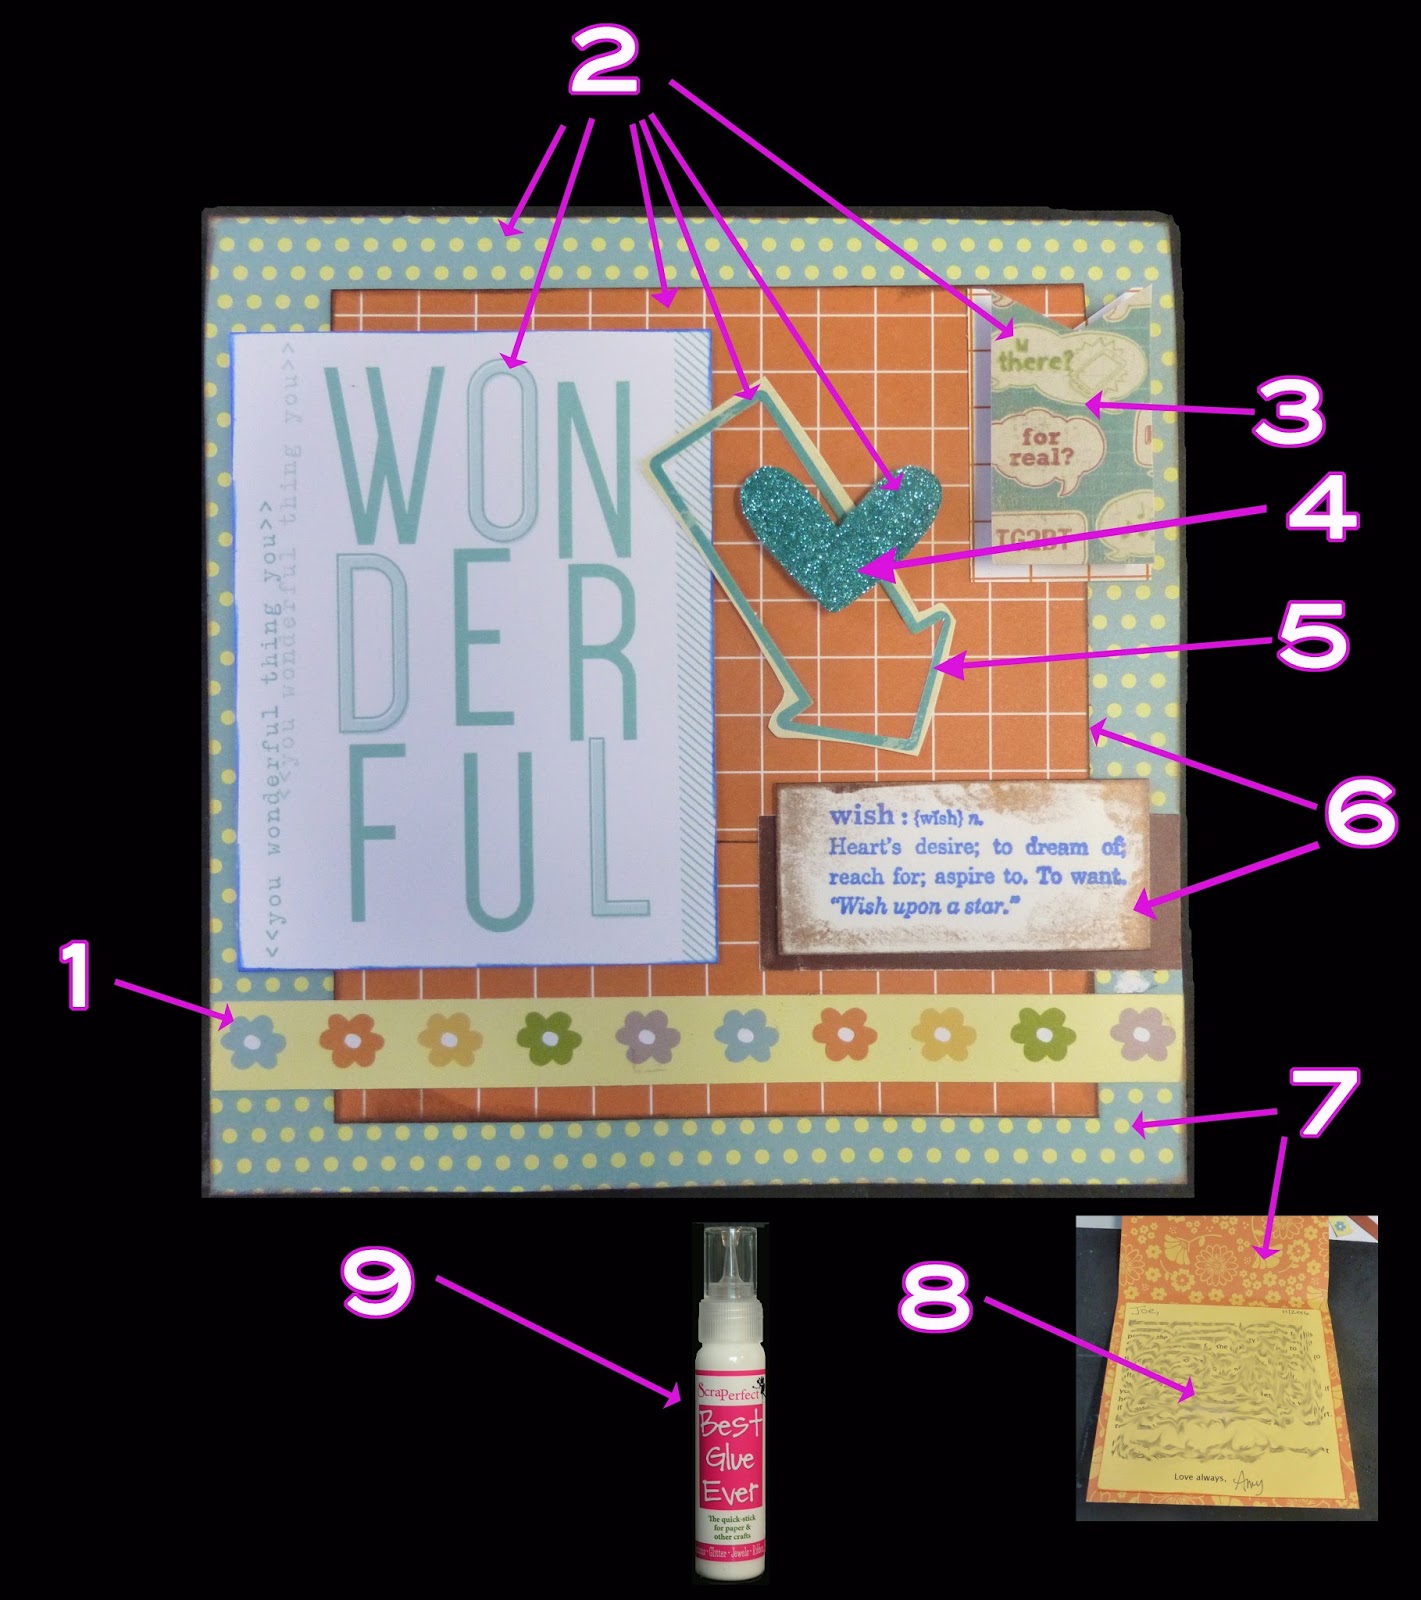
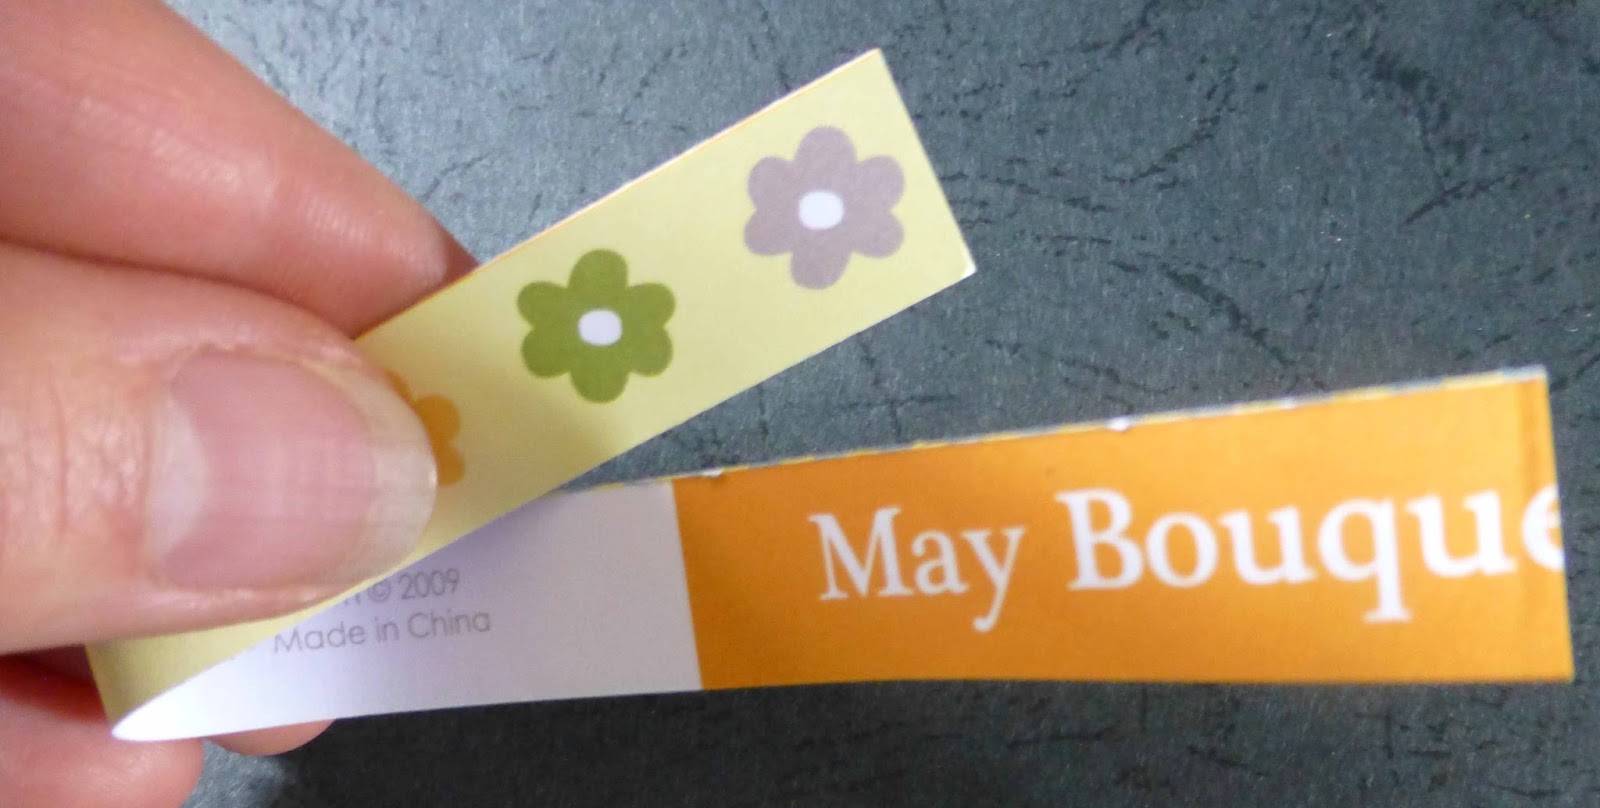
1. Some two-sided papers have a fun “bonus” on the back of barcode strip that is a different pattern from either of the sides. Cut it off and use in your projects!
2. Coordinate many different flowers, dots, checks, and line patterns as long as they have similar color families. The orange, yellow and teal holds this rag-tag group of elements together!

3. Create 3-D embellishments by adhering a small scrap of corrugated cardboard to the back. This is an alternative to foam tape which is not only free but andit comes in any size you need. To make the 3-D embellishment a little more fancy, I backed the first
 piece of patterned paper with a slightly larger and different pattern.
4. Coat a paper shape with ScraPerfect’s Best Glue Ever™ and sprinkle it with glitter. In a minute or two when the glue is dry, wipe the glittery surface with the Perfect Cleaning Cloth™ to remove any unstuck flecks. This glue hold strong it holds the glitter well, and by removing the unstuck ones with the cloth, you won’t have a continual glitter mess as you often do with other glues. Glue a piece of corrugated cardboard to the back for that extra 3-D pop!
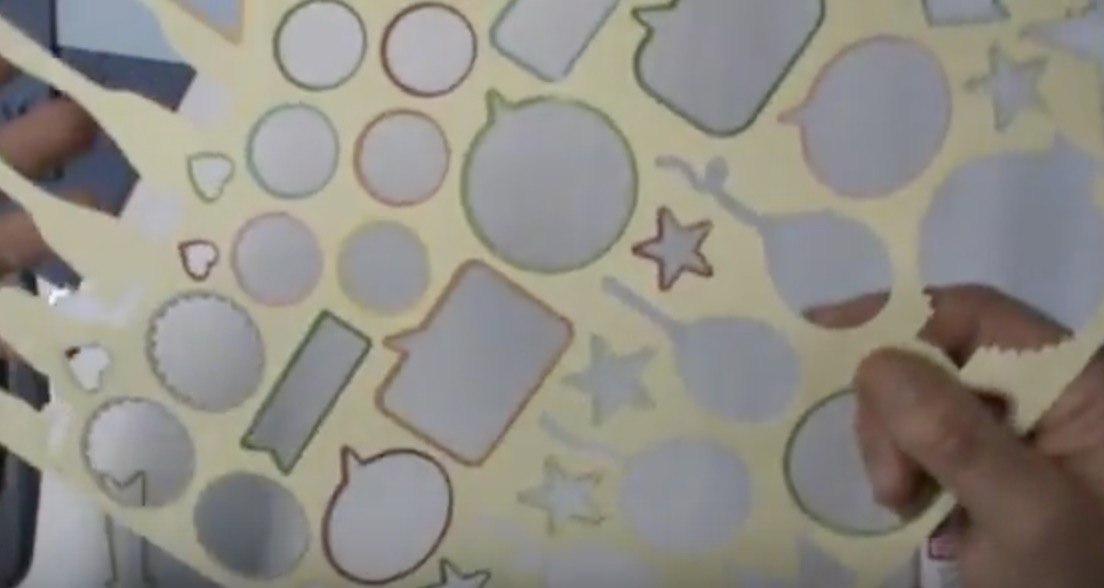
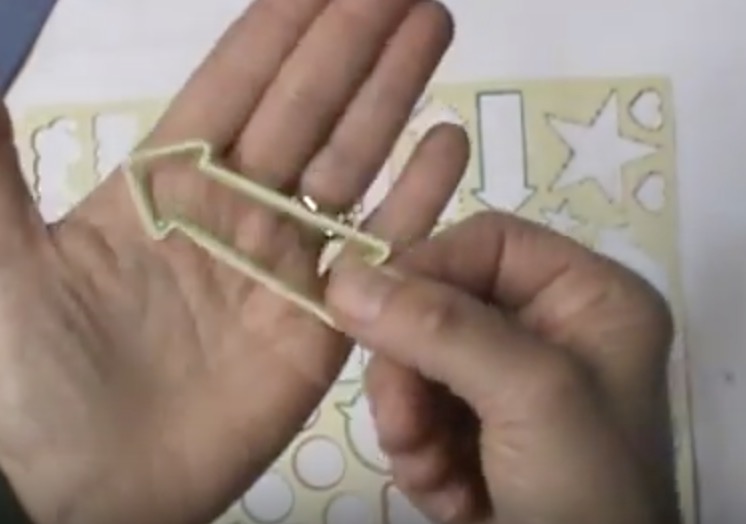 5. When popping die cuts from sheet of cutouts, trim outside the outside on the sheet you normally would toss to get a second die cut for free! You can do this with stickers as well! See it in this VIDEO at the 2 min 54 second mark!
6. Outline the scraps and card edges with an ink pad, chalk or other color media to give a more finished edge.
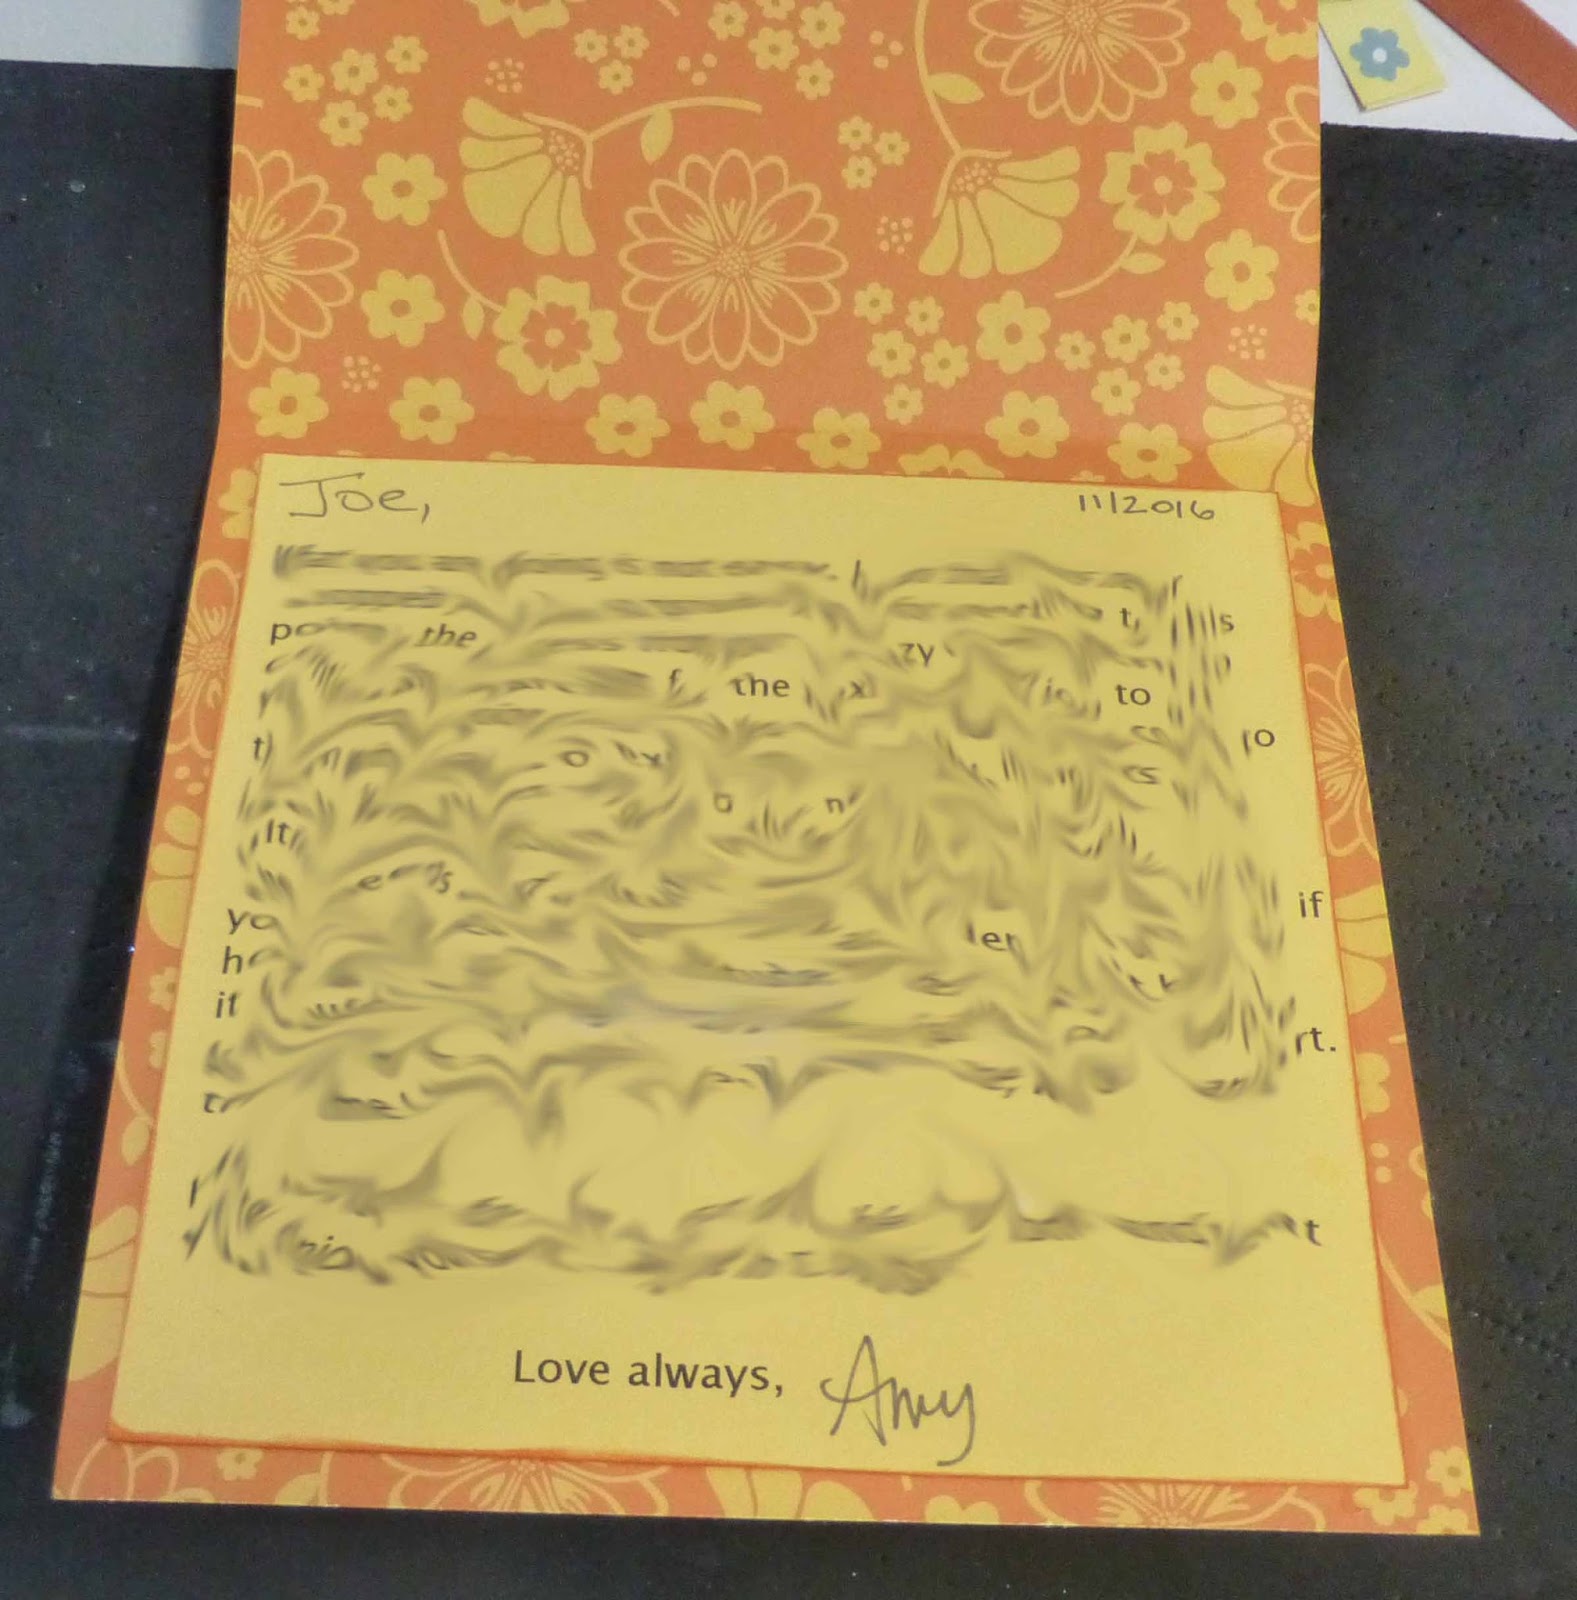 7. Use double-sided patterned paper for the background to give a pretty inside as well outside! If the pattern is too distracting for writing on, simply glue a piece of coordinating cardstock inside
8. Use my “Million Dollar Printing Technique” to create a message inside, a personalized embellishment, or to print on the front of the card. You can print in any font or size, and use all sorts of scraps and shapes. It’s like having rubber stamps in any phrase and any size!
Honestly, it’s so easy and MUCH EASIER to do than it is to explain!
Or this VIDEO where I print on a scrap of fabric.
Or again on this VIDEO!
(I made it more challenging by demonstrating how to print on and around hearts!)
Steps:
1. Using your word processing application write in any font, and size you wish to fit your project needs. (Using a text box is recommended.
2. Print it on regular printer paper. Do not close or change the document on your computer. (Check the printed image with your project and edit as necessary. Repeat this step until the printed image is exactly how you want it.)
3. Cut or tear a piece of whatever paper you want for your project just large enough to cover the printed words. (You can trim it after, but the ore trimming, the more you are wasting.)
4. Using an easily removable tape such as masking, painters, or washi, adhere the piece of project paper right onto the printer paper so it covers the words.
TIP: Wipe the piece with ScraPerfect’s Perfect Crafting Pouch to achieve a crisper, more perfect printed image. This is most necessary with absorbent or coated, resistant papers such as handmade paper, vellum, or fabric, but you may also see an improvement on regular cardstock!)
5. Put the printer paper back into the tray and reprint the exact same message so that the image will be printed onto the scrap. (With an most hp printers, for example, this means putting the paper face down into the paper tray. You may need to experiment with your printer to determine how to place the paper back into the tray.
9. Use the Best Glue Ever™ to adhere all embellishments and everything on your project. This is a super strong glue, that grabs and dries very quickly! It actually gets tackier as it dries, so you don’t have to worry about rushing to get it all adhered. It dries invisible and crystal clear which is especially important if you are using vellum, acetate, or acrylic. It is perfect for glitter and other fine bling, yet its also perfect for wood, metal, plastic embellishments, too. Of course, it works beautifully with paper without wrinkling. Plus, such a minimal amount is required for the super strong bond that one bottle will last a VERY long time and yet it doesn’t dry out. All this means you only need to buy one bottle of glue which saves you space and saves you money!

