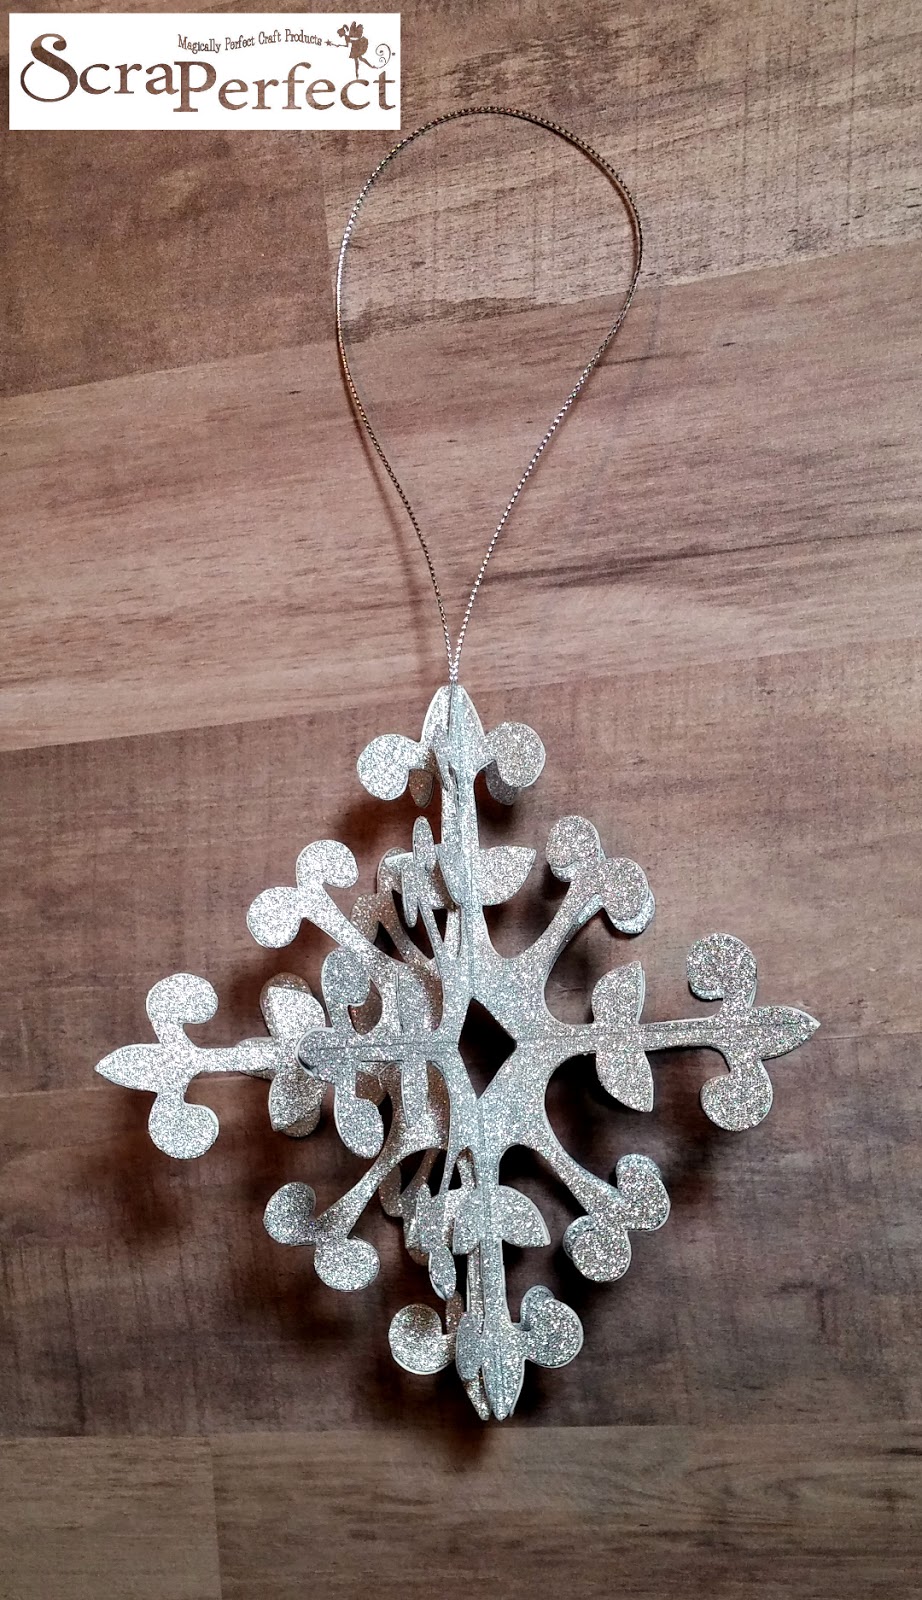
Hello crafty friends! Kathy here from Create.365 and today’s project is all about getting ready for the holidays by making glittery 3D hanging Snowflake ornaments -these will work to hang from either your Christmas tree or your fireplace mantel.
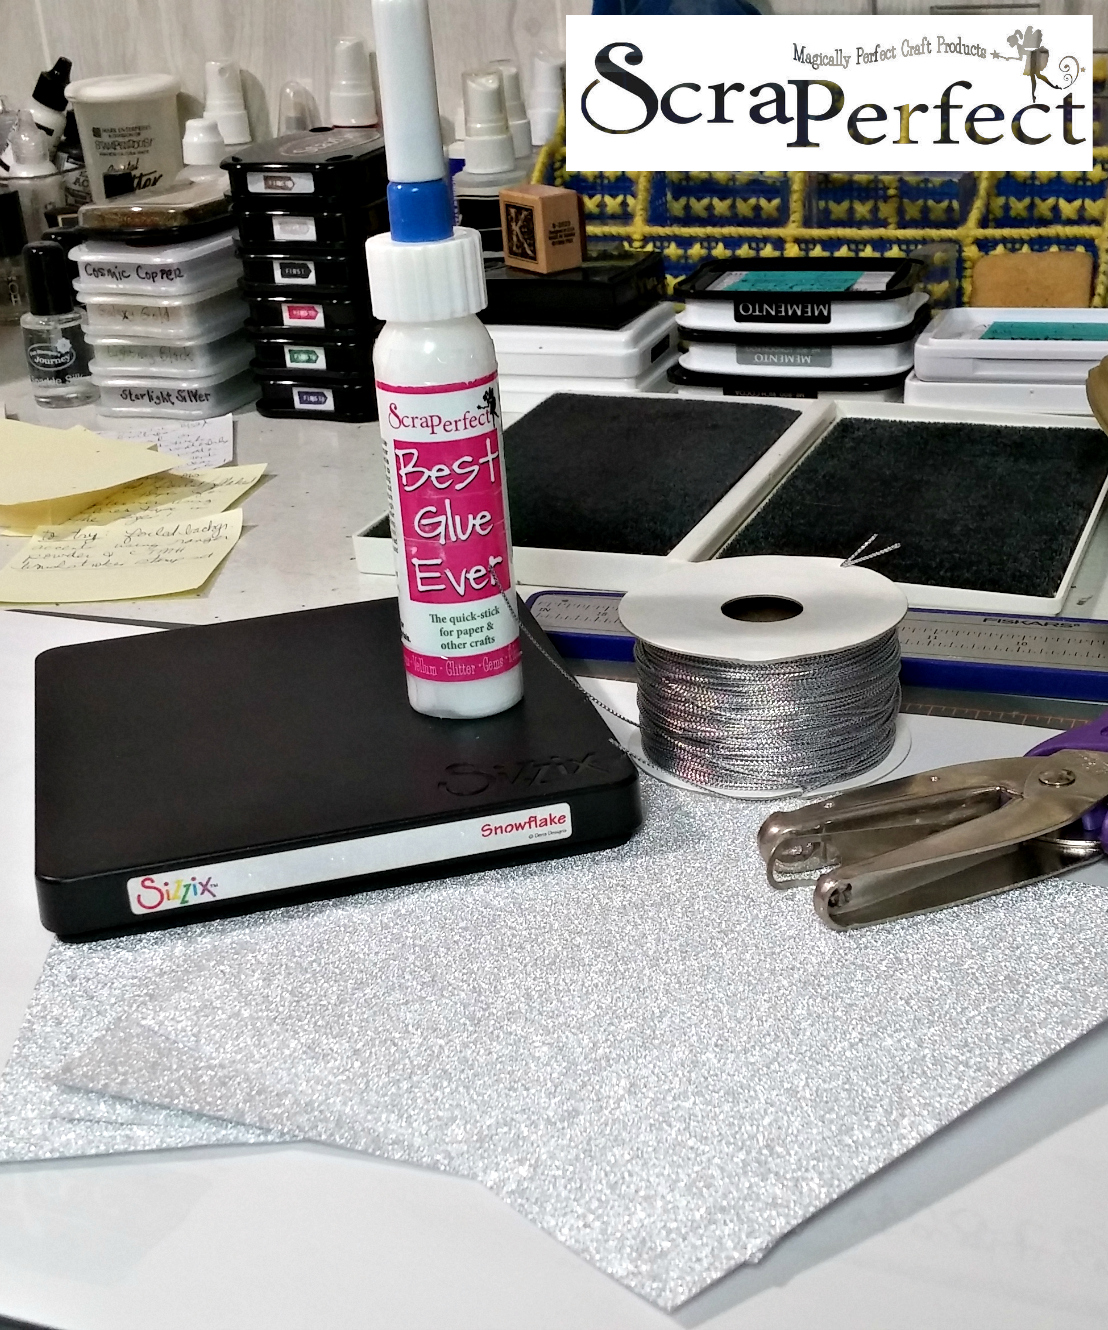
Gathering my supplies, I started with silver glitter paper from DCVW, a large snowflake die, the Best Glue Ever and silver cording. (I thought I would end up needing the mini hole punch, but I didn’t after all!)
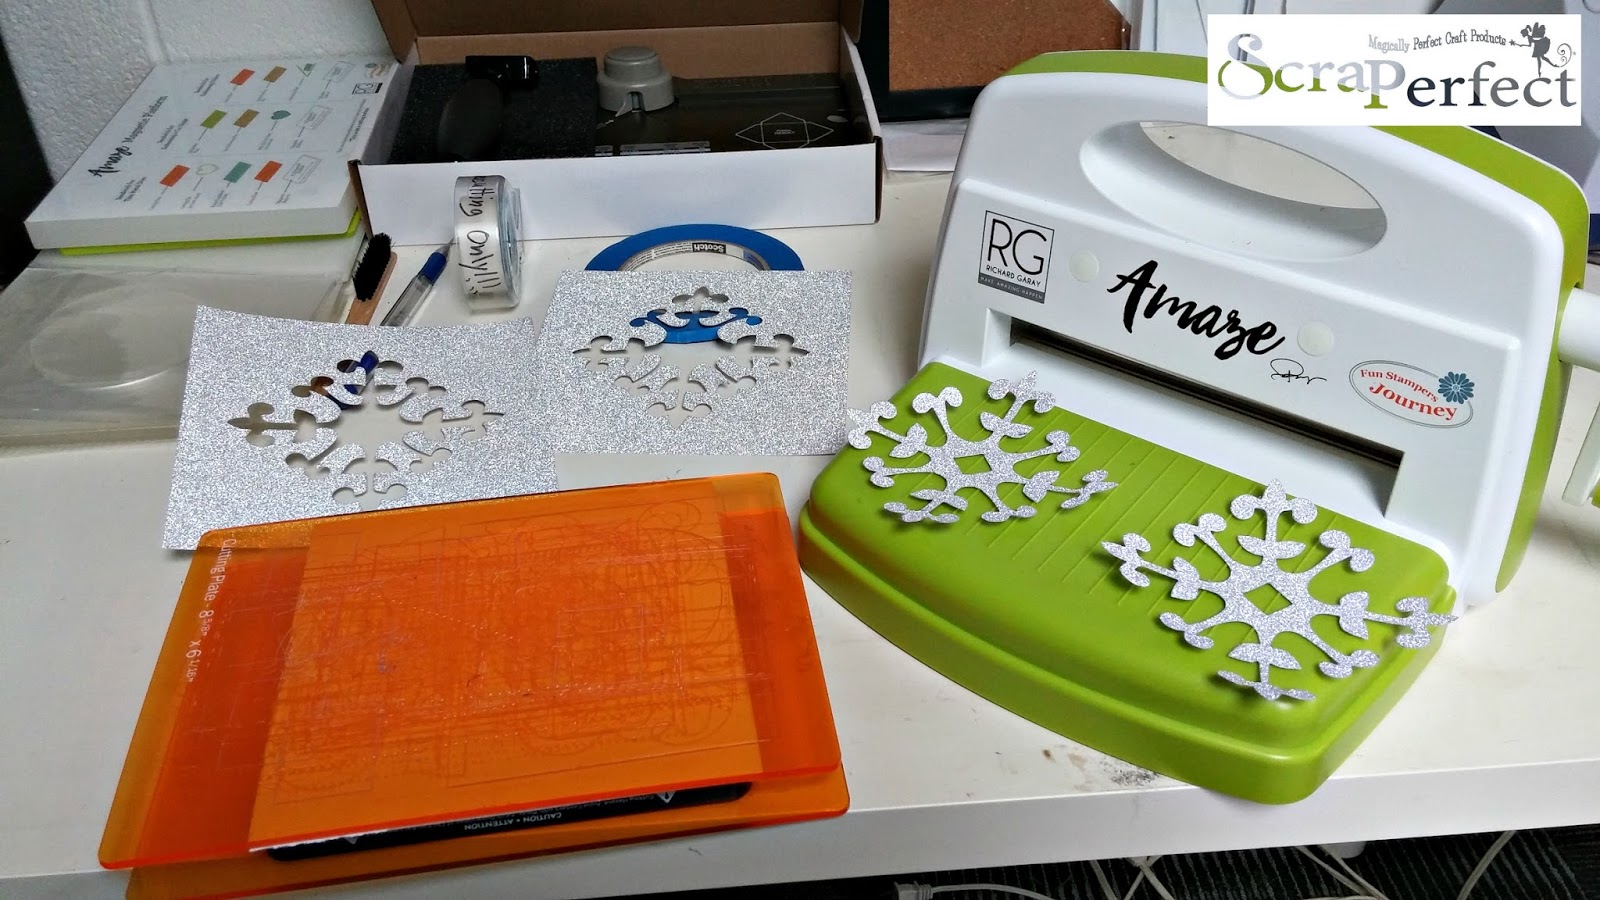
Using my die cutting machine, I ran the die cut through 2 times (with several paper layers) to cut a total of 5 snowflakes.
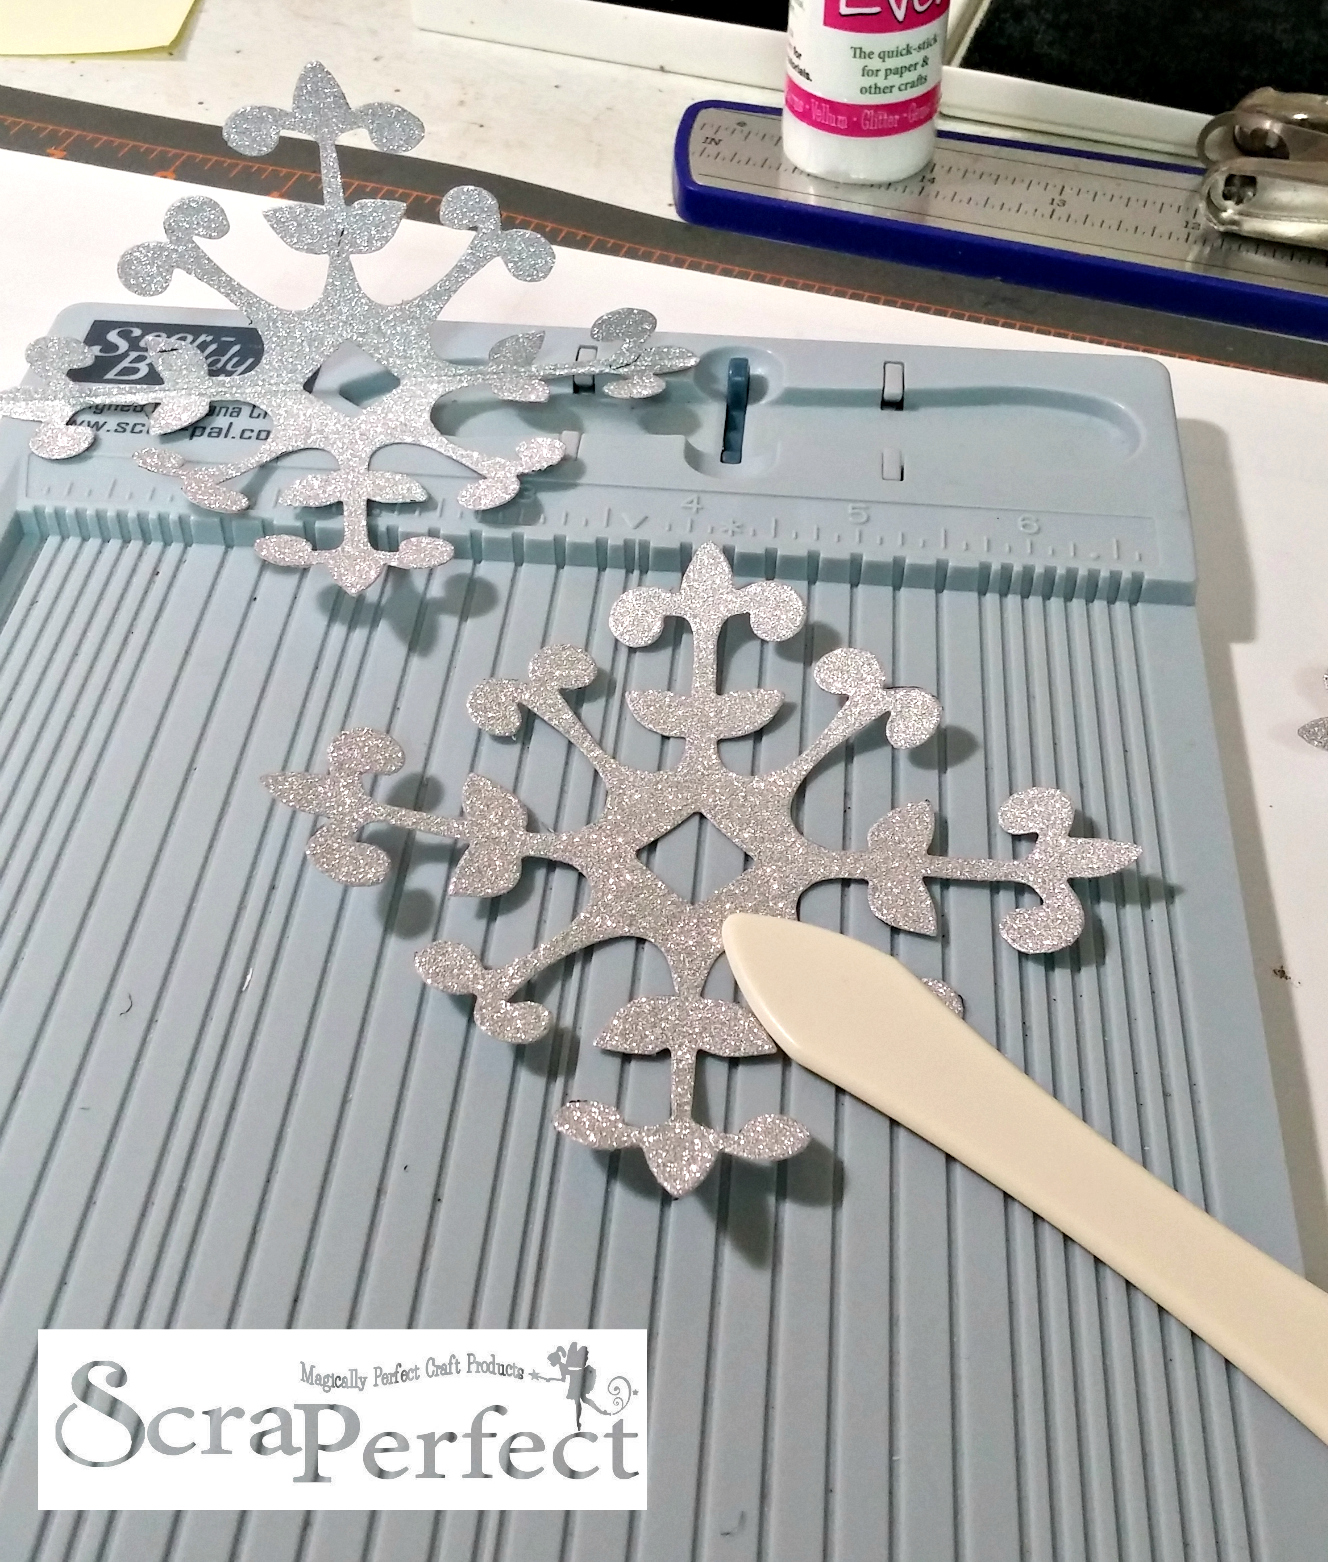
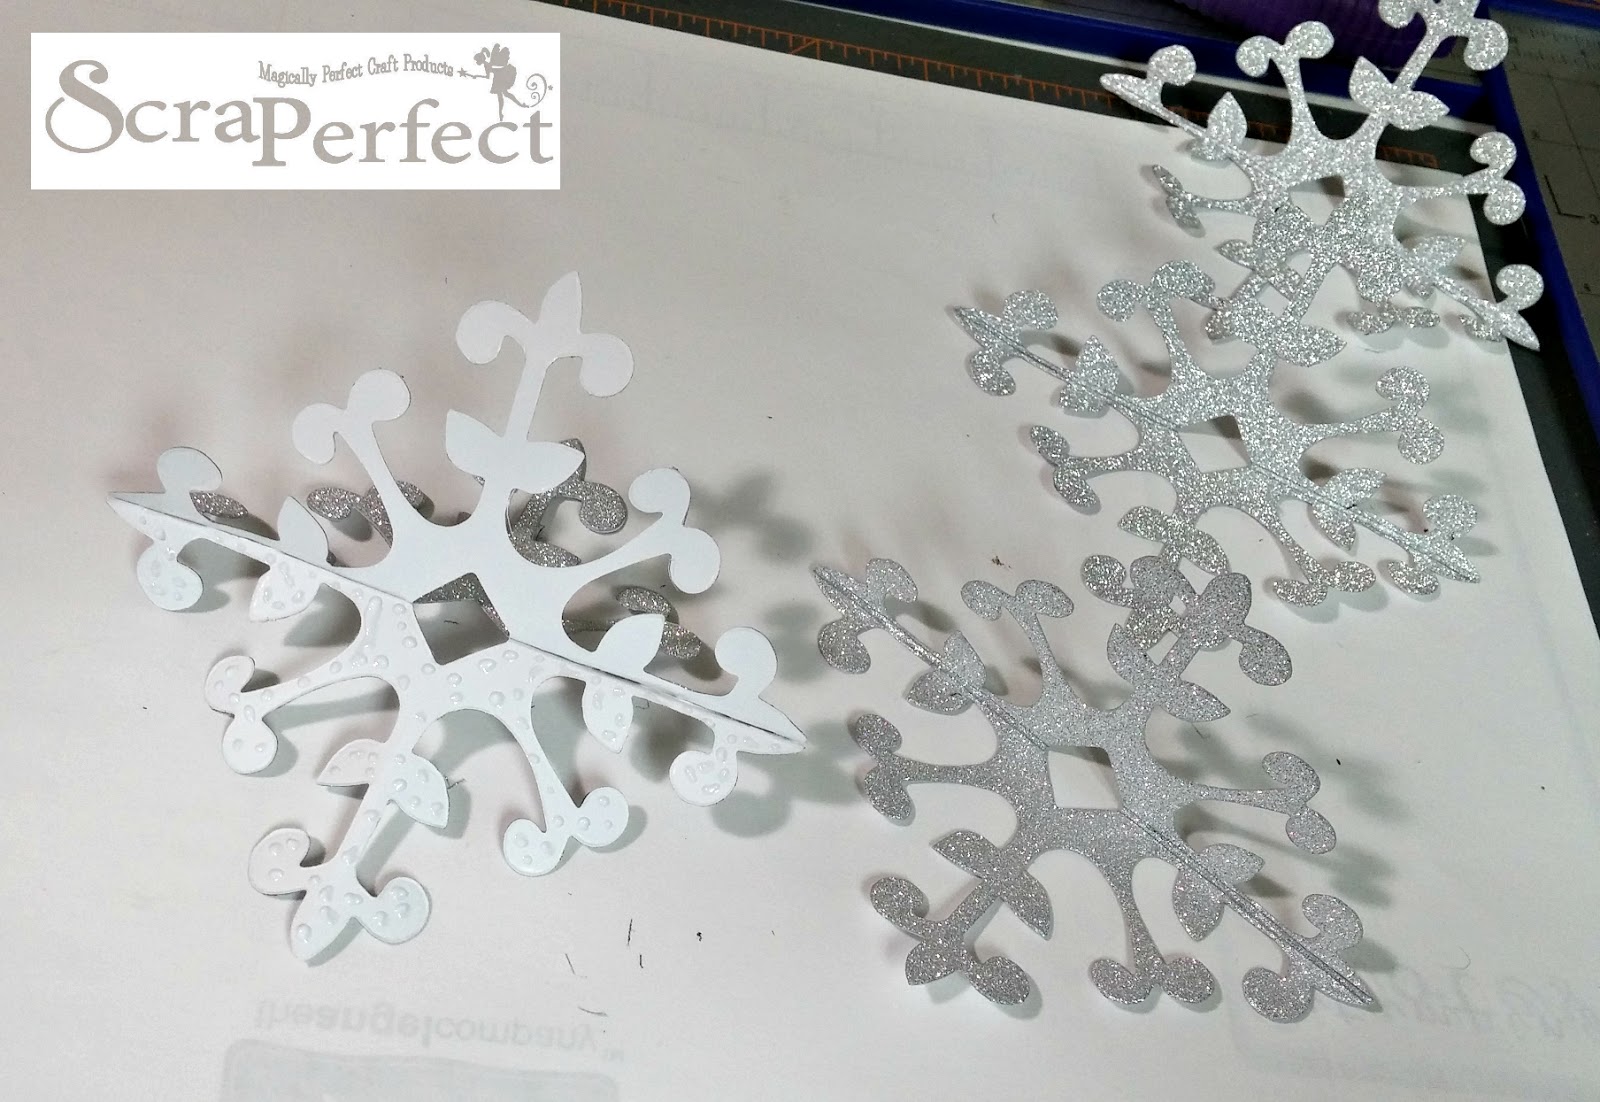
Then I had to score each one down the middle so that they would fold in half easily. I found this part to be a little fiddly, because it turns out that the snowflake shapes are not exactly symmetrical, so I had to make sure I was scoring them in the same direction each time or they didn’t line up right!
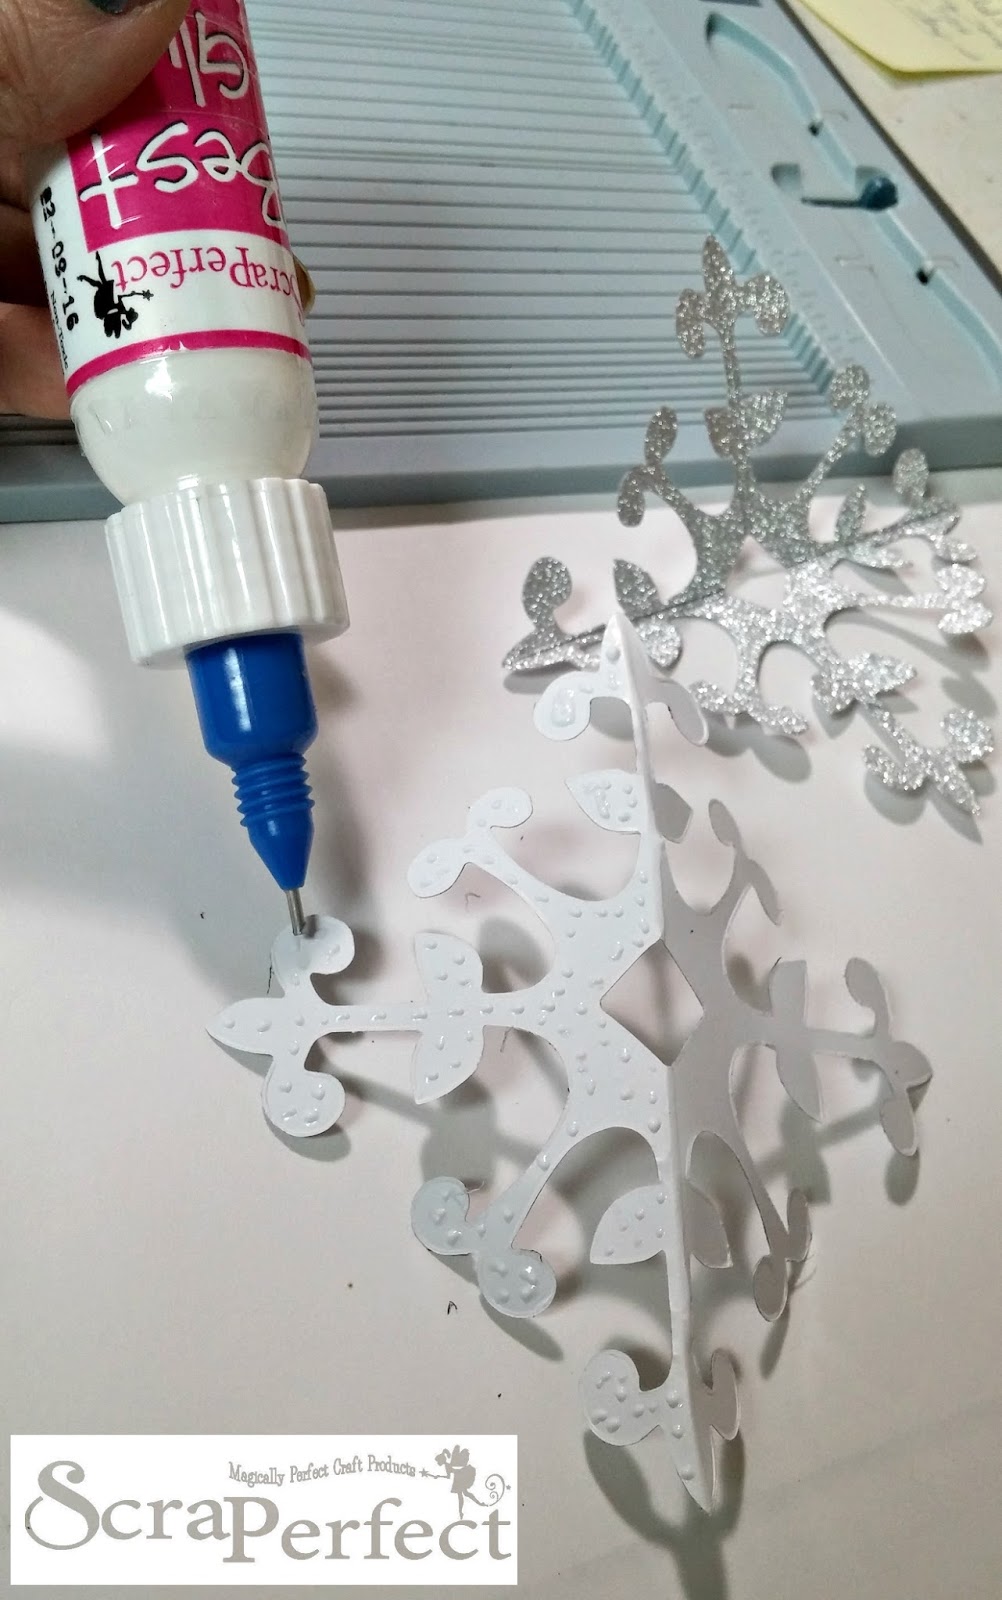
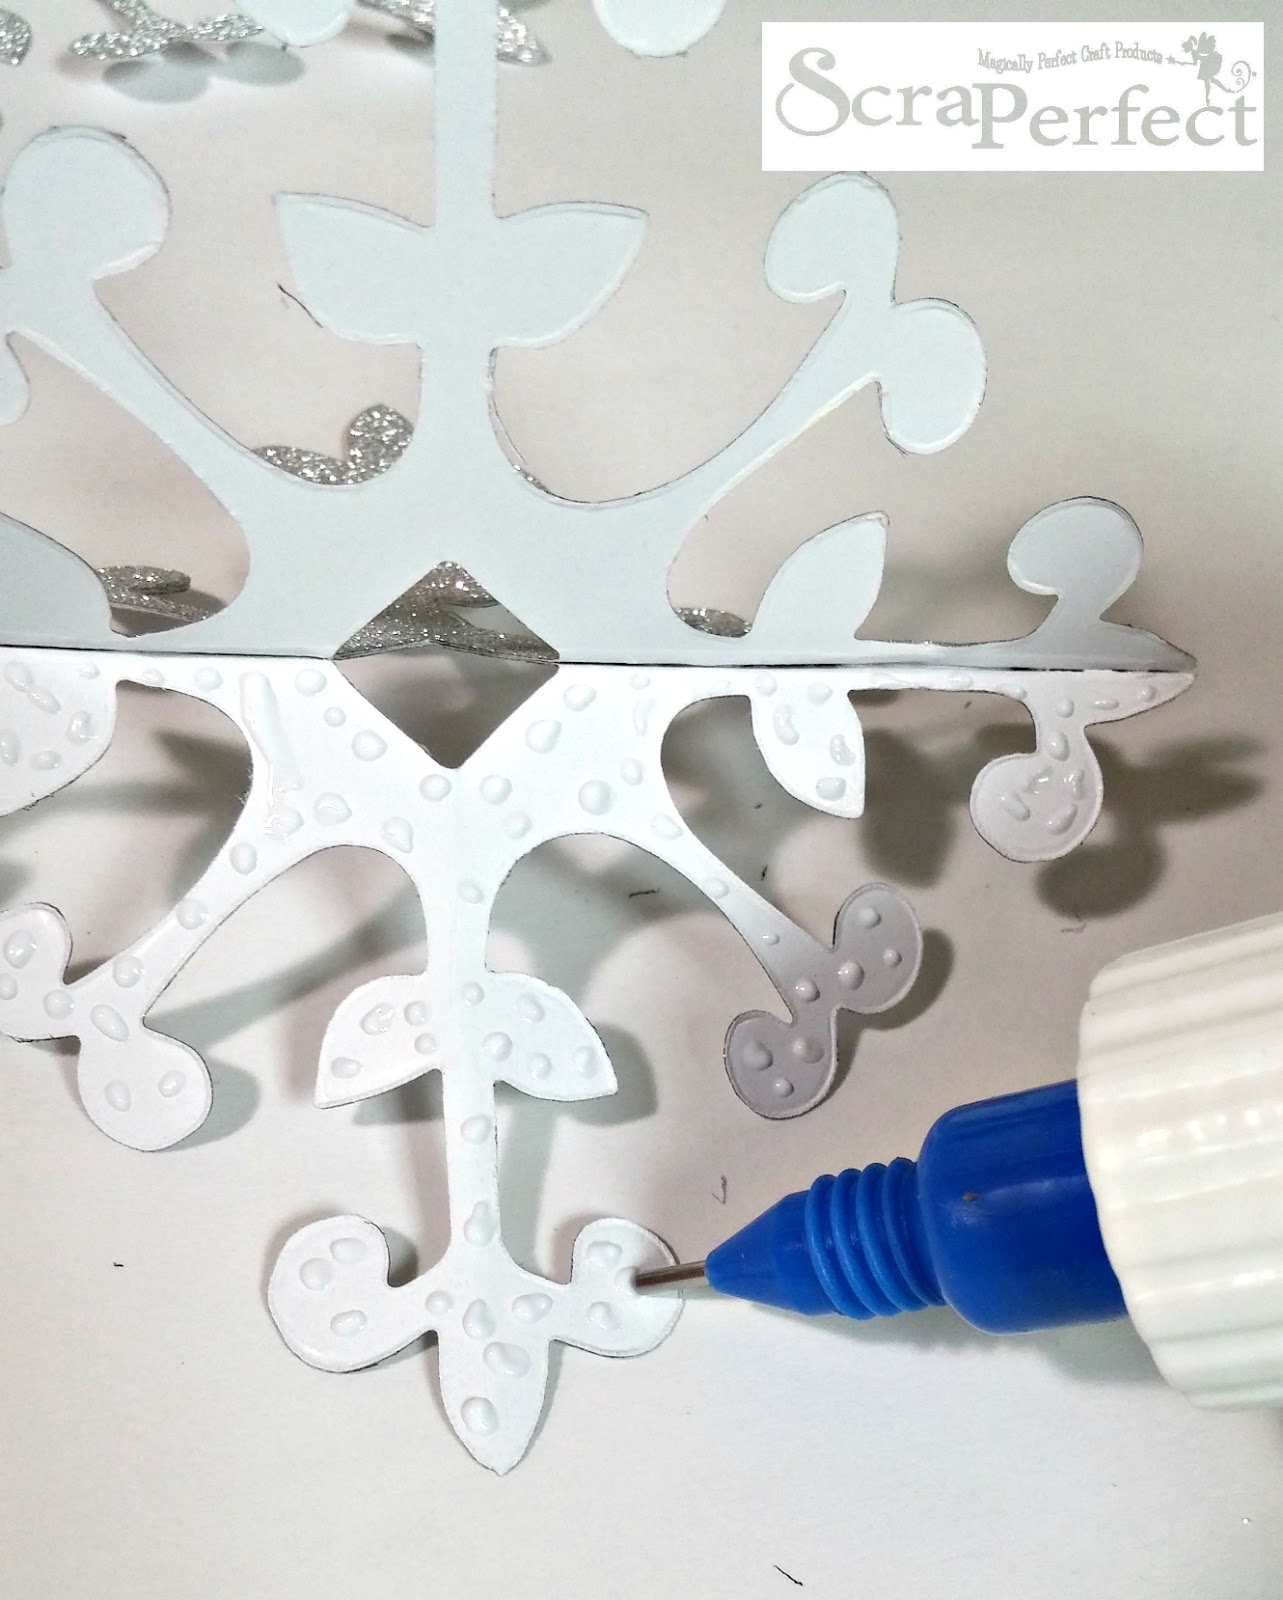
Now, I have to be completely honest here -I would NEVER have attempted to do this with any other kind of glue! Why, you ask? Because the No Clog Writing Cap helps me control the size of the glue drops and by letting the glue dry for a few minutes – letting it get to the “tacky” stage, I was able to adhere each snowflake piece without the glue oozing out and making a mess! (Not to mention, because of the nature of this glue, I had a few minutes of adjustability that you wouldn’t have if you’d have used some kind of adhesive sheet…this was important as I got further along in the process and lining everything up got trickier)
As you can see, I was pretty generous with the amount of glue dots that I added because I want this to be very durable and last for several years!
After getting each piece lined up so that they were facing the right direction, I just kept gluing, waiting and adhering until all 5 pieces were added.
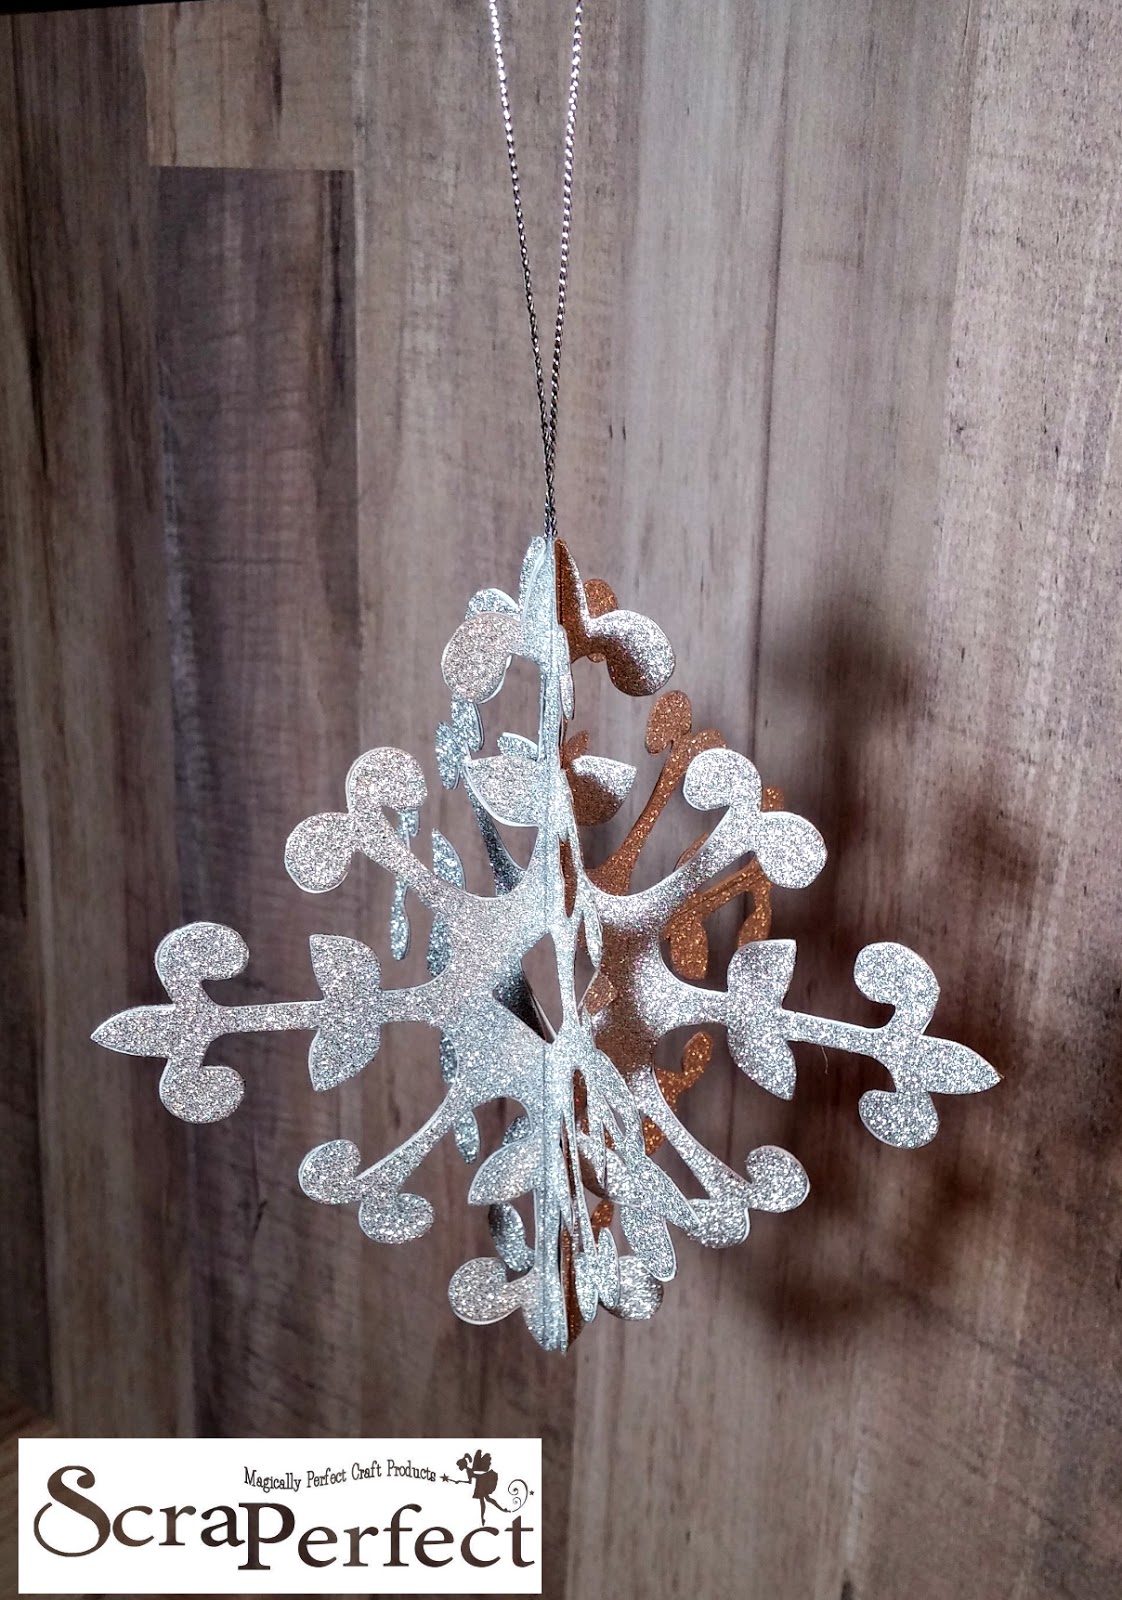
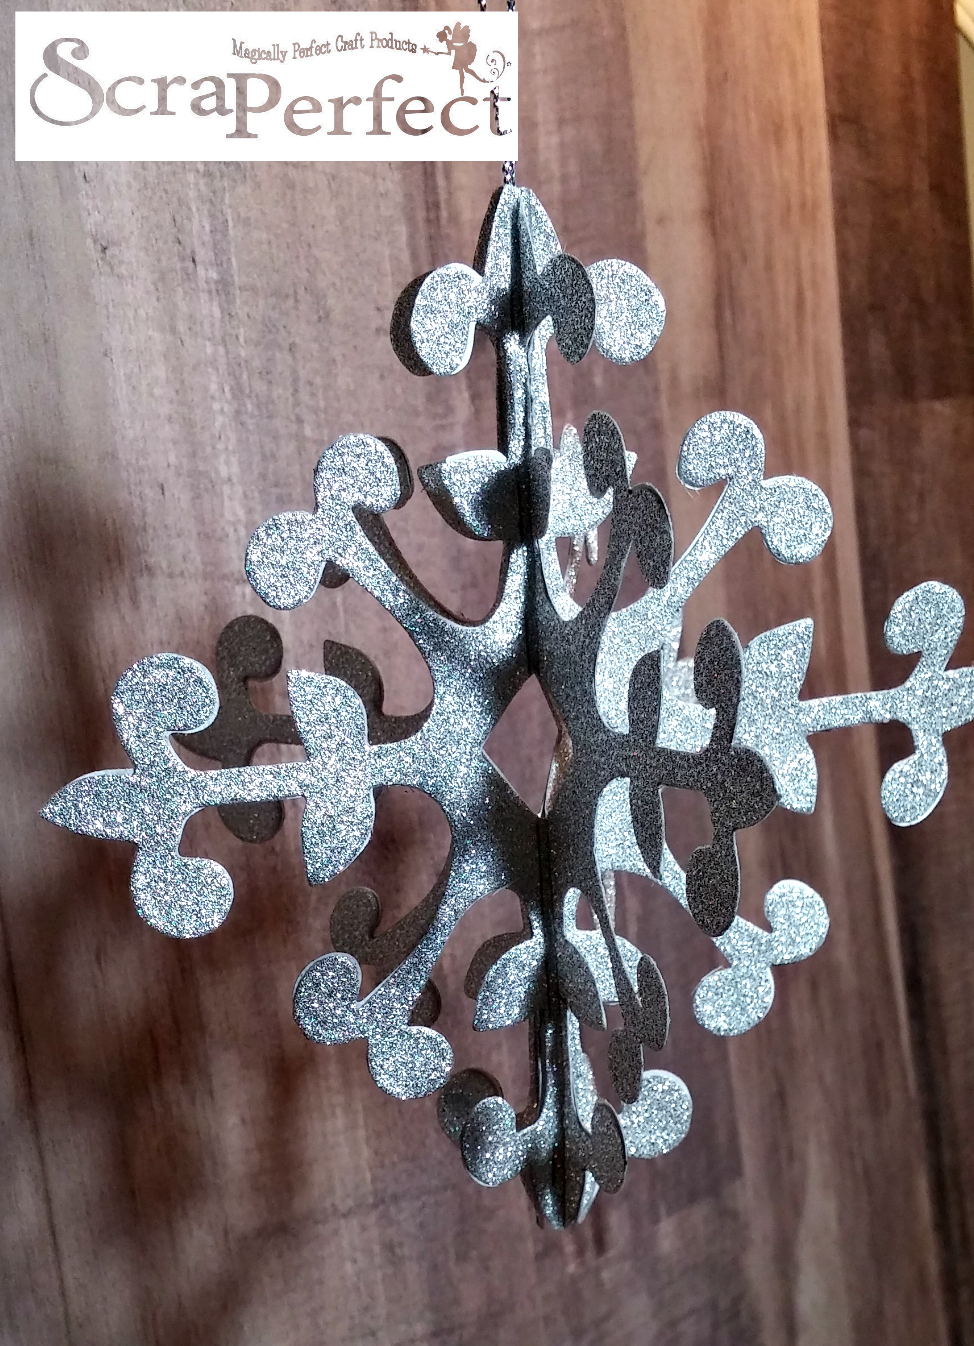
My patience was rewarded when I finally finished this beautiful ornament that I will be proud to display in my home over the holidays! It really catches the light as it spins slightly.
To add the cording, I tied a knot and squeezed a good bit of glue between the points, then tucked the knot down into the middle at the top for about an inch. I pinched it closed around the cord, held it between my fingers for about a minute to make sure it was secure and then I was done.
Whatever crafts and decor you attempt for the holidays, make sure you use the Best Glue Ever to make it -you won’t be disappointed! Until next time, happy crafting with ScraPerfect~


