
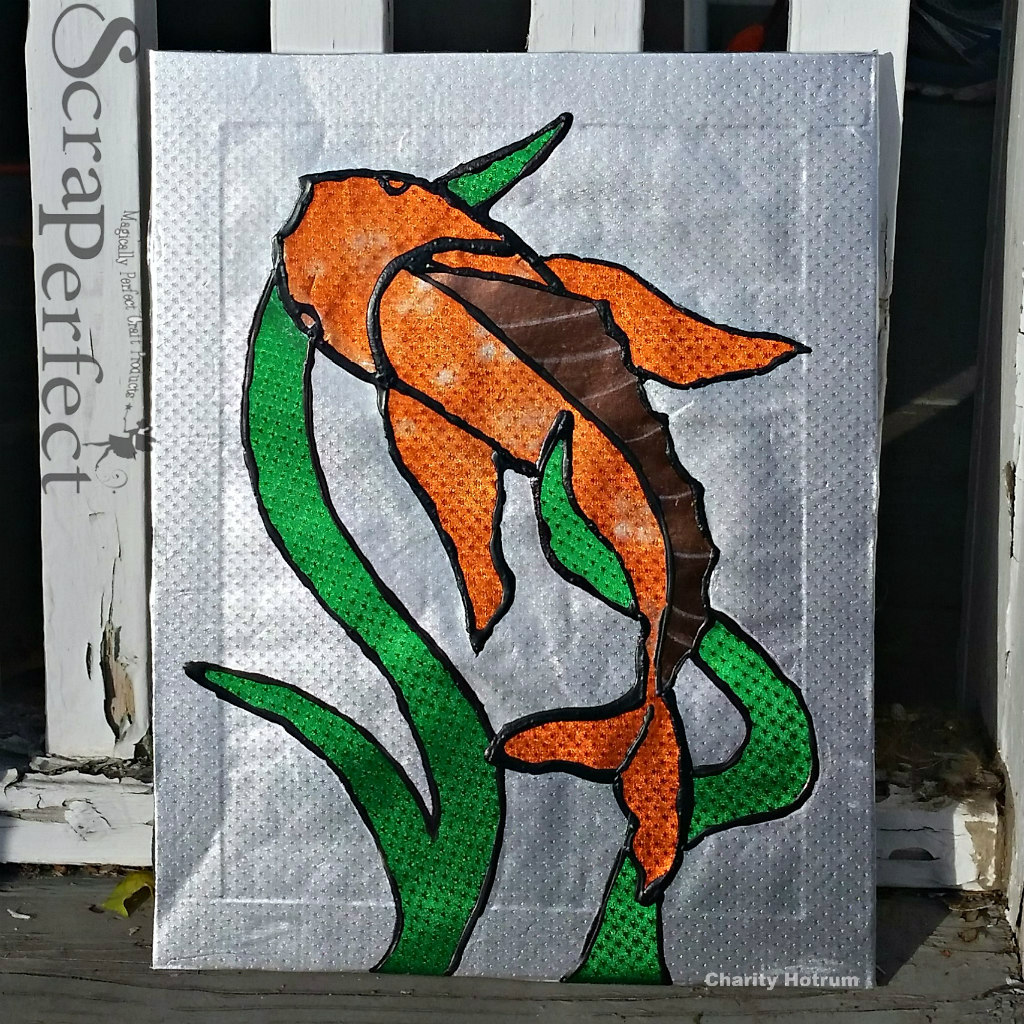
Charity here with a beautiful window made from stunning foiled paper. I used ScraPerfect products to hold it all together and clean up my little messes. I love how simple and quick this project can be. Follow the steps below for your own shimmering decor!
~ Foiled Koi Window ~
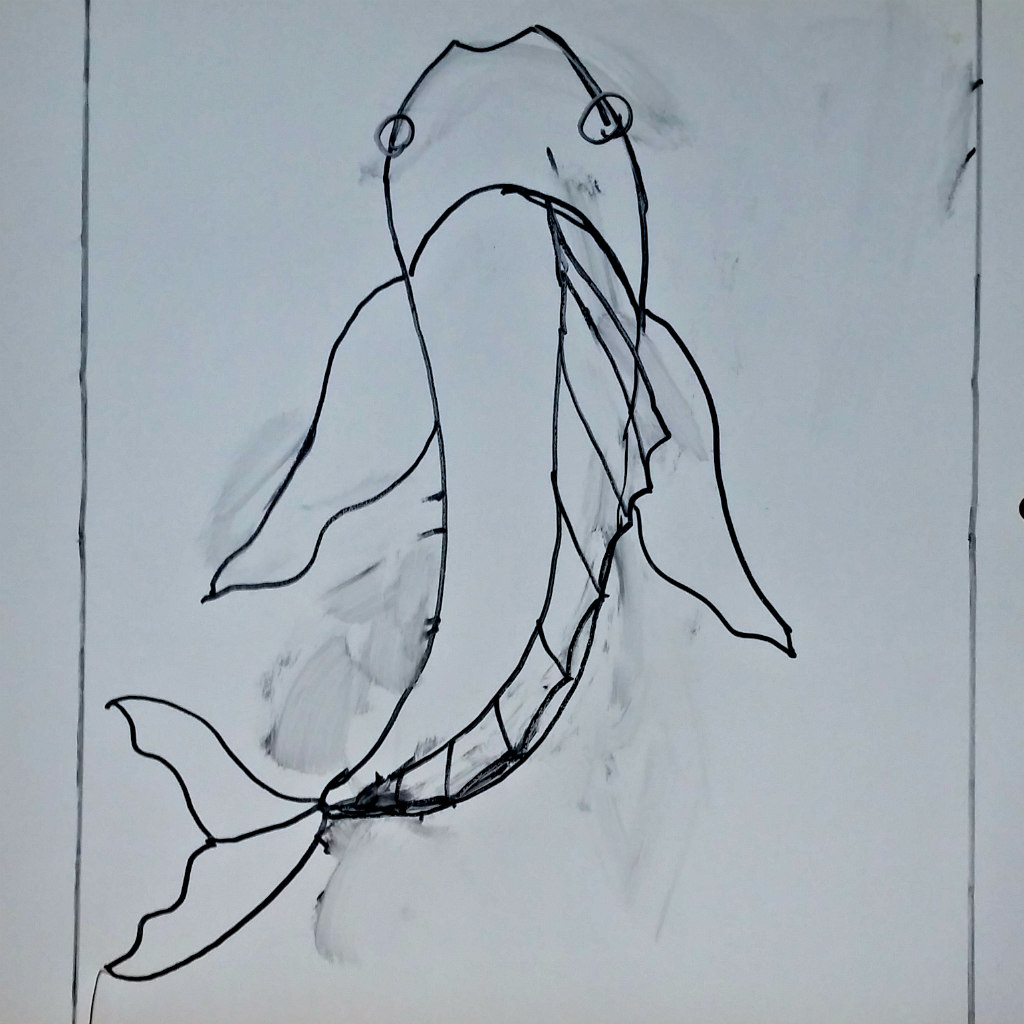
Step One: Print or draw a pattern for a stained glass window.
Choose a graceful image that can be broken into parts with simple lines. I chose a Koi fish. Pinterest and Google abound with free patterns for Stained Glass windows. I found it just as easy to draw my fish and sea weed on whiteboard paper. By using a dry-erase marker I could easily erase and re-draw till I got my lines just so.
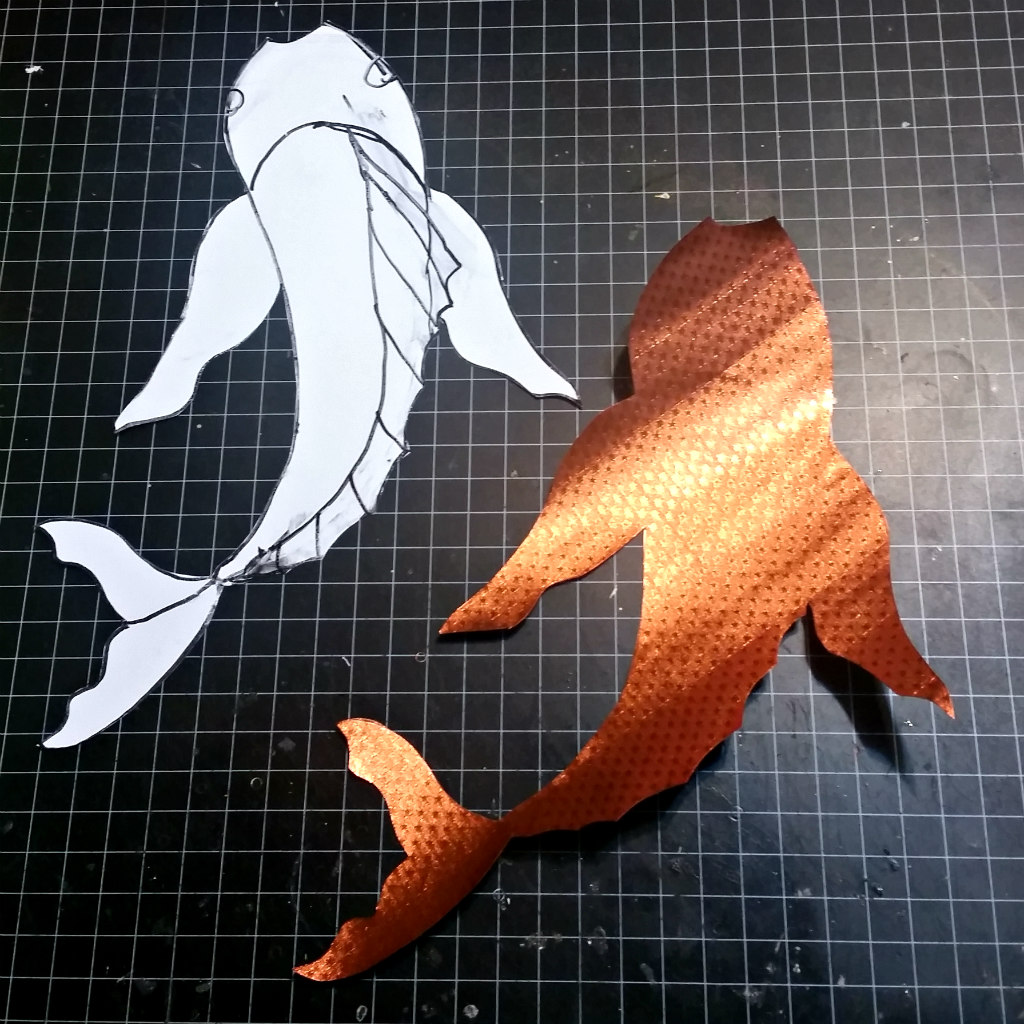
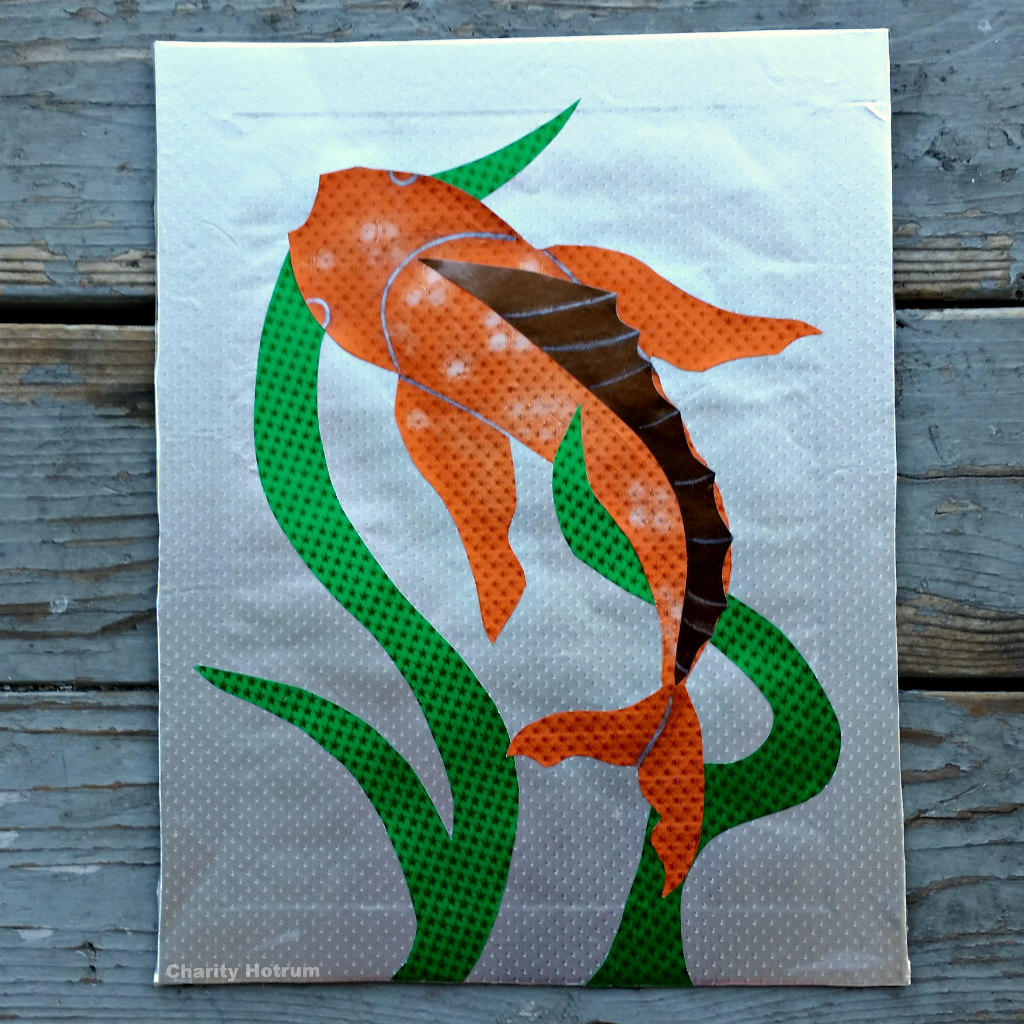
Step Two: Trace and Cut pattern from foiled paper.
I cut my window pieces from Rinea Foiled Paper. I added details to the fish and the fin with Rinea Ghost Ink For the scattering of scales I used a quarter foil stencil.
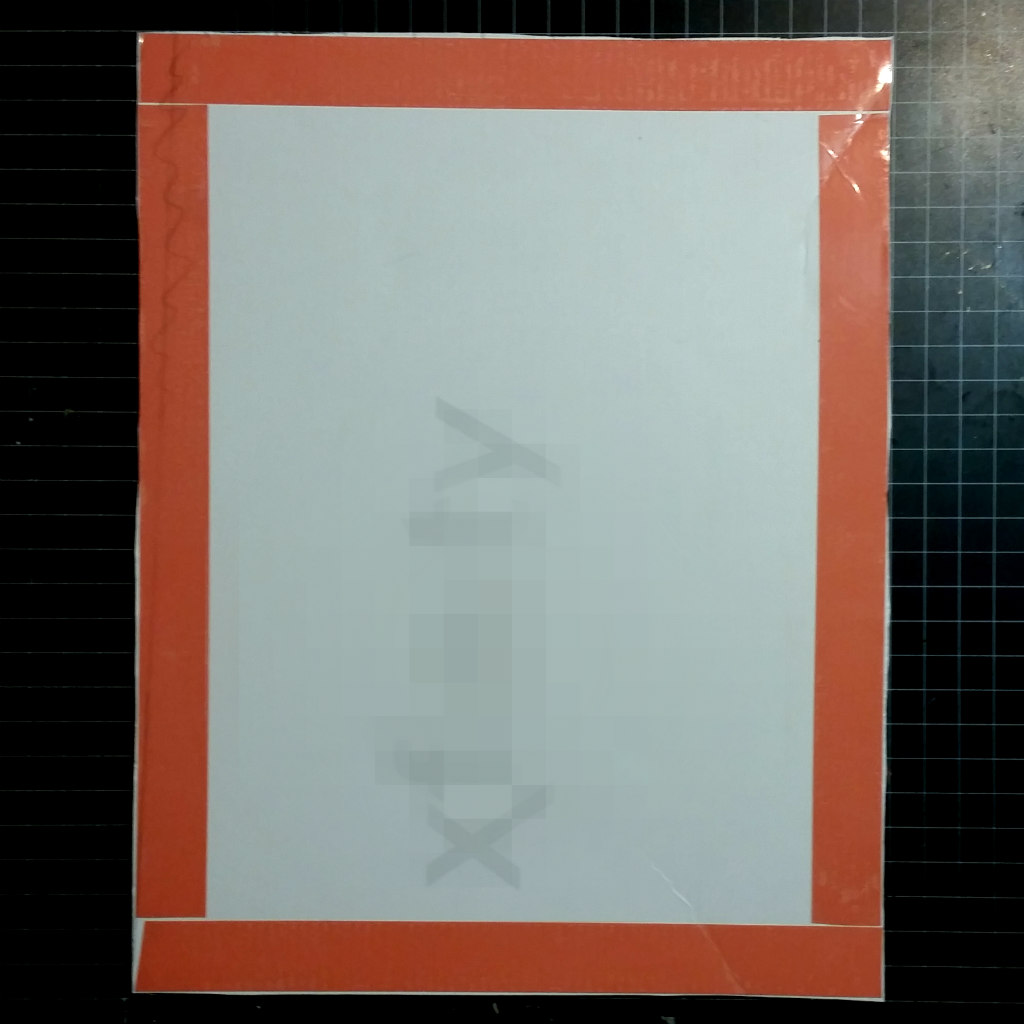
Step Three:Cut window paper and adhere to backing.
I placed inch wide super sticky tape on the edges of my base. Getting the foiled paper onto the cardboard base without mistakes took steady hands and a good game plan. I cut my silver paper to 12″x15″ size. With a 1/2 inch of playroom on each side I had a good chance of getting the cardboard covered even if it was a tad crooked. I rolled the foiled paper then laid it on the cardboard as straight as I could. I started at the top, rolling toward myself, and pressing the paper into the adhesive as I went. I folded the excess to the back of the cardboard.
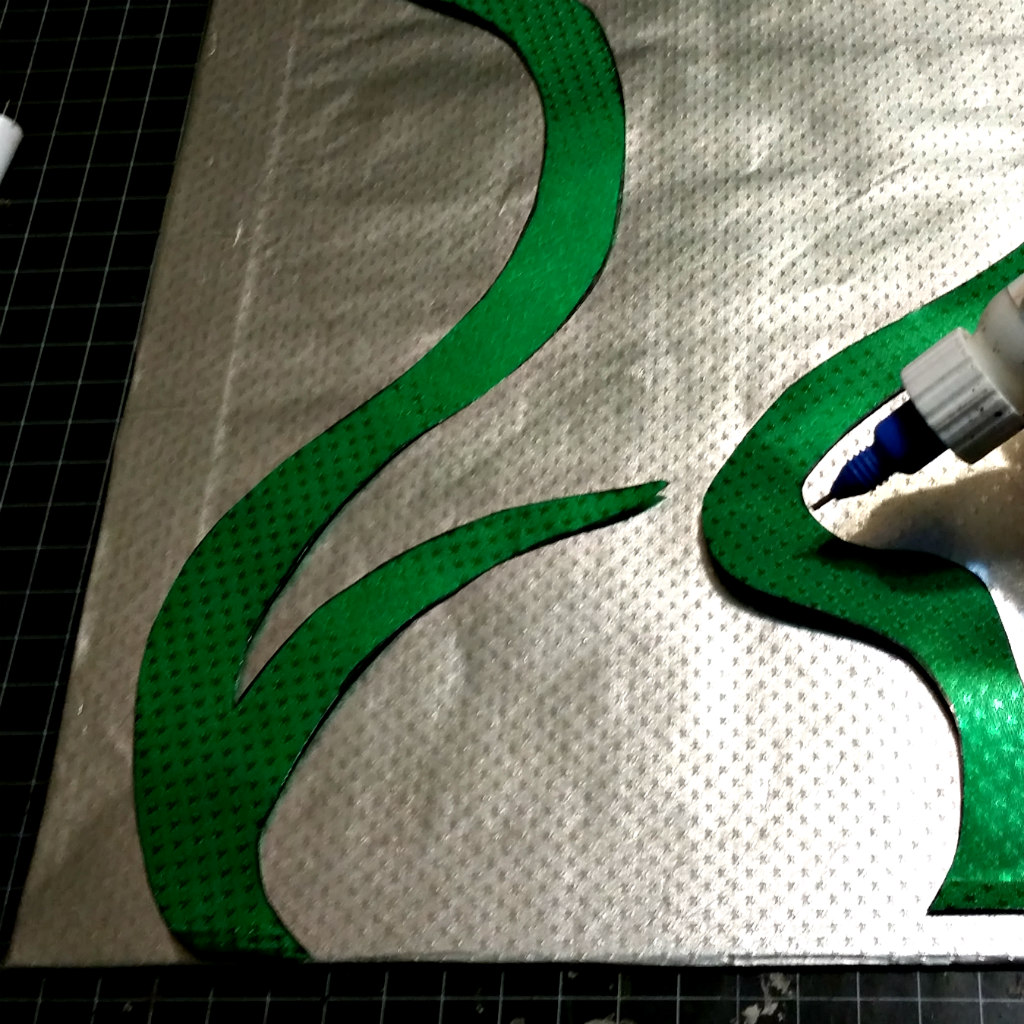
Step Four: Glue designs to window base.
I used Best Glue Ever and a No-Clog Writing Cap to be certain my glue went where I wanted it to and that my pieces stayed put! These ScraPerfect products always make my project a success.
Step Five: Mix 1 part black acrylic paint to 3 parts all purpose glue for window leading.
Elmer’s Glue-All works best for this mixture and comes in a squeeze bottle. I did not leave enough room in my squeeze bottle to shake the mixture and had to use a bamboo skewer to mix it. This made the process more difficult then it had to be. Just an FYI.
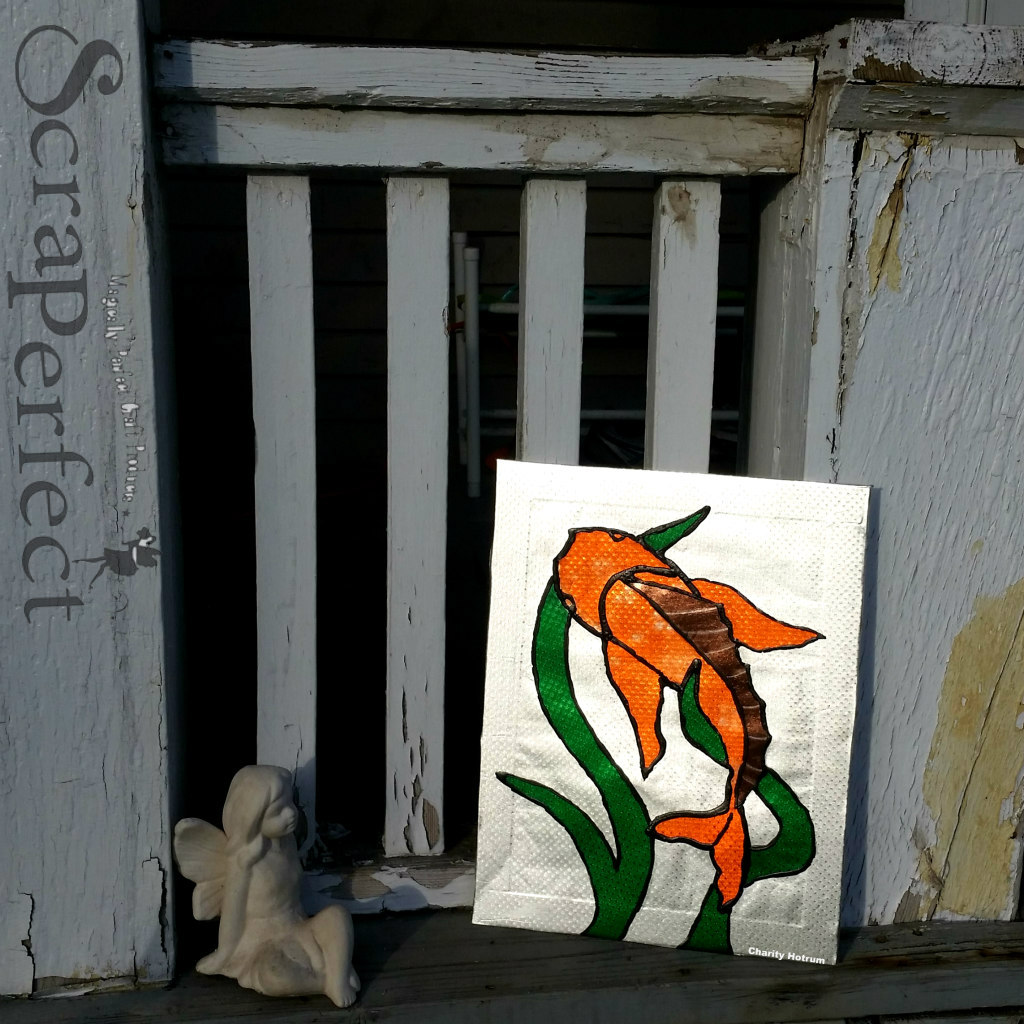
Step Six: Outline all joints and paper edges with leading mixture, leave to dry.
The glue mixture is grey when wet. Remember to use a glue that dries clear. When it does you will have lovely, thick, black lines.
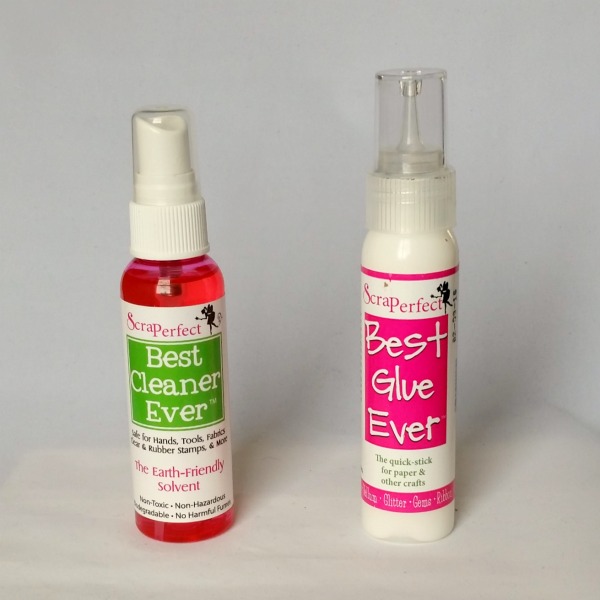
To clean up the smears and glue overage I used Best Cleaner Ever. This eco-friendly solvent removed the dull patches on my foiled paper without damaging the paper or affecting the color.
Scrap On!
~charity~

